
[v4.52] The signature process in MOXIS 4.52
Content
The signature process in MOXIS can be carried out in different variants. This article provides you with an overview of the basics of the standard signature process. At important points in terms of signature technology, links provide further introduction to the topic as needed. The example in this article assumes that MOXIS is being opened by a user for the very first time.
1. Step-by-step instructions: Create a signature order in MOXIS 4.52
Step 0: When you start MOXIS for the first time, you will receive a message that you need to complete your profile (see Figure 1). This ensures that you can use MOXIS to its full extent.
.png?inst-v=010eae08-97f6-4acf-a0b4-b587a347035a)
Figure 1: MOXIS Note for Qualified Signers After Initial Entry
XiTip
You will only receive this notice if you have been granted the corresponding right by an administrator (qualified signatory).
Please click on the [Complete Now]-button if you want to complete your data immediately. If you want to do this later, please click on the [Complete later]-button. Please note: This message will be displayed until you have entered the data or have completed their signature type .
Step 1: To create a new job, please click on [+Create job]-button in the order overview (see Figure 2 [1]). In the drop-down menu that opens , you can choose between various processes, such as Sign Document with Attachments, Sign Document(s) with Biometrics, or Sign Document(s) (see Figure 2). In our case, we have the following two processes configured: Sign document(s) and Signdocument(s) (ZertEs). For our example, we choose the simplest option: Sign document(s).
XiTip
While in MOXIS Business or MOXIS Now you can only choose between standardized options, in MOXIS Enterprise you can individualize the signing process. This saves time and resources. For further information, please contact your XiTrust contact person.
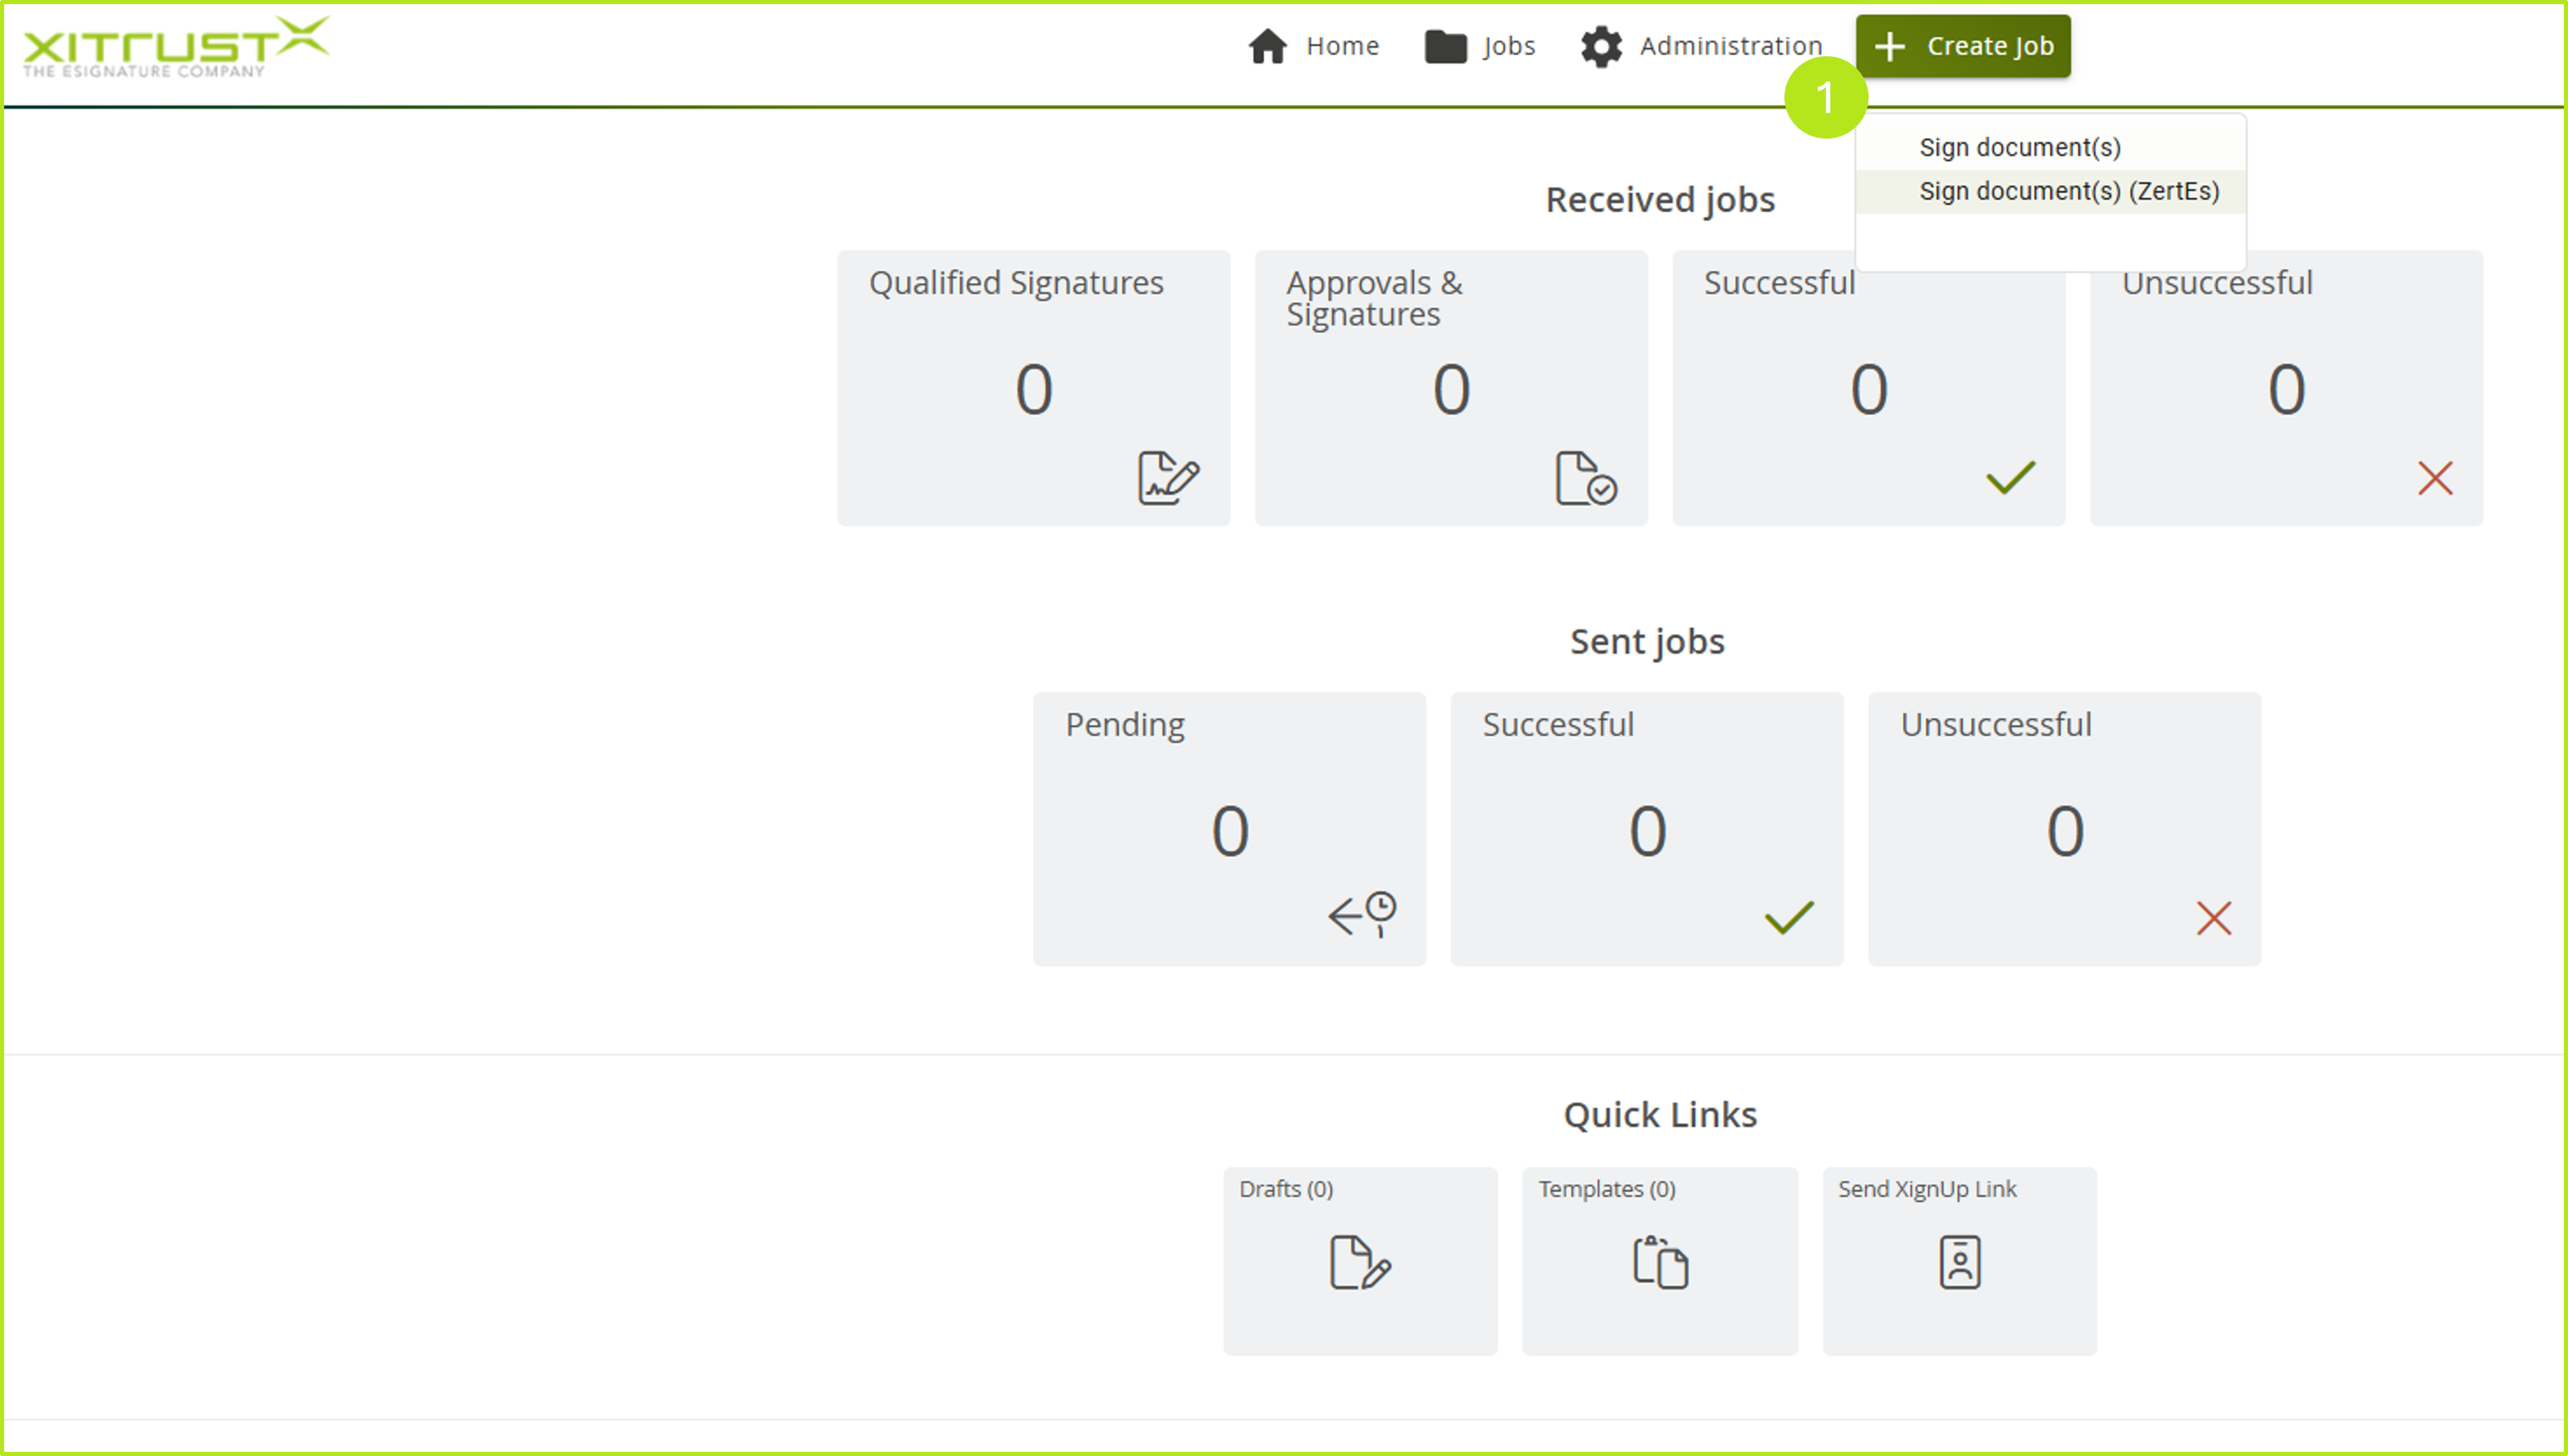
Figure 2: Creating Jobs in MOXIS
Step 2: Now please select a document you want to sign and upload it by clicking on choose file (see figure 3 [1]) or simply drag the document into the gray field via drag-and-drop. Please note: The files are subject to certain restrictions imposed by your administrator and are visible in the gray field (see figure 3 [2]). If you would like to make changes here, please contact your administrator.
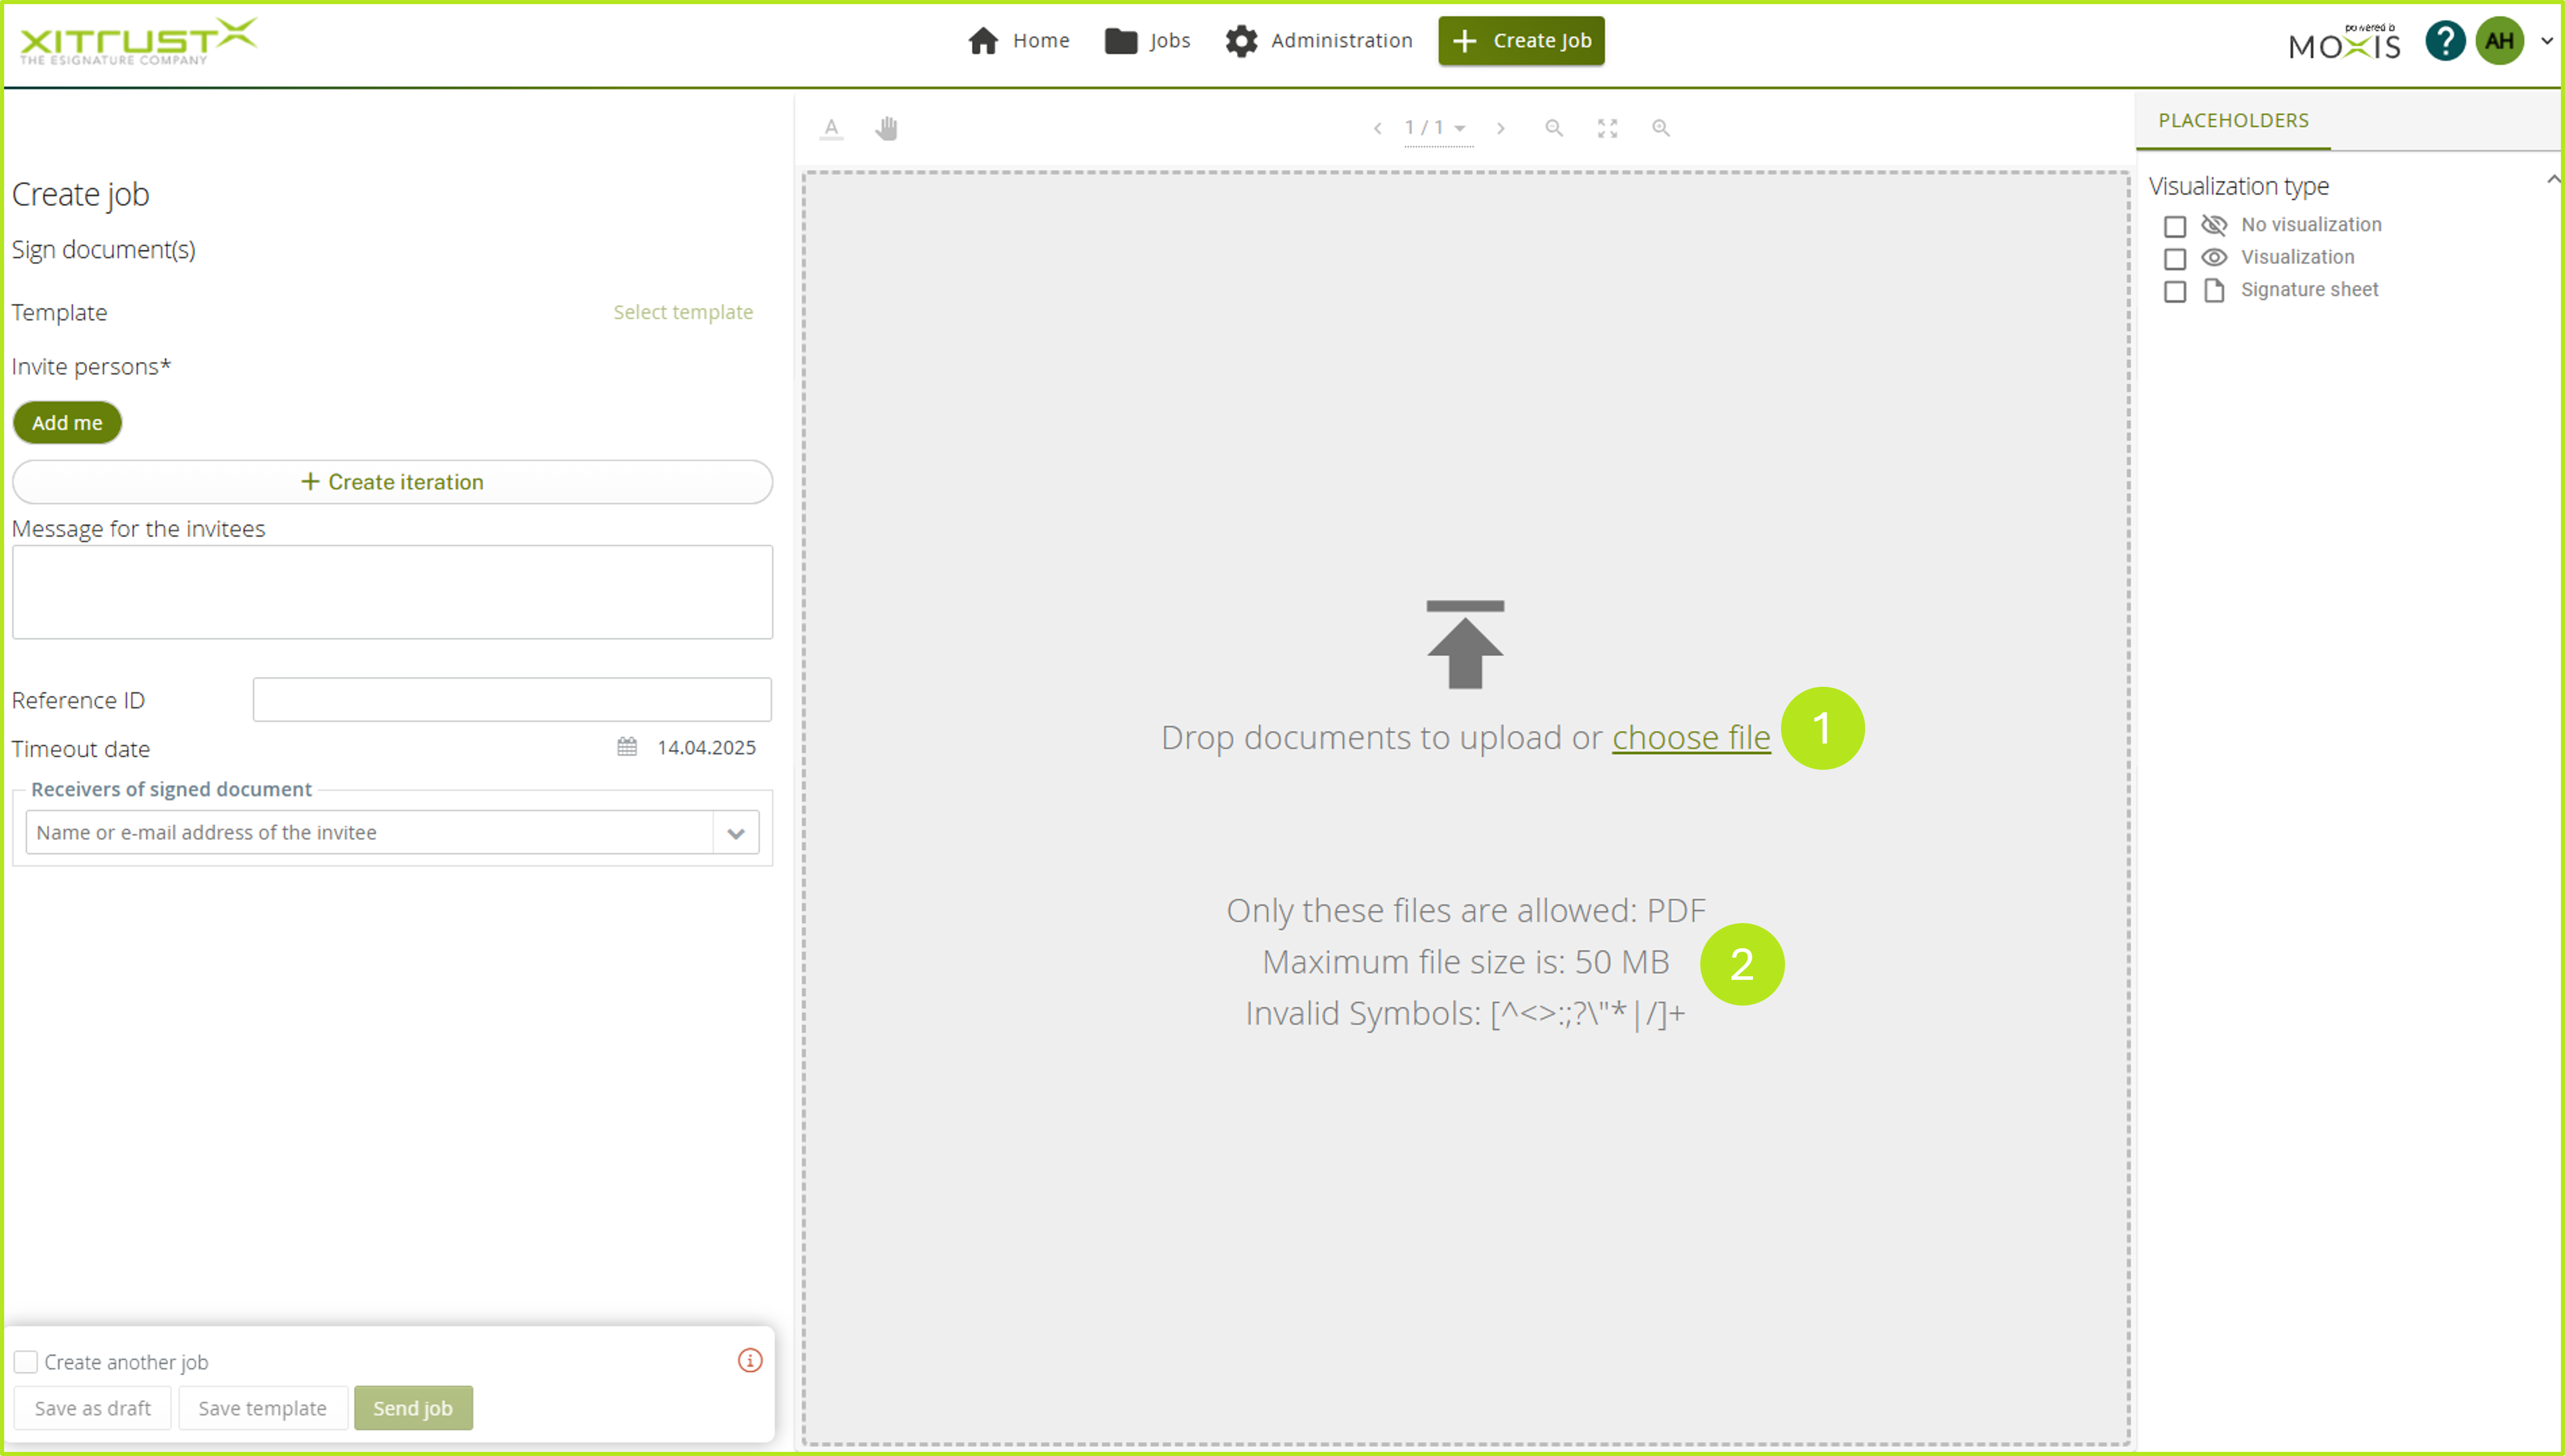
Figure 3 Uploading files to MOXIS
Step 3: Now set an iteration (see figure 4 [1]), set the signature quality (see figure 4 [2]) and add a signer by clicking on the [TO]-button (see figure 4 [3]).
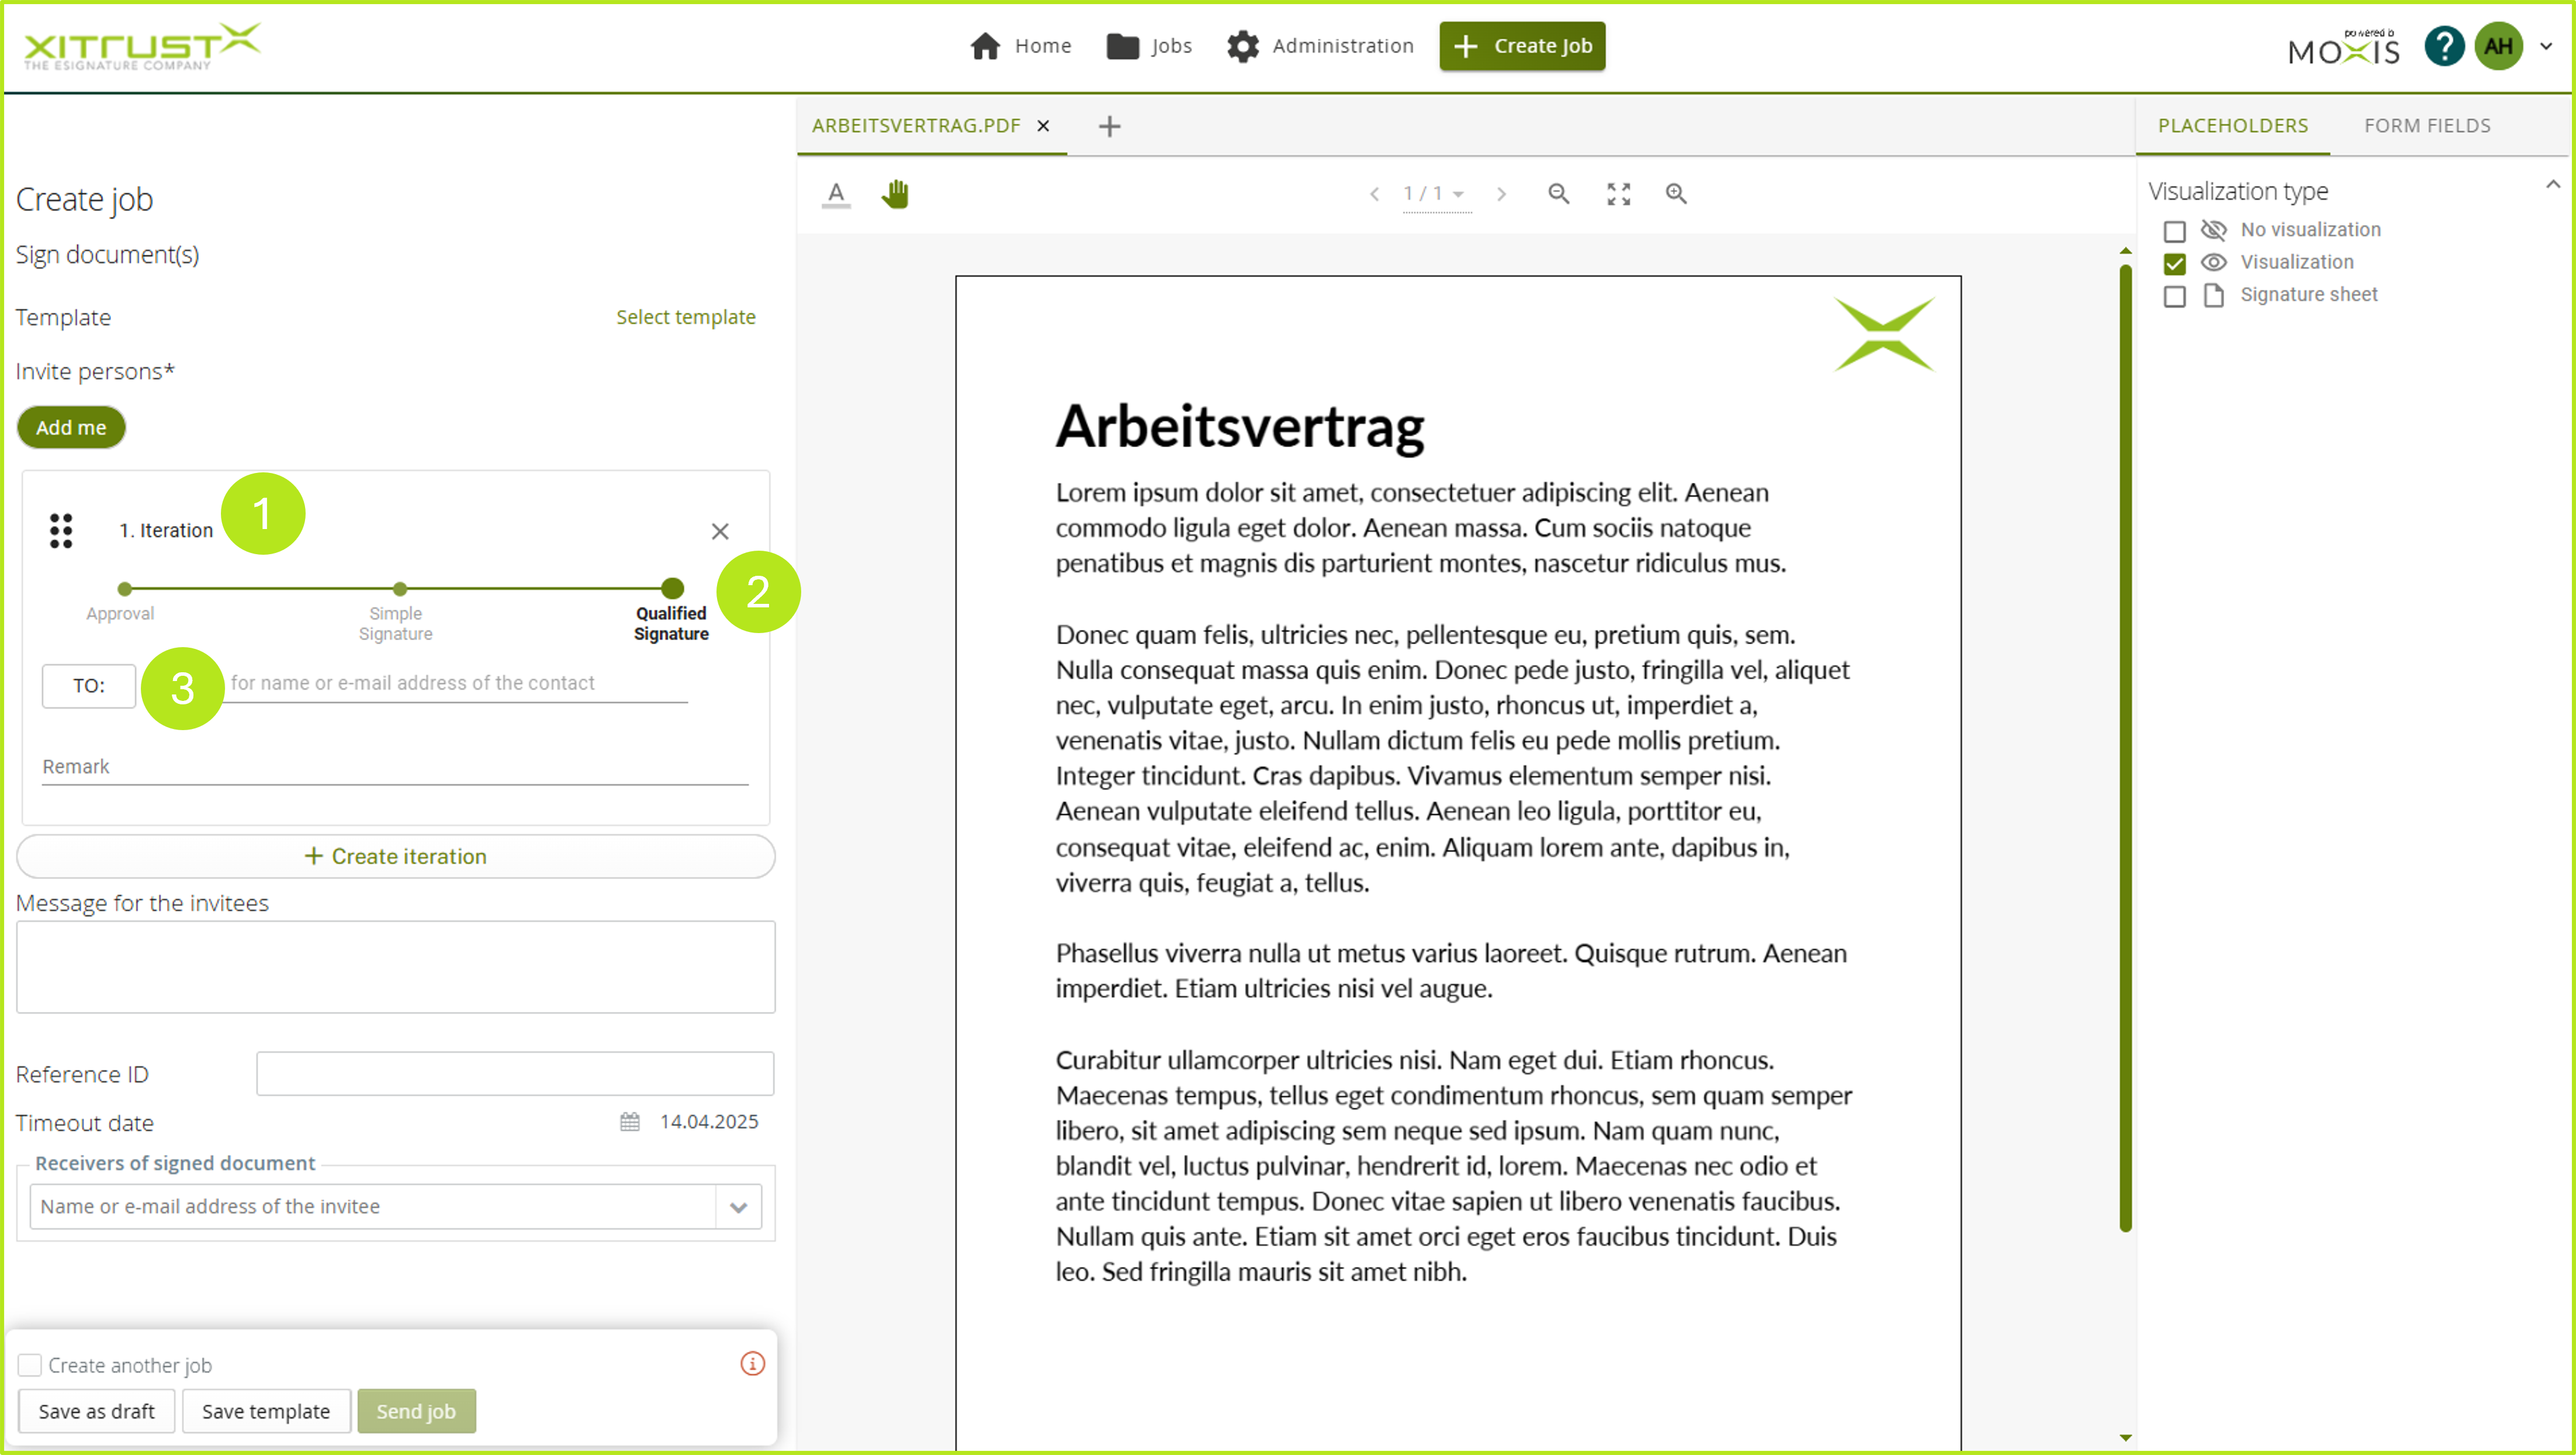
Figure 4: Specifying the details in the signing process in MOXIS.
Step 4: In the next step, place the signature placeholder by dragging and dropping it from the placeholder field (see figure 5 [1]) onto the document and the corresponding position (see figure 5 [2]) where the recipient will later sign . Alternatively, it is also possible to enrich the document with form fields.

Figure 5: Placing a Signature Placeholder in MOXIS
Step 5: The document is now ready to be sent. To initiate the last step, please click on the [Send job]-button (see figure 6 [1]) in the lower left corner. Please note: Should you be the signer of the document, the button changes to [Send & sign].
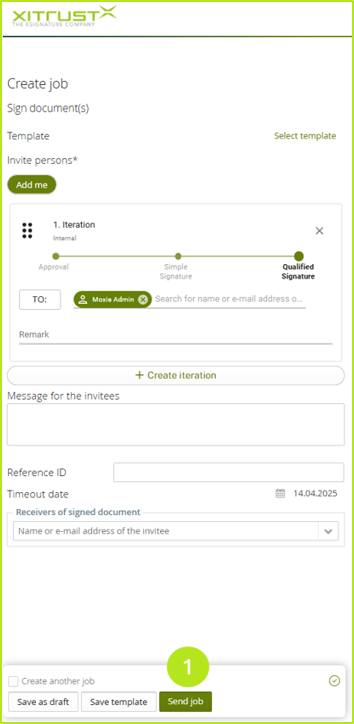
Figure 6: Sending and signing the order
Step 6: A pop-up will open (see figure 7). Here you can sign a job (see figure 7 [1]) or enter optional attributes (see Figure 7 [2]).
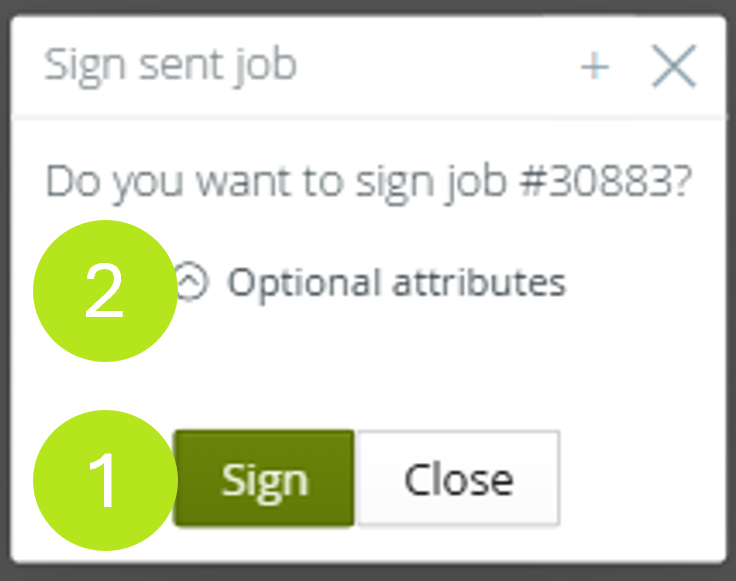
Figure 7: Releasing the order for signature
Step 6a: Alternatively, you can also release the job for signature individually or (if there are several) as a collective job using the detail view or the job overview. Please note: If you choose this path, you will not see the pop-up shown in Figure 7.
Congratulations! You've created and sent your first signature order!
2. The signing process in MOXIS
Once orders are approved for signature, you can sign them. This can be done with a single job or serial function. The first steps are independent of which trust center (A-Trust, D-Trust or Swisscom) you use in the background. This also applies if you use a mobile phone. Nevertheless, there is a serious difference between the regular signature process and the signature process via mobile phone. However, this only concerns the completion of the mobile signature process.
For more information about the general signing process, please see the follow-up articles on the signing process.
XiTip
If you have any further questions, please do not hesitate to contact our documentation, support or your XiTrust contact person at any time.