
[v4.50] Creating orders with the series function
Content
Creating orders with a series function is basically the same as creating a standard job. However, it differs in the selection of recipient groups. This step-by-step guide will take you through the process of creating an order with a series function.
Step-by-step guide: Creating an order with the serial function
Step 1: Create an order with the process that your administrators have defined as the process for the serial function. In our example, this is the process Serial function (see figure 1).

Figure 1: Creating an order with the series function
Step 2: Select the signature quality and iteration levels as usual and upload a document.
XiTip
Depending on whether the series function is already predefined or not, you either have to tick the box for the series function or it is already ticked (see Figure 2 [1]).
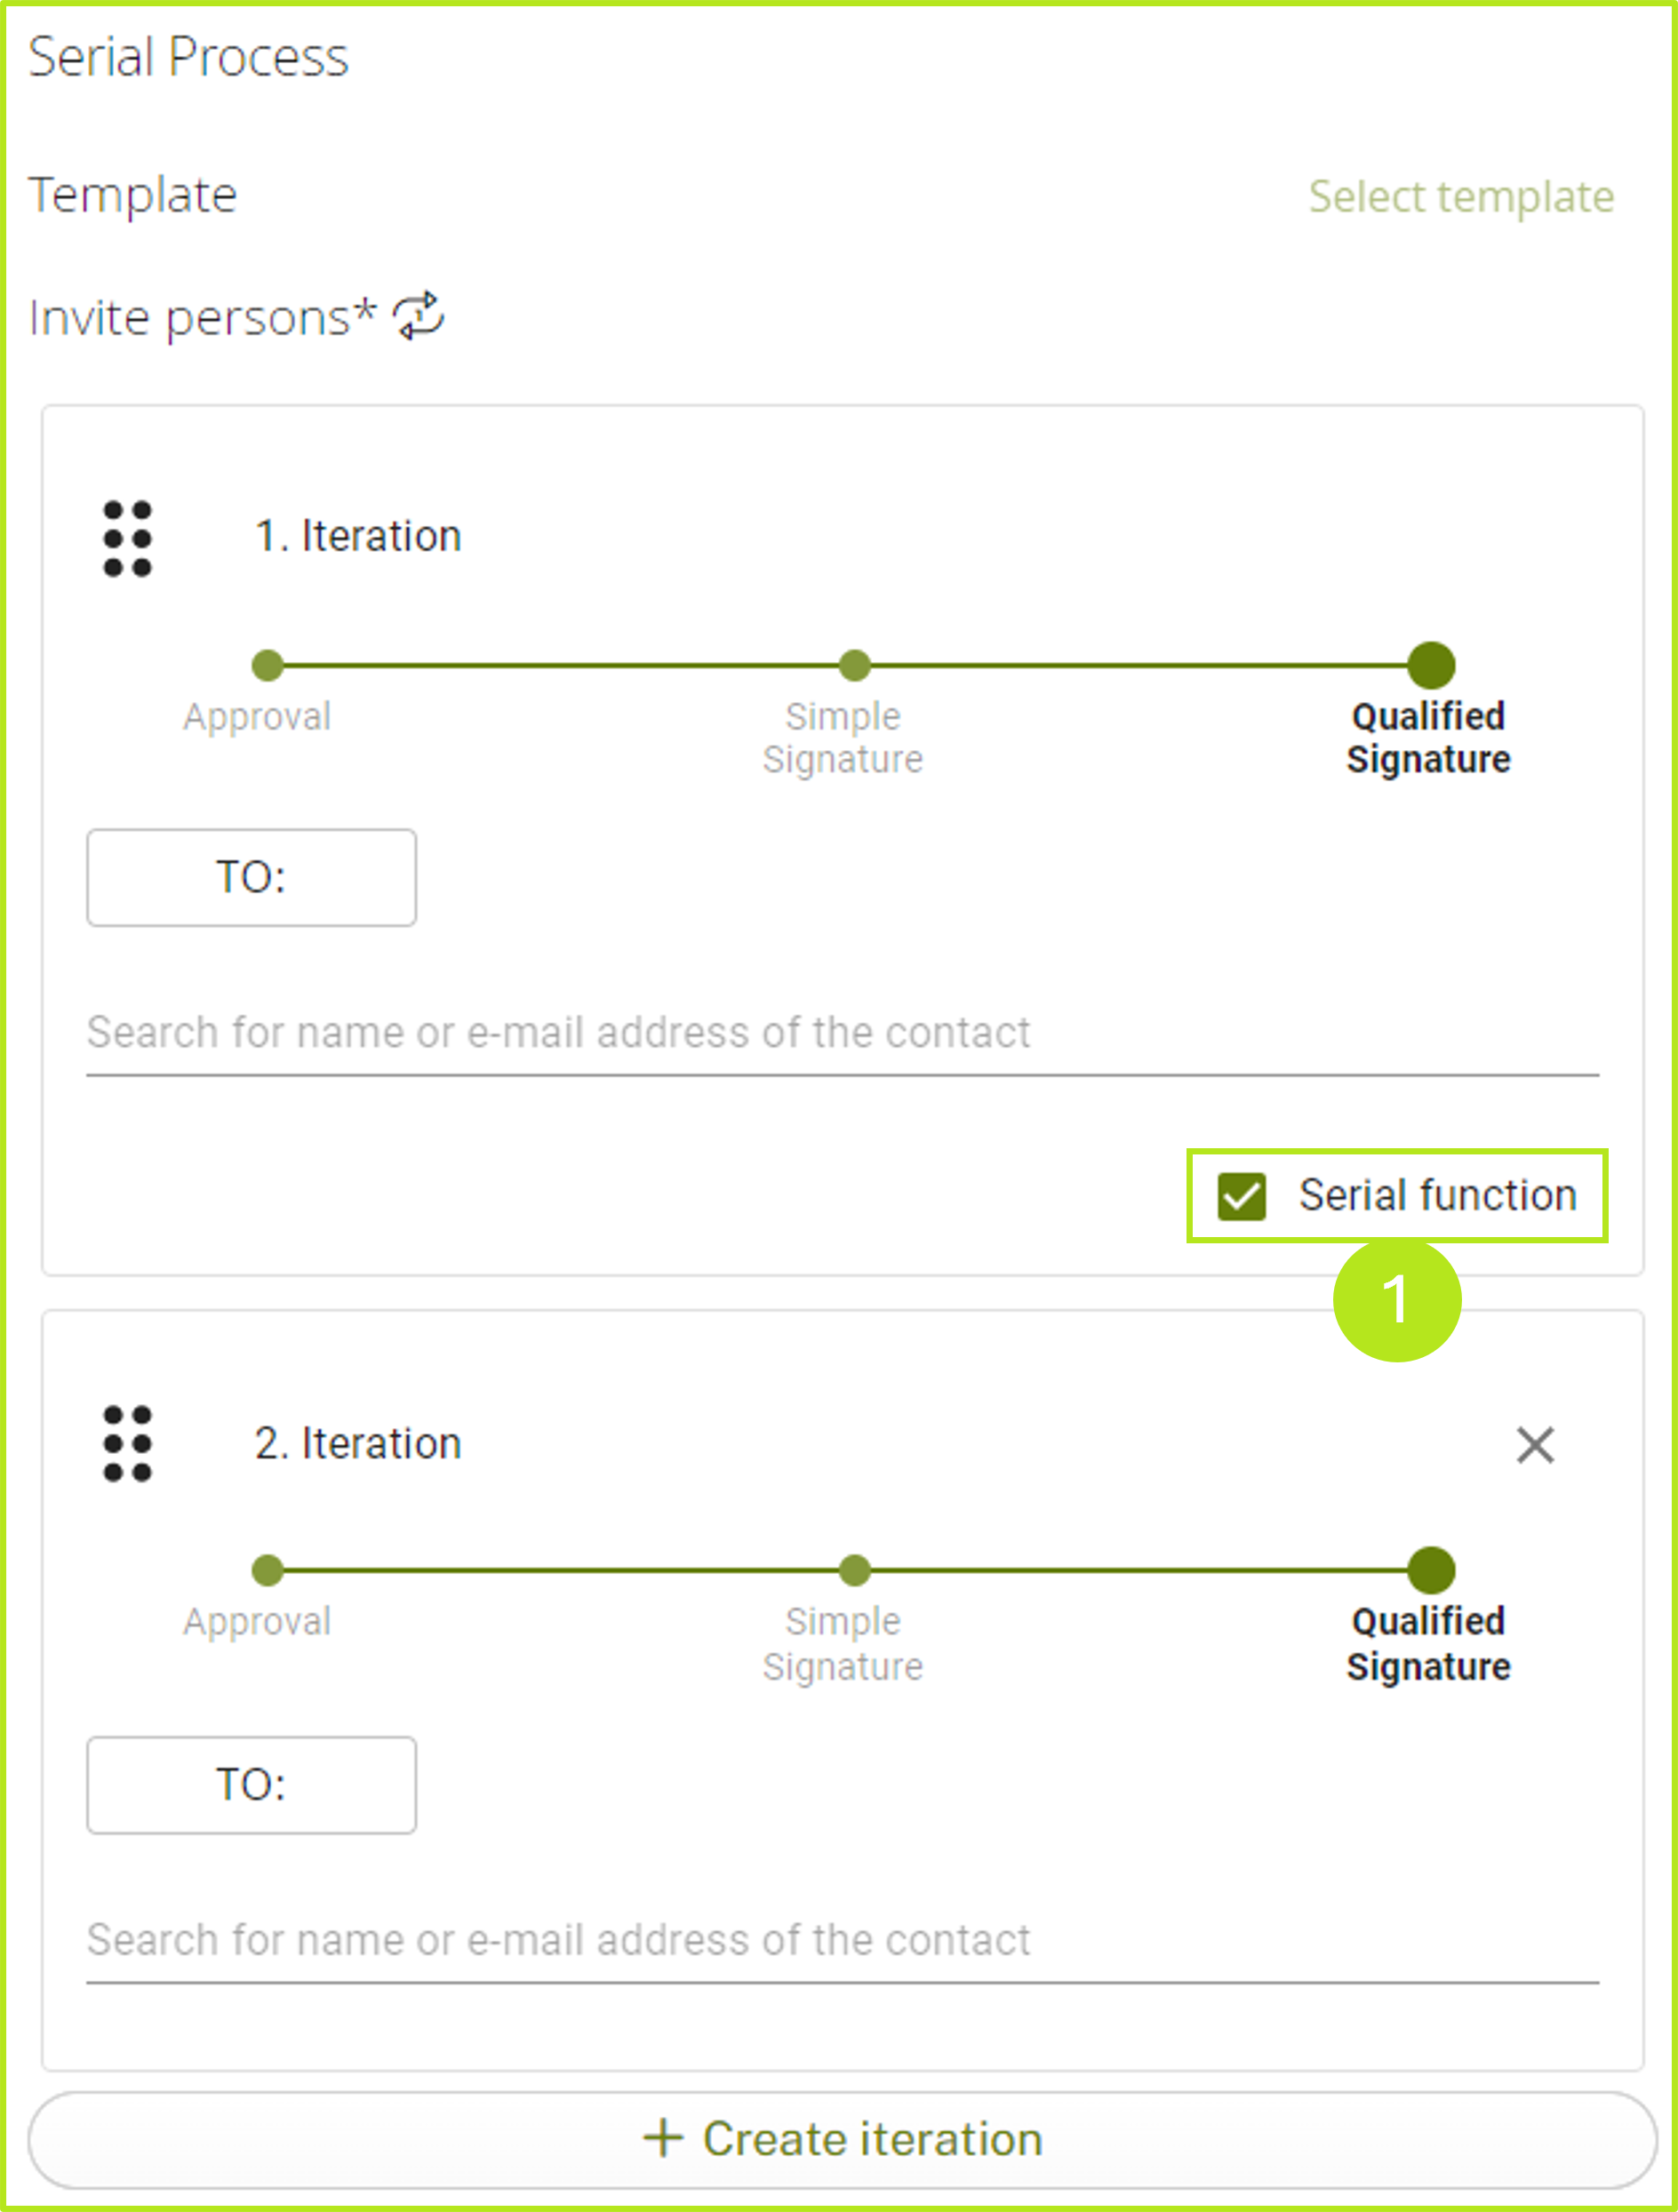
Figure 2: Activating the serial function in MOXIS by ticking the ‘Serial function’ checkbox.
Step 3: Please now add the groups to the order with the serial function.
XiTip
Only groups can be added to an order with a mail merge function. The corresponding groups can either be created by your administrators and stored in the process configuration or you can create them yourself. The latter only applies to external contacts. Groups can be added to orders with the mail merge function either via the address book or the search function.
Please note: the general groups moxisSigner and moxisApprover should not be used for jobs with the series function.
Step 4: Once the recipient group has been selected, you can add recipients to the (further) iteration levels as usual. The job can now be completed.
XiTip
Please note: Recipients of a selected group cannot be added to another decision level. However, you can exclude certain contacts from the selection by removing the tick in the group contact selection (see figure 3 [1] - once the tick is removed, the recipients can be added in a further iteration level). This is how the corresponding contact can be added in a further decision level (see figure 4).

Figure 3: Selecting recipients of a group in MOXIS and deselecting a recipient who is added in another decision level.
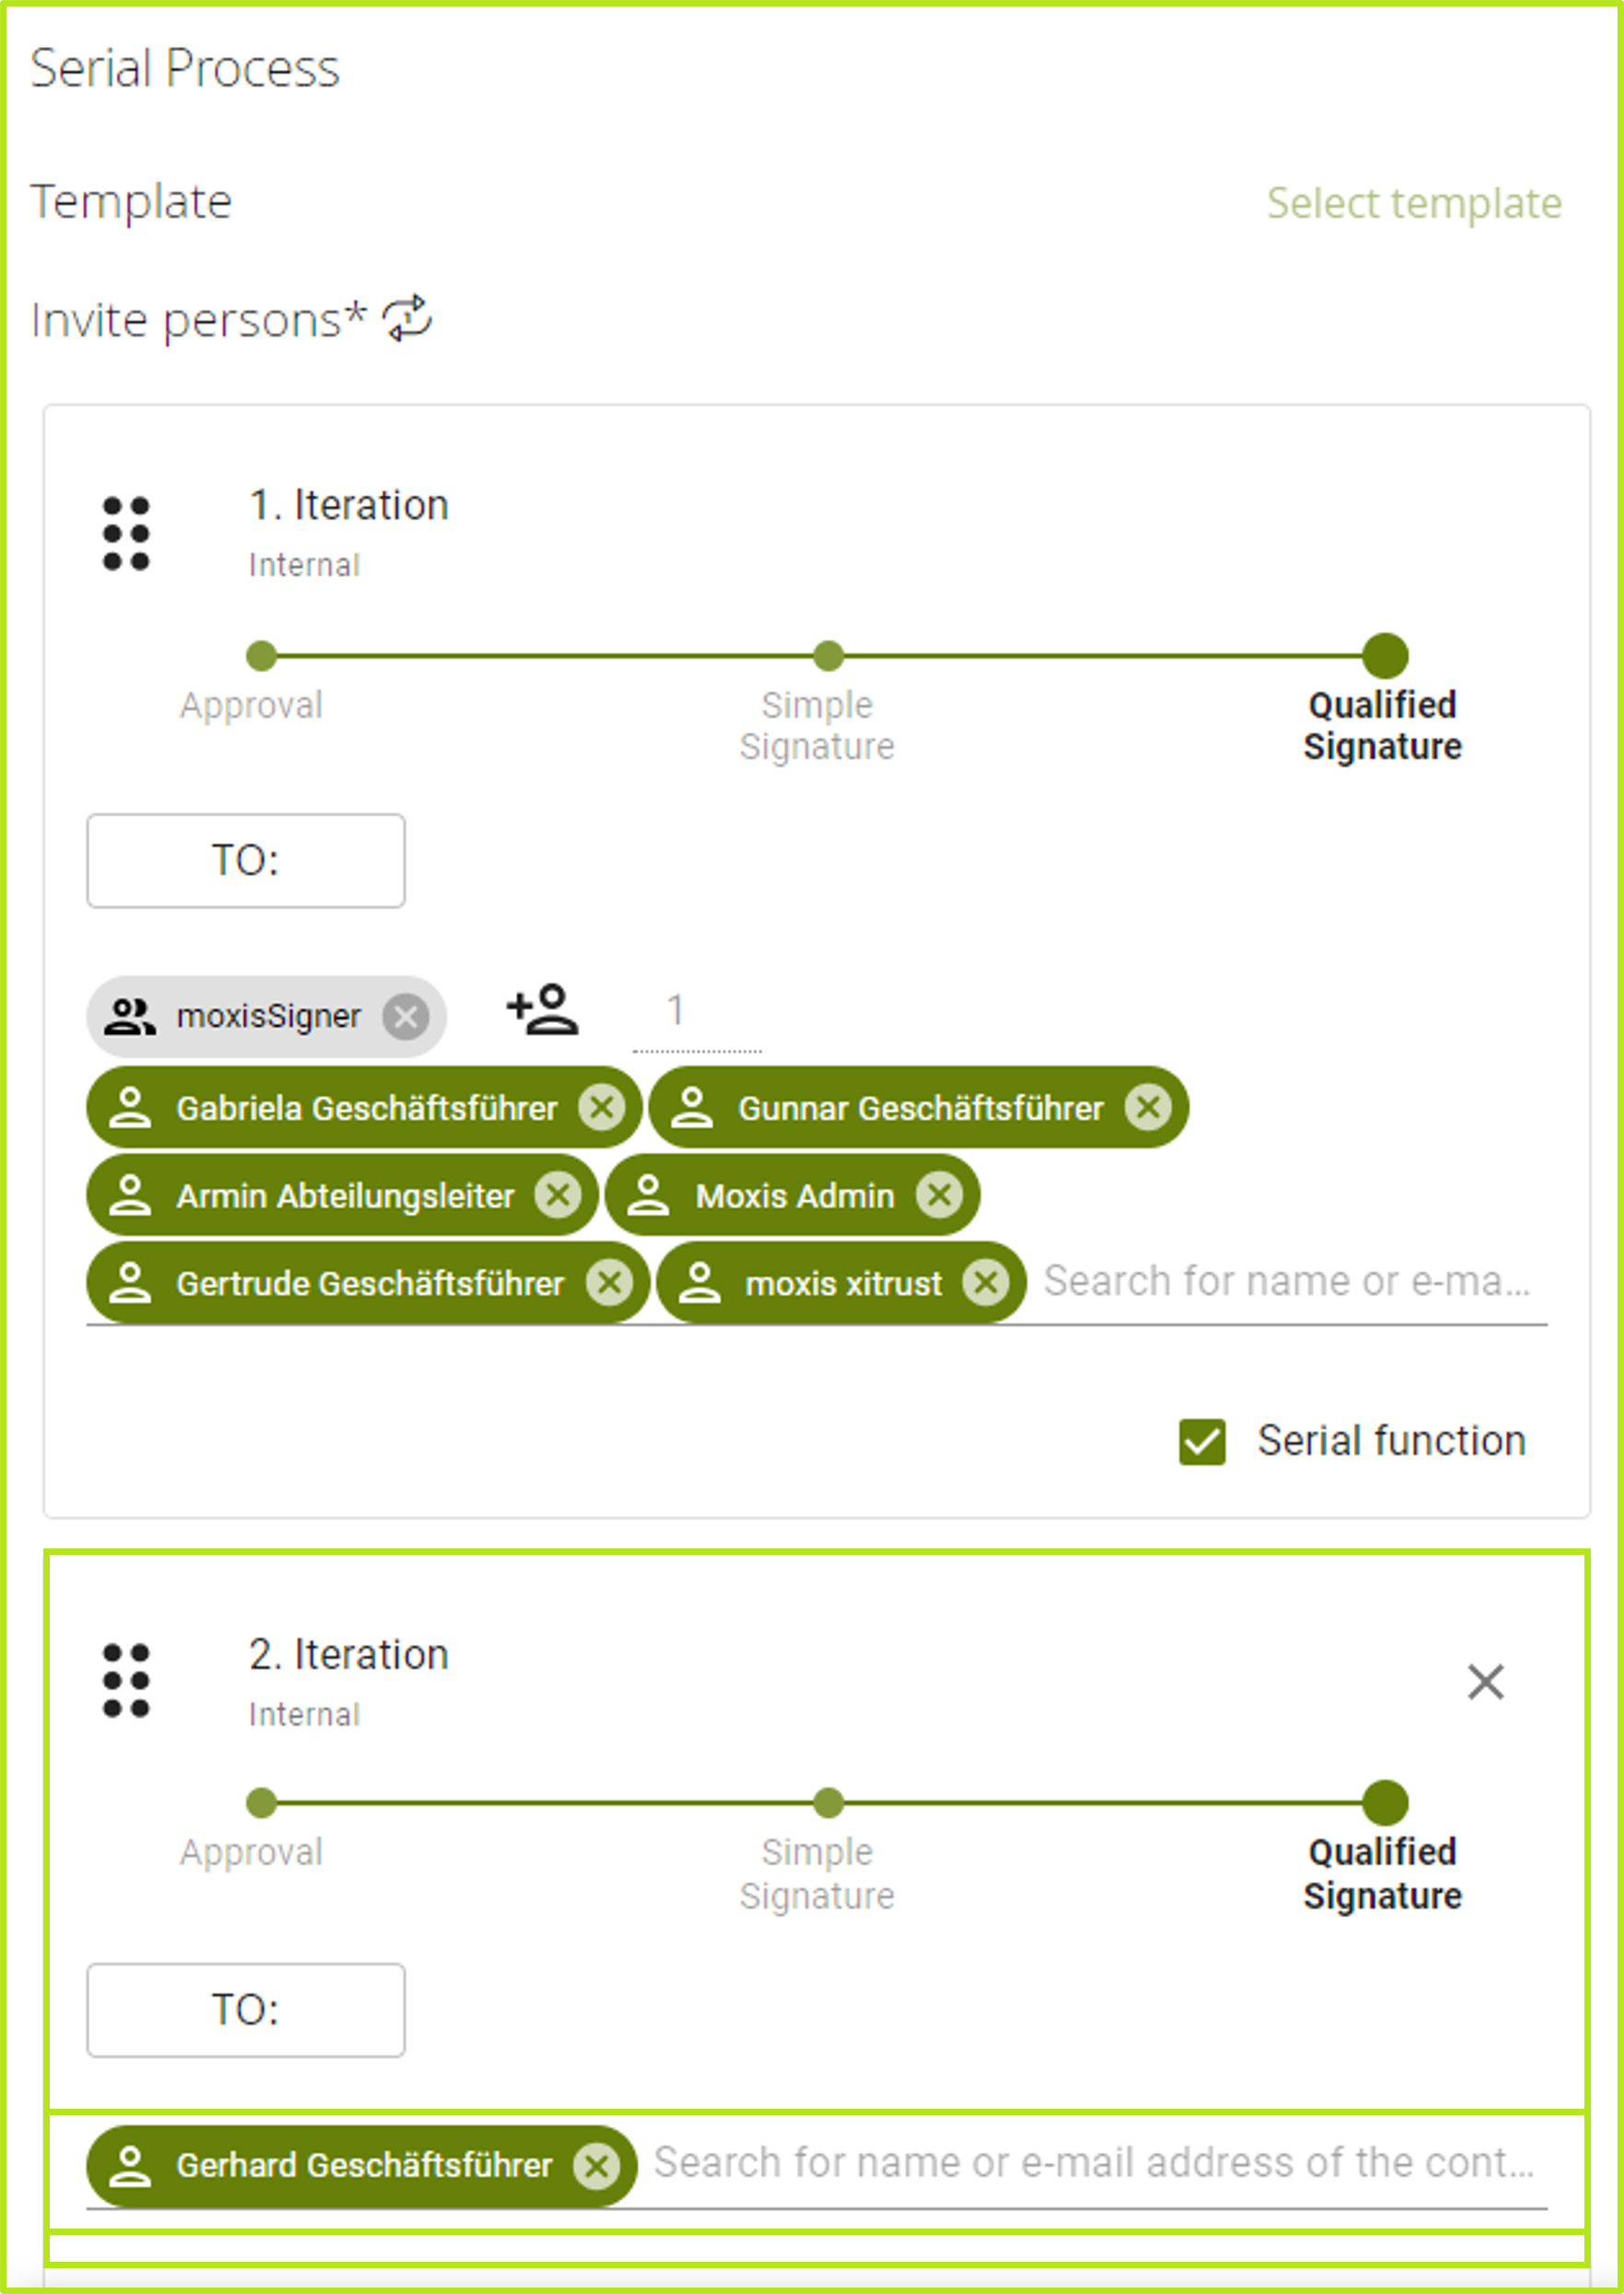
Figure 4: Adding a contact to a further iteration level after removing them from the group for the duration of this assignment.
Step 5: As soon as a visualisation type (here signature sheet, see figure 5 [1]) has been selected, you can send the job by clicking on the [Send job]-button
XiTip
The number of jobs from the iteration level with the series function that is sent can be seen in brackets in the [Send job]-button. In our example, there are 6 (see figure 5 [2])
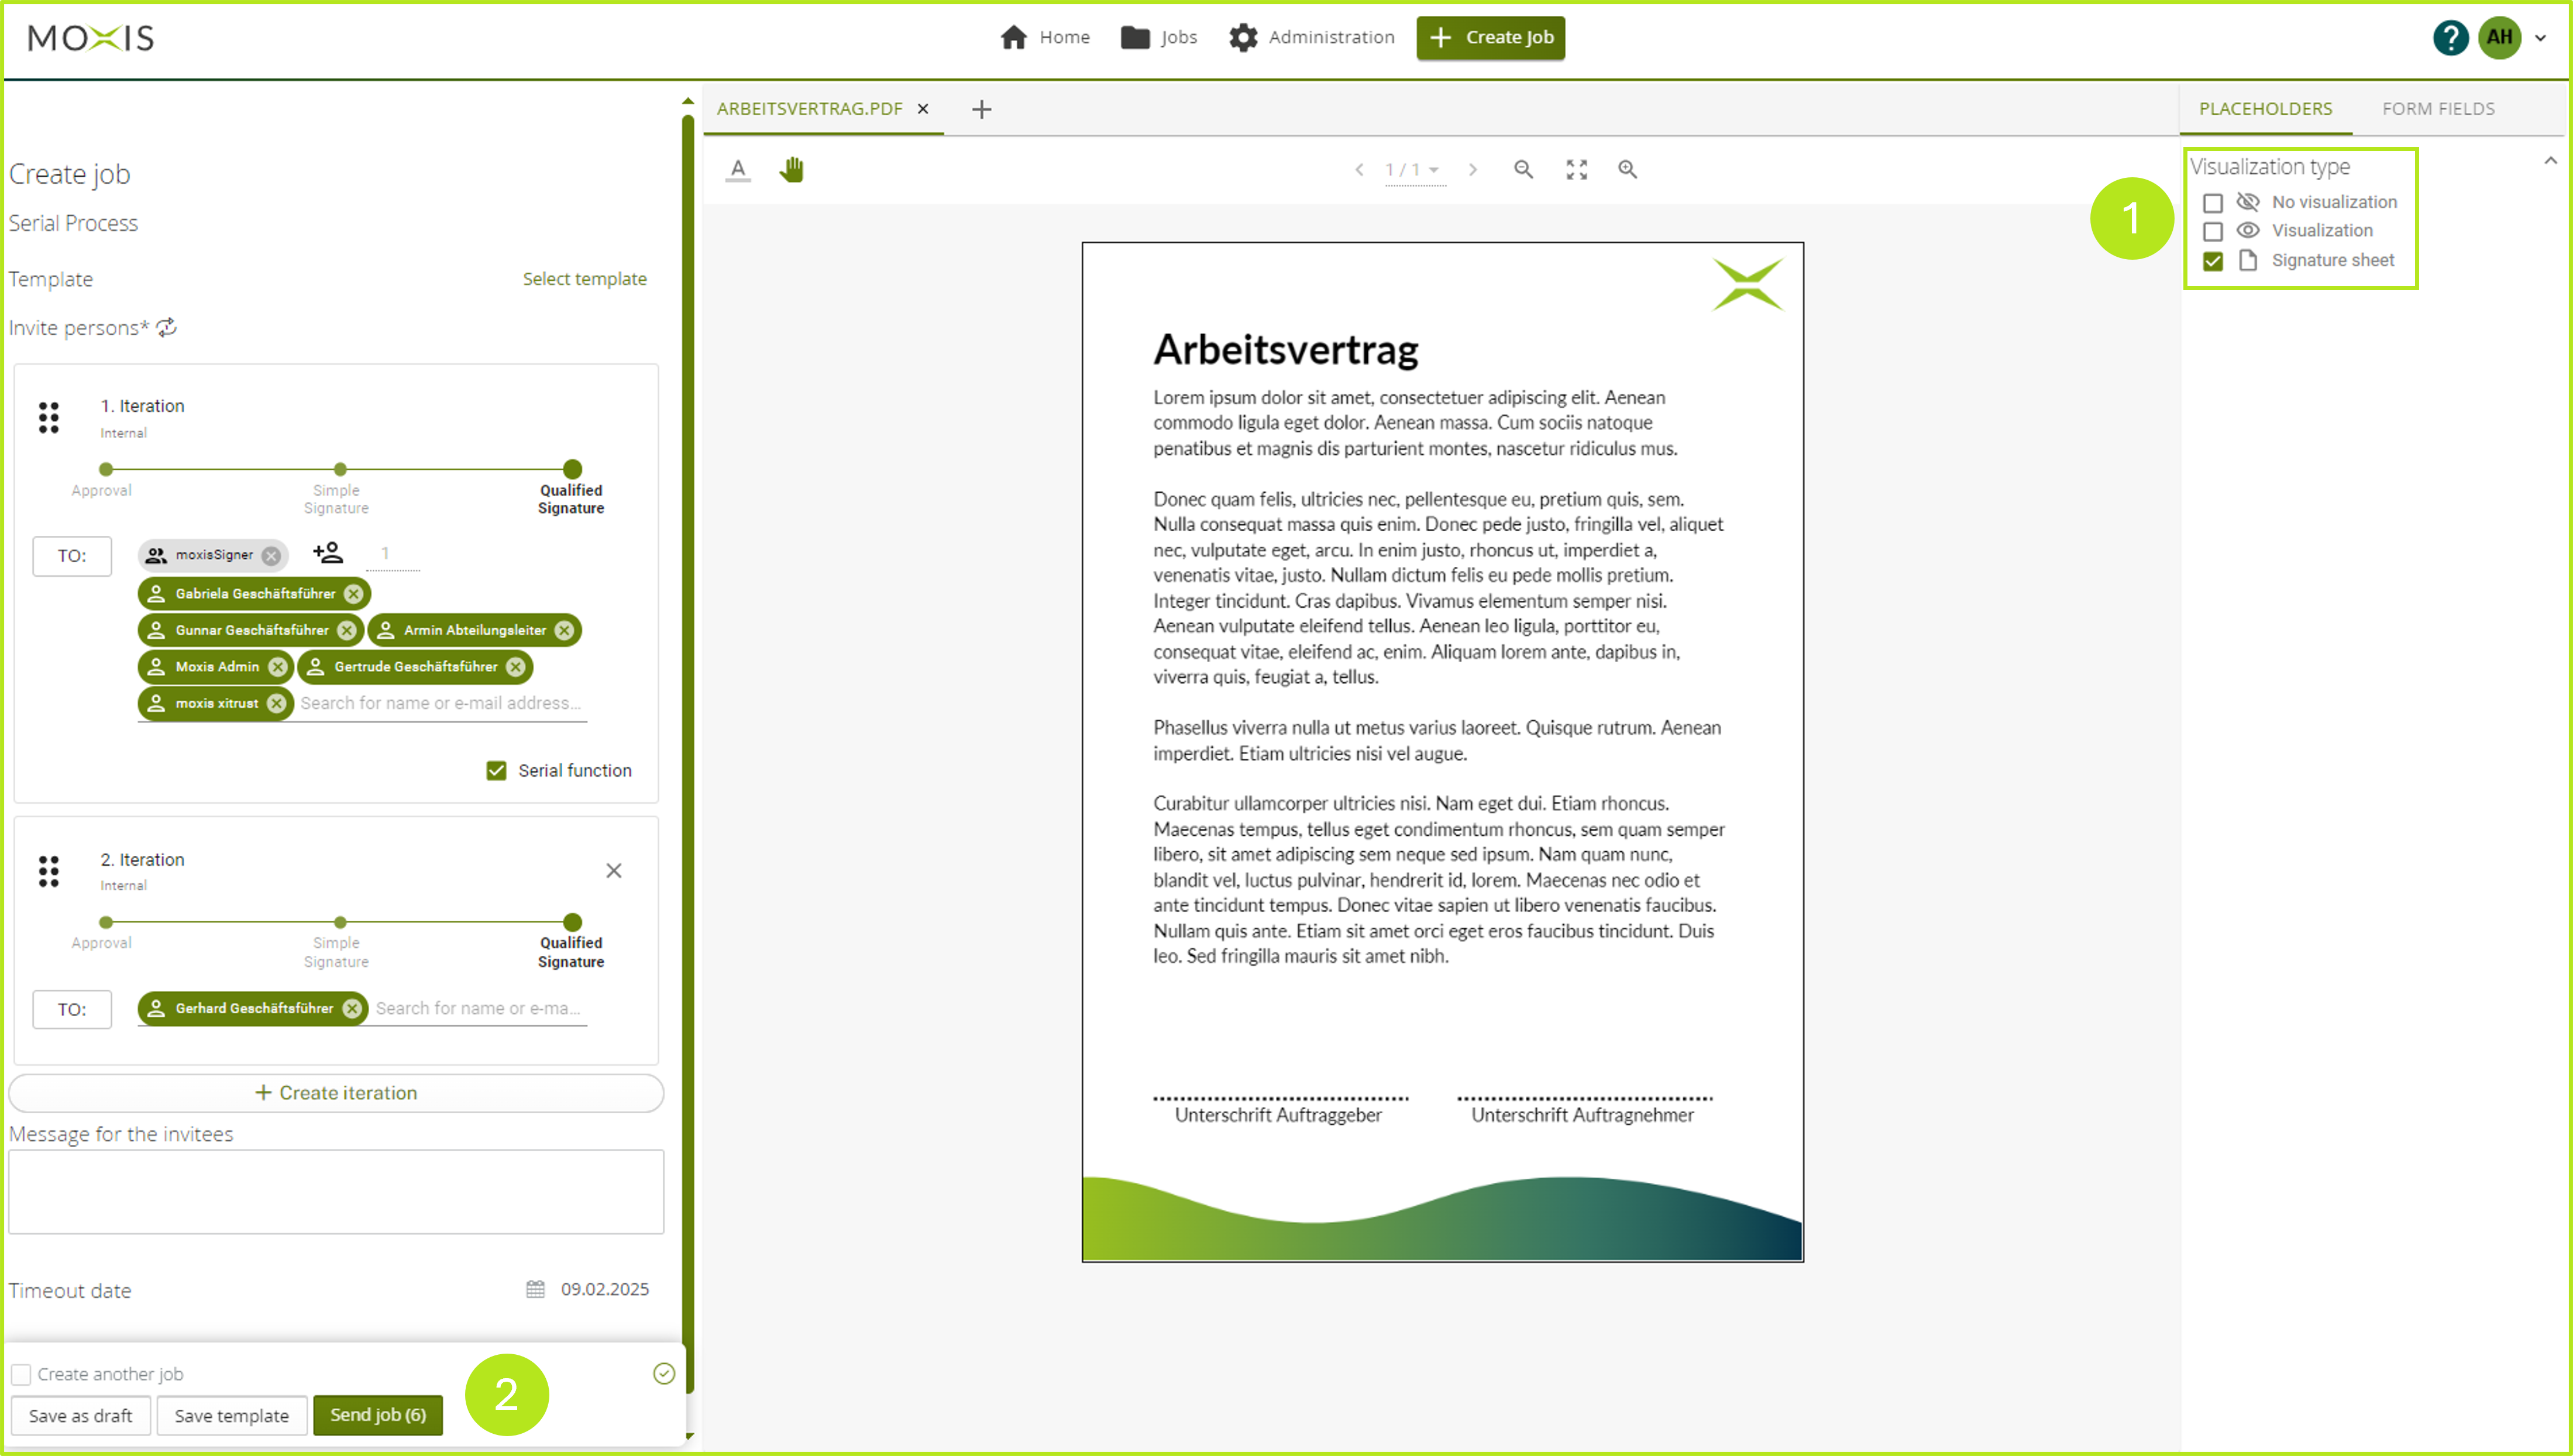
Figure 5: Sending a job with a series function and signature sheet by clicking on the [Send job]-button.