
[v4.50] Create jobs
Content
This article provides you with a step by step instruction on how to create jobs in MOXIS
1. Step by Step instruction to create jobs in MOXIS
Step 1: To create an order in MOXIS, click on the [+ Create job]-button in the MOXIS header bar (see figures 1 and 2). There are three different options available to you when creating a job.
XiTip
In MOXIS Business there are 3 selection options for jobs as standard. If you prefer a customised order process, we recommend a MOXIS Enterprise solution. If you have any questions about our products, please get in touch with your XiTrust contact person.
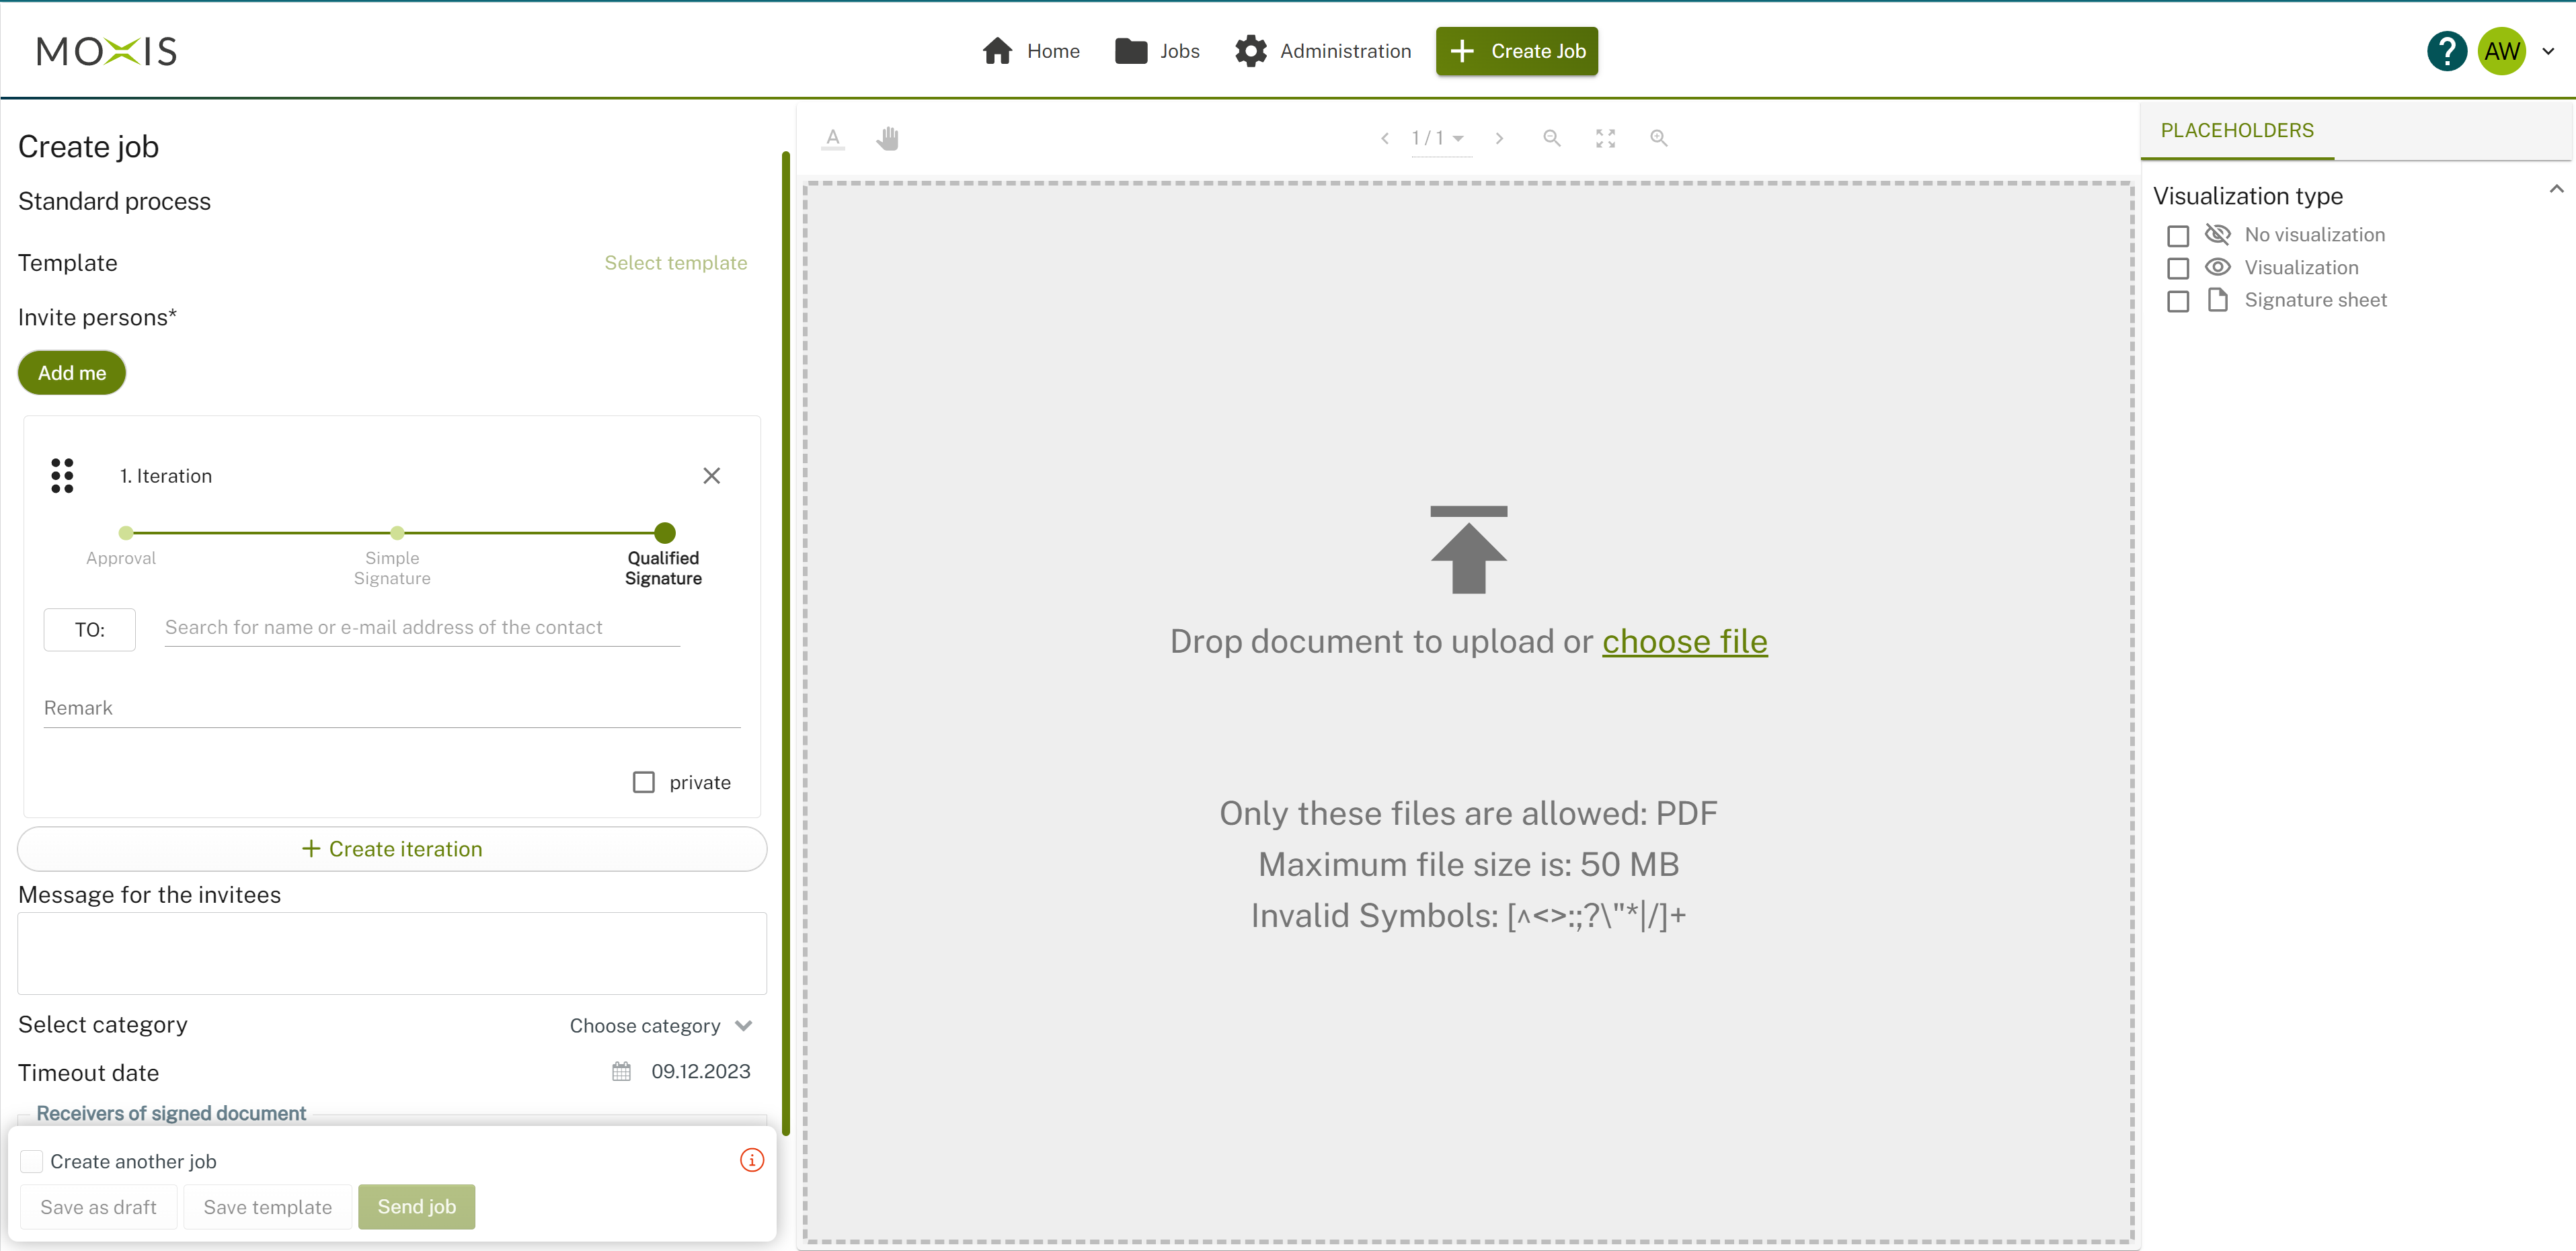
Figure 1: Overview standard process - create new job

Figure 2: [+Create Job]-button
Step 2: Upload a document. In the form on the left-hand side, you can create iteration levels (see figure 3) and fill in the required data for the job.
Step 3: Once you have uploaded a document, you can fill in additional fields (see figure 3). You can still change the signature qualities and the recipients at any time.

Figure 3: Edit job details
The following order data can/must* be entered:
Main document*: The PDF document that is to be signed or approved.
Attachments: Optionally, up to ten attachments can be uploaded as standard (see figure 4). Attachments serve as information for order recipients and are not signed in the case of a standard configuration. If the ‘PDF container option’ is configured for the signature process, the ‘complete package’ consisting of the main document and attachments is signed. In this case, the attachments are part of the main document. Depending on the configuration, attachments can be restricted to certain file types.
Template: If a template has been defined, one can be selected here.
Recipient*: The recipients of the order must be listed here. Depending on the configuration, the search can be carried out by first name, surname or email address. Both registered MOXIS users and external signatories (optional) can be invited. Click on the [TO]-button to open the address book and add recipients directly from it.
Order description: A description of the order can optionally be added.
Category: The order can optionally be assigned to a category.
Expiry date*: The expiry date defines how long all signatories and approvers involved in the order have time to finalise it.
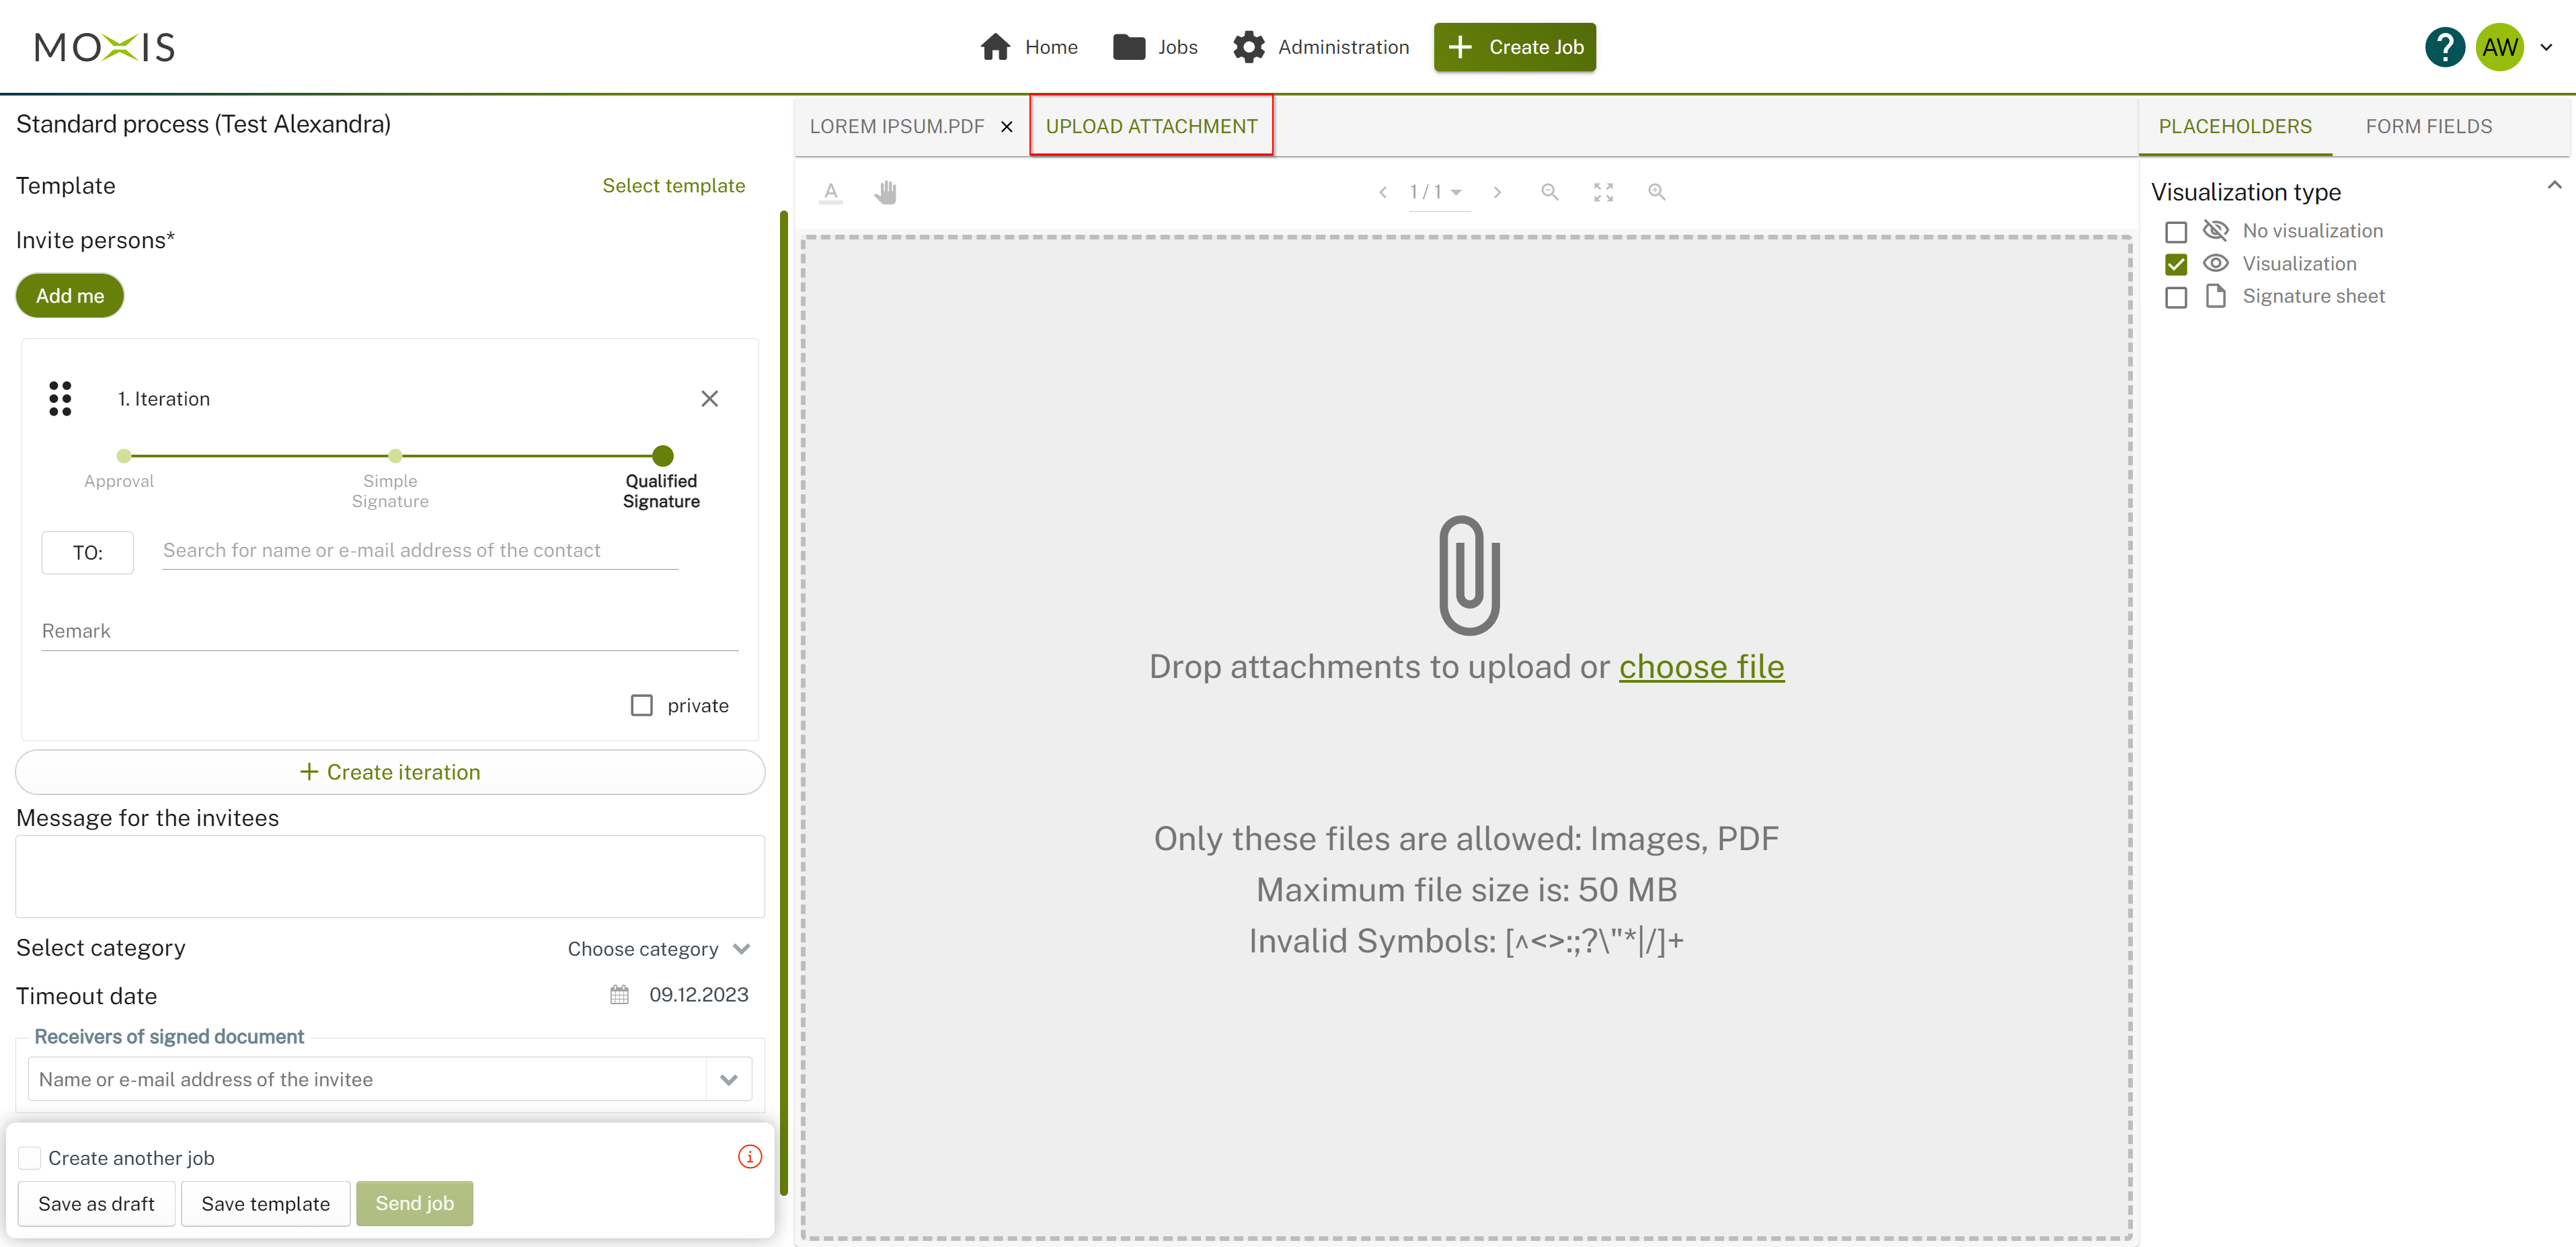
Figure 4: Upload of an attachment in MOXIS
XiTip
If you leave the order screen while creating an order and switch to another page (Home, Orders, etc.), a pop-up window will appear (see figure 5). It informs you that your changes have not been saved. Click on the [Stay on page]-button to continue working on the order. Click on the [Save draft]-button to save a draft and you will then be forwarded directly to the overview page. If you want to discard the draft, please click on the [Leave page]-button.
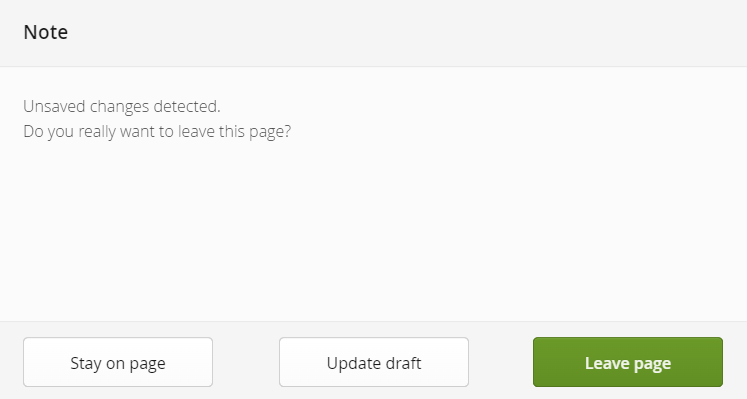
Figure 5: Notification concerning unsaved changes
Step 4: Finalise the order by clicking on the [Send job]-button. (see figure 4) However, you can also save the job as a draft or as a template by clicking on the corresponding [Save draft]- or [Save template]-button.
2. Behaviour of attachments in MOXIS
2.1. Pictures
If you add a photo as an attachment, a preview is displayed so that you can check whether you have selected the correct file. To do this, open the tab with the corresponding file name. Scroll bars make it easier for you to check large files (see figure 6).
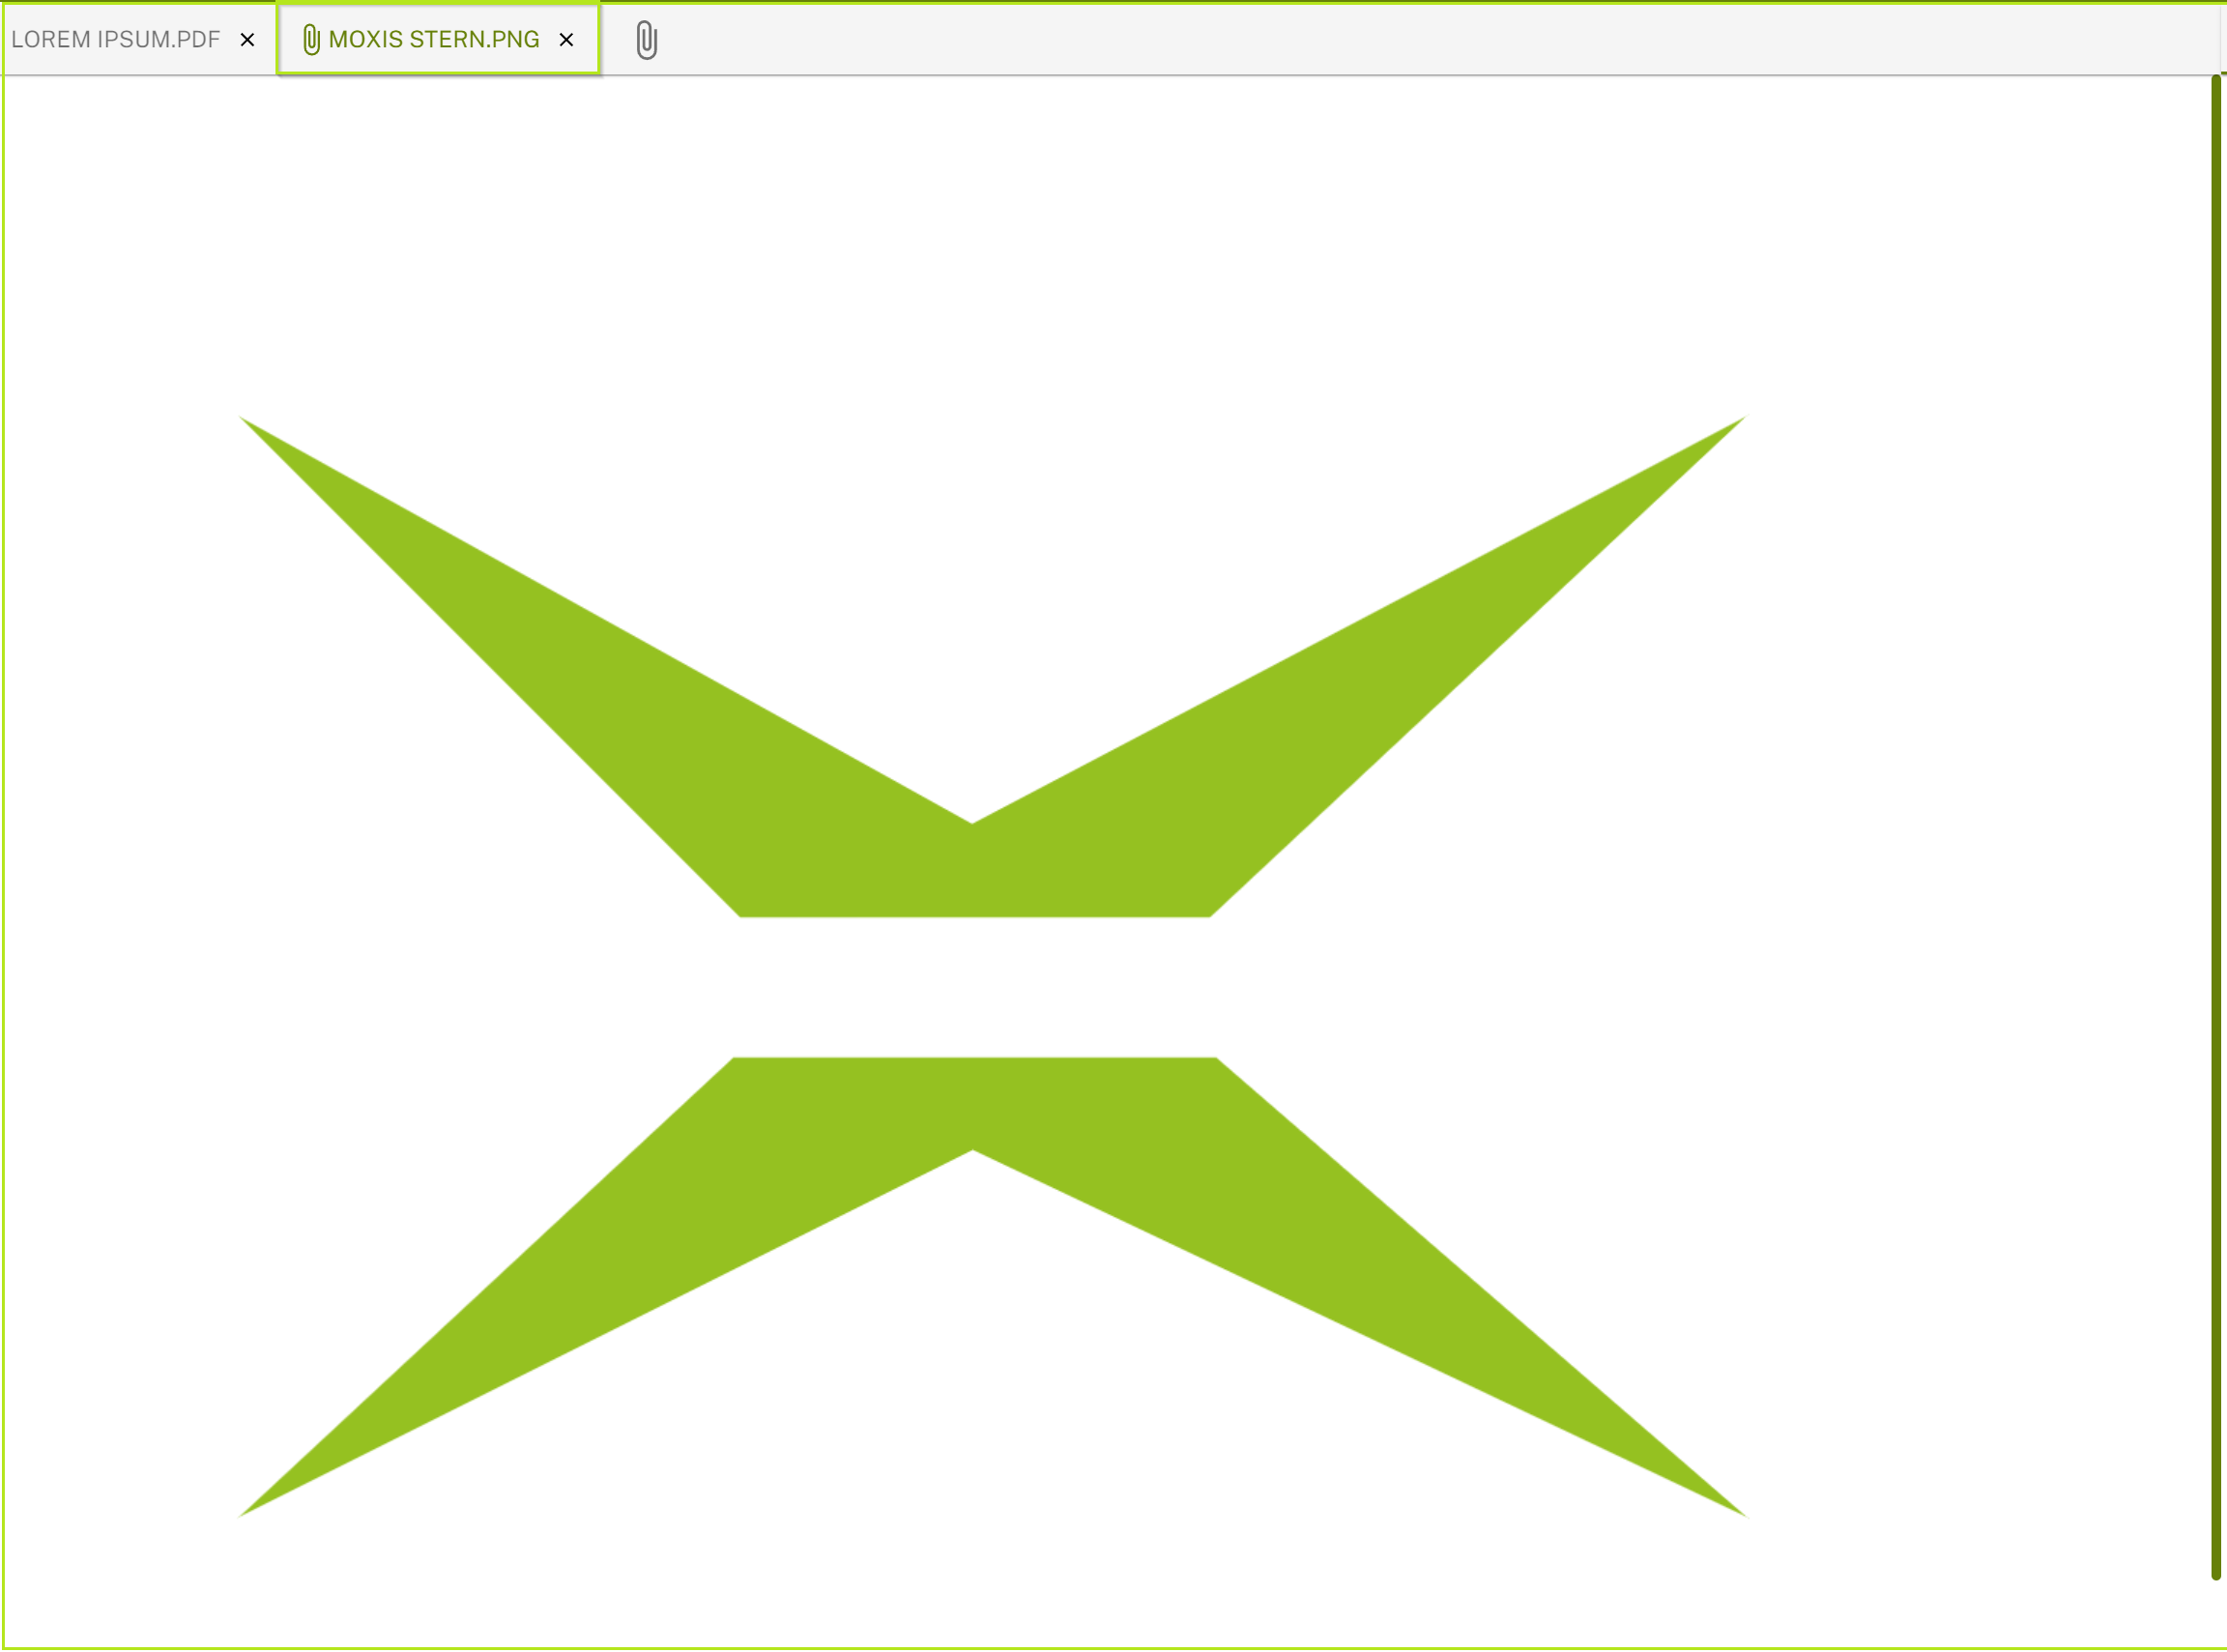
Figure 6: Large attachment with scroll bar on the right for checking
2.2. Data types
Please note that certain file types (e.g. txt) are not displayed in the preview. If the upload of such files was successful, this will be displayed accordingly (see figure 7).
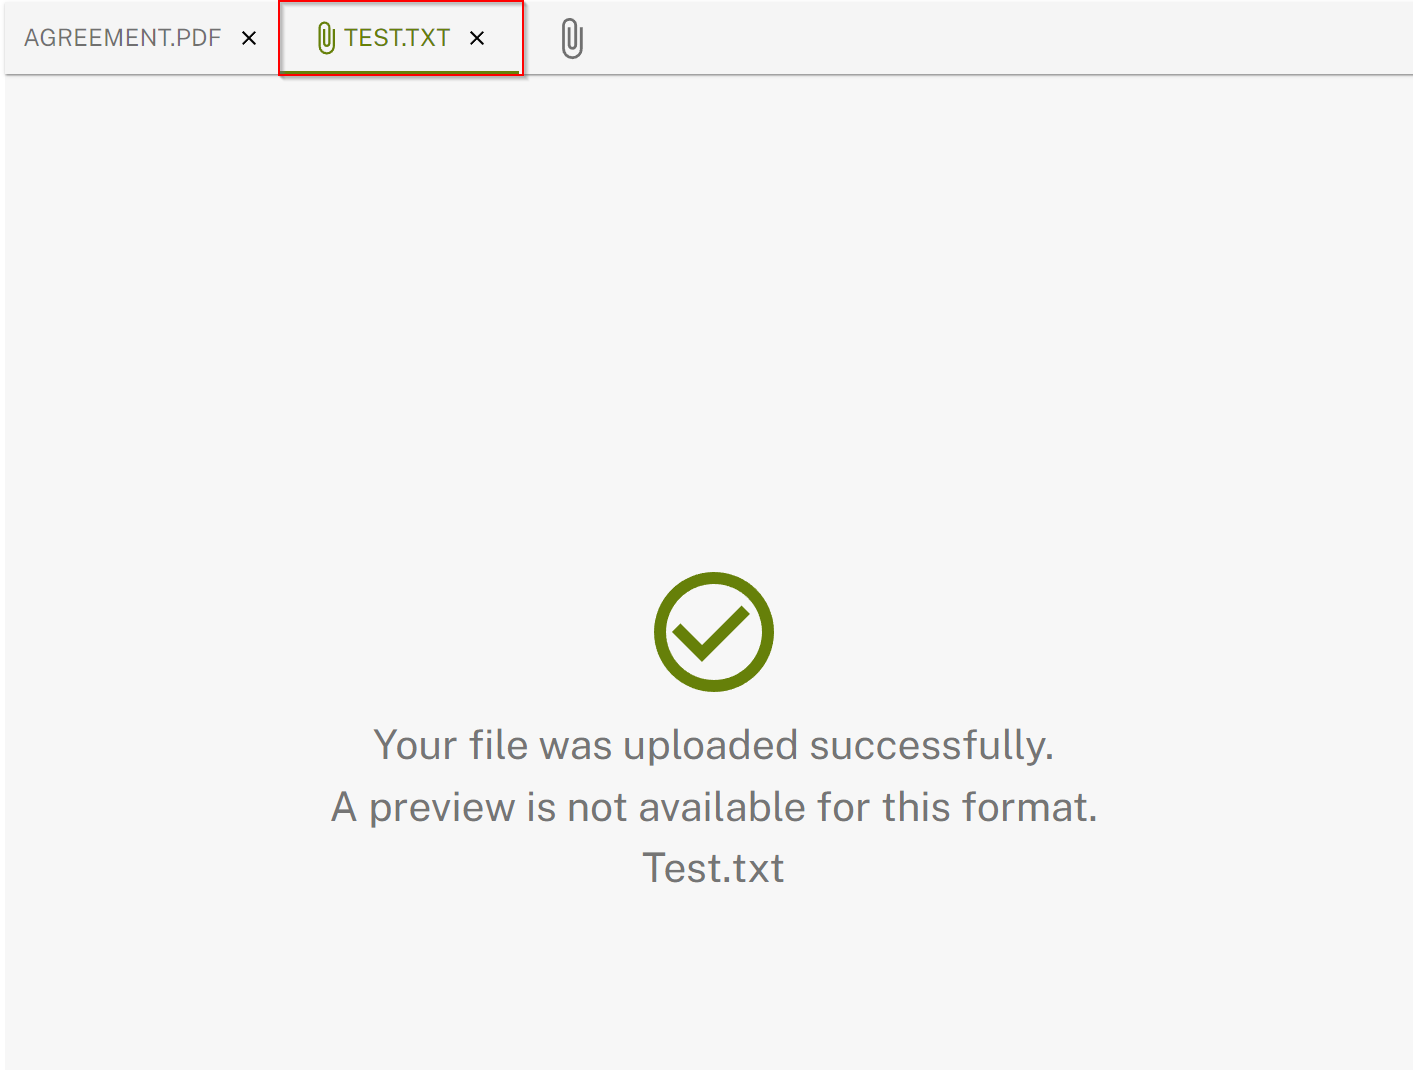
Figure 7: Preview not available (.txt-file)
2.3. Error messages for unauthorised file formats
If you upload a file whose format is not permitted or which exceeds the permitted file size, you will receive a corresponding error message (see figures 8 and 9).
XiTip
The permitted formats and file sizes are displayed in the order screen (see figure 4). They depend on the configuration of your MOXIS instance. This means that they can be customised by your administrator.

Figure 8: Error message for invalid file format

Figure 9: Error message if the maximum size is exceeded