
[Business & Now Cloud] External signature visualisation (jobs via API)
Optionally, it is possible to configure processes so that external signers can apply the signature visualisation in the designated place themselves. This is only possible for jobs that are sent via API.
If the process is configured in this way, the visualisation mode icon is displayed in the user interface for the external signers (see figure 1).
If a job requires one or more signature visualisations, external signers must apply them to complete the job.

Figure 1: Visualisation mode icon
If the external signers need help with the visualisation mode, they can click on the question mark icon (see figure 2) in the top right-hand corner and a pop-up opens.
The pop-up also opens when the external signers click on the SIGN button without having attached a visualisation.
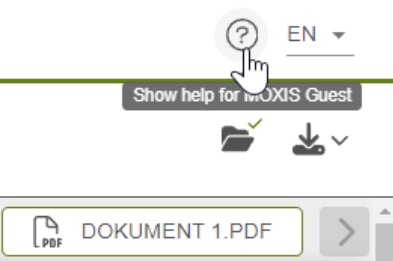
Figure 2: Show help for MOXIS Guest
The pop-up contains a FAQ tab (see figure 4), a short animation of the signature visualisation and instructions in text form (see figure 3). It is explained how to place and edit the signature visualisation. By clicking the PLACE VISUALISATION button, the pop-up is closed and the visualisation mode is automatically activated. The pop-up can be called up again at any time by clicking on the question mark icon.

Figure 3: Instructions for the signature visualisation

Figure 4: FAQ for MOXIS Guest
Users who do not need help can activate the visualisation mode directly via the icon (see figure 1).
When the visualisation mode is activated, the mouse pointer changes to a plus sign and the menu bar is adapted (see figure 5). The users need to scroll to the designated place in the document to place the signature visualisation there.

Figure 5: Adapted mouse pointer and menu bar
The signature visualisation is applied to the document by pressing and holding the left mouse button or by using the pen or fingers on mobile devices . To do this, a rectangle is drawn into the document (see figure 6).

Figure 6: Visualisation in the document
The size of the visualisation can be changed using the circle symbols. It is also possible to move the visualisation in the document as desired. To do this, click into the visualisation field, keep the left mouse button pressed and move it to the desired position (see figure 7).

Figure 7: Change size and position
A visualisation can be deleted with the DISCARD button or with the Delete key on the keyboard. Since this does not close the visualisation mode, the process can be repeated.
The visualisation mode can be closed with the QUIT button. In this case, however, the visualisation is not saved and a corresponding message is displayed (see figure 8)..png)
Figure 8: Notification that the visualisation has not been saved
If the job contains more than one document that requires a signature visualisation (see figure 10), the signature process cannot be completed without all visualisations being placed and saved. A pop-up informs the external signers of missing signature visualisations if they click the SIGN button prematurely (see figure 9).
In this case you have to open the visualisation mode again via the icon.

Figure 9: Missing signature visualisation pop-up

Figure 10: File menu
It is possible to apply the signature visualisations in several documents without leaving the visualisation mode. Switching between documents is possible via the arrow key of the document display (see figure 11).
Figure 11: Arrow key of the document display
Only one signature visualisation can be placed per document.
When the users have placed the visualisation(s) as desired, two options of saving are available:
The SAVE button is pressed. This saving method is used if the job is to be checked again before the signature (see figure 12).
The SIGN button is pressed. This method opens the signature menu with step-by-step instructions.
The visualisation can still be changed or removed after saving by pressing the visualisation mode icon again.
Figure 12: Notification that the visualisation has been saved
Attachments do not require signature visualisations.