
[v4.53] Swisscom signing process
Content
The Swisscom signature process is the final step in completing the digital signature. This article introduces you to the topic.
1. Requirements for the Swisscom signature process
With a Swisscom signature, you can sign in accordance with the ZertES and the eIDAS. While the eIDAS regulation governs digital signatures under EU law, the ZertES regulation sets out the legal framework for digital signatures, their use and offering and the associated rights and obligations for Switzerland.
XiTip
Please note: A digital identity in Switzerland and downloading the Mobile ID app are required for a successful digital signature with Swisscom.
The starting point for applying signatures is always the qualified signatures folder (see figure 1) in your order overview. Here you have the option of signing in batches or applying signatures individually. You can also choose the legal basis for signing:
In the eIDAS tab, you can sign with Swisscom in accordance with the eIDAS Regulation.
In the ZertES tab, you can sign with Swisscom in accordance with the ZertES Regulation.
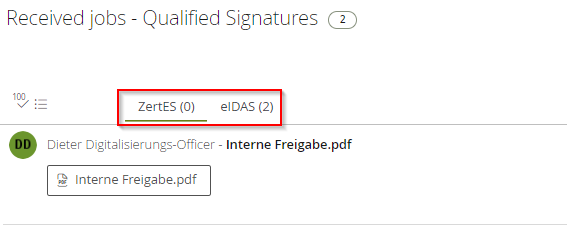
Figure 1: Qualified signature folder with overview of eIDAS and ZertES jobs
XiTip
Jobs in the eIDAS tab can be signed either with ID-Austria (A-Trust) or with Swisscom. Therefore, both options are displayed here. Please ensure that you select the [Sign with Swisscom EU]-button for jobs that you wish to sign with Swisscom. To do this, please use the arrow symbol next to the button (see figure 2).
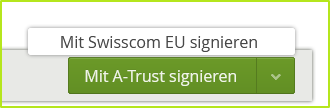
Figure 2: Signing with Swisscom or A-Trust mobile phone signatures in compliance with eIDAS
You will find out what happens next in the next chapter.
2. The Swisscom signing process
There are currently two ways to execute a signature via Swisscom:
via the Mobile ID app
via SMS TAN confirmation
2.1. Step-by-step instructions: the Swisscom signature process with SMS TAN confirmation
These instructions will guide you through the process of signing via Swisscom using SMS TAN confirmation.
2.1.1. Step 1: Please enter the signature password (see Figure 3).
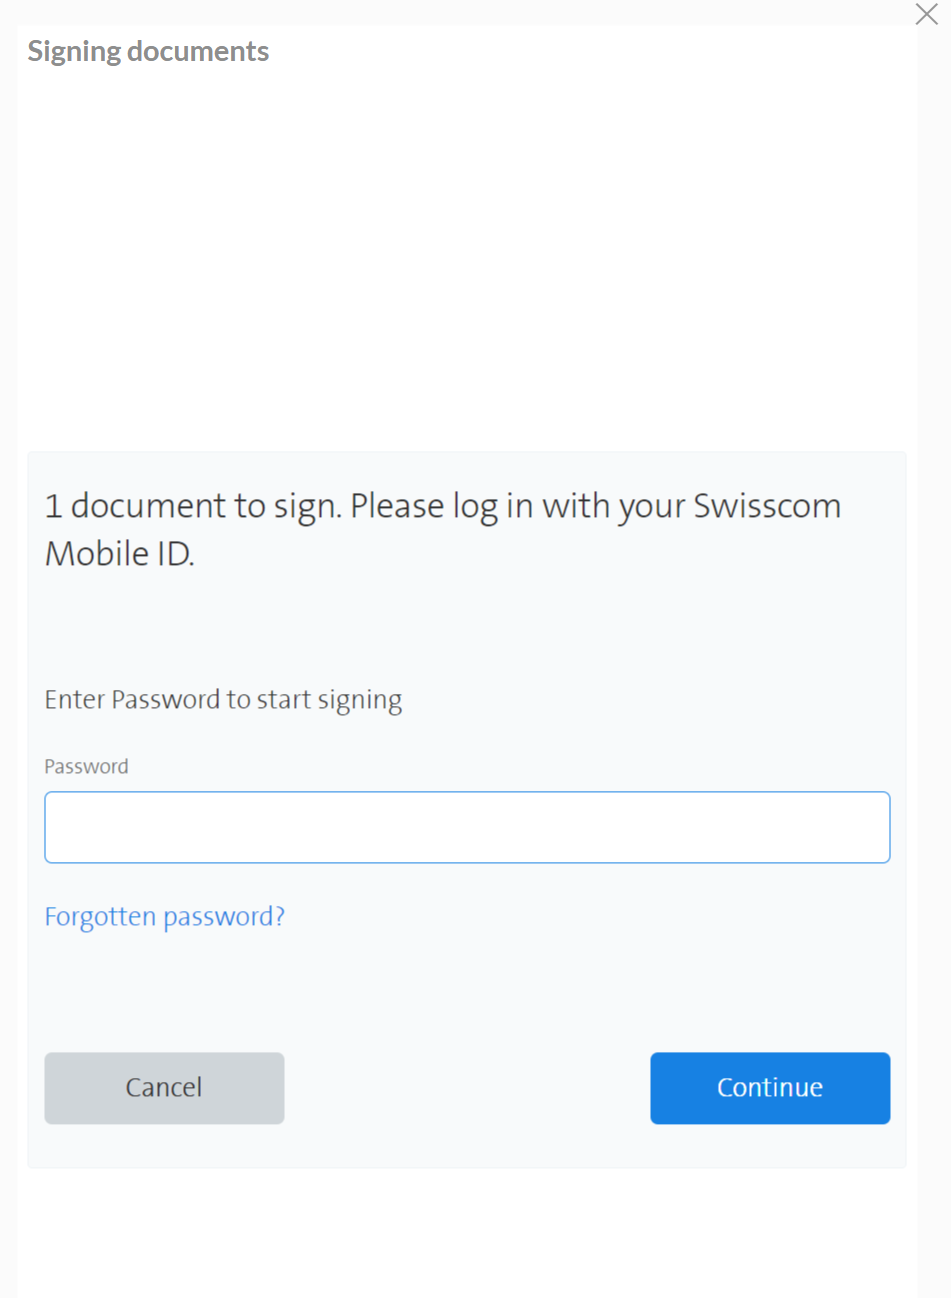
Figure 3: Enter signature into MOXIS
2.1.2. Step 2: Enter the code
You will receive a code via text message. Please enter this code in the code field and click on the [Complete signing]-button (see figure 4).
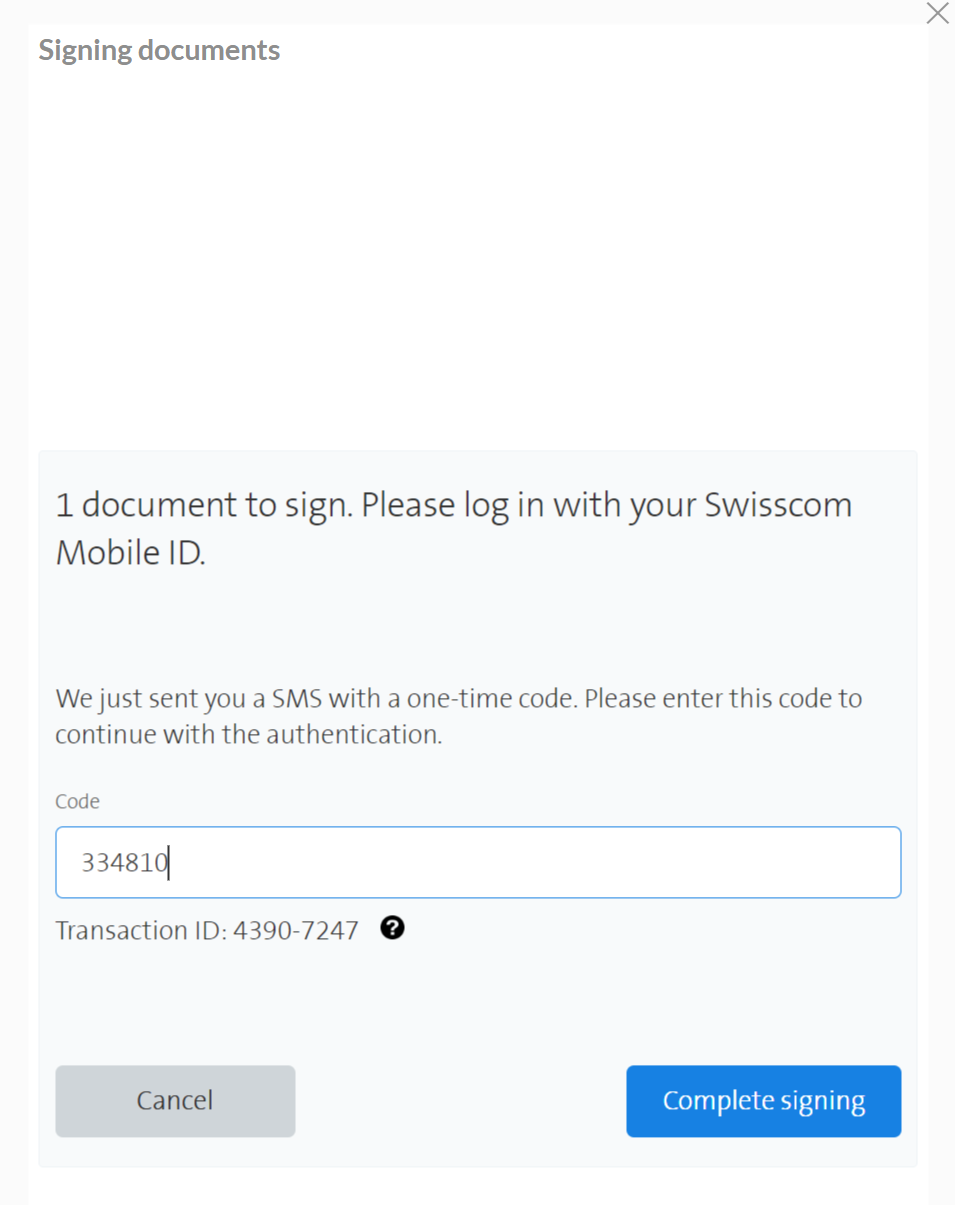
Figure 4: Enter the Swisscom SMS Code
2.1.3. Step 3: The document is signed now
After entering the SMS code, the selected document or documents will be signed.
2.2 The Swisscom signature process via the Mobile ID app
Alternatively, you can also use the Mobile ID app and sign using your fingerprint or Face ID (depending on your smartphone's features).
When you start the signature process via the Mobile ID app, a window with three dots appears on the screen (see figure 5). This indicates that documents are ready to be signed in the app. Please open the app and sign the orders using your fingerprint or Face ID (depending on the functionality of your mobile phone).
Figure 5: Sign documents with the Mobile ID App
Please note: Signed jobs are stored in the completed jobs folder, as with the A-Trust signature process. You will also receive an email containing all relevant data.