
[v4.52] Creating templates in MOXIS 4.52
Content
If you have to create a lot of similar jobs for signature, it makes sense to work with templates. This saves precious time. This article explains how to create a template.
1. General
Templates are only displayed in the process in which they were created and can now be used to create further jobs. The following data is stored in a template:
Iterations (including signature quality and recipient)
Signature position (position and size of the placeholder)
Job description
Category
Expiration date
Please note: The template can be applied to any document. Therefore, the desired document must be uploaded before applying the template. This is because the document itself is not saved when a template is created.
XiTipp
As of MOXIS 4.52, existing templates can be accessed and edited directly from the menu via the ‘Templates’ tab. However, it is still possible to access templates via the personal settings. Please note: This requires a special configuration of your instance that must be carried out during the set up. For further questions, please contact your XiTrust contact.
You have two options for creating templates: you can either create them during the job creation (see below guide) or generate a template from an existing job.
2. Step-by-step guide to creating a template in MOXIS 4.52
Step 1: To create a template when placing a job, start with the creation of a job as described here and upload a document (see figure 1 [2]). Next, only fill in the fields that will be similar in all your templates (see figure 1 [1]). It is not necessary to fill in all the blank fields. As soon as you have filled in all necessary fields, click on the [Save template]-button (see figure 1 [3]) to save your template.

Step 2: Name the template in the following dialogue box and then click on the [Save template]-button again (see figure 2).
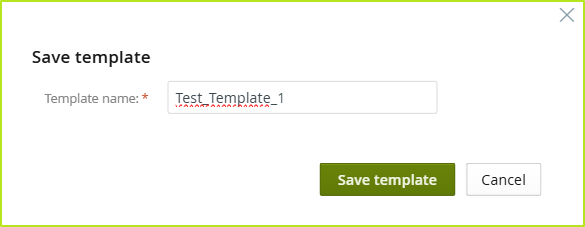
Figure 2: Saving a template in MOXIS
Step 3: The template is now saved in the template management section of the settings and can be accessed at any time or customised by clicking on the edit icons (see figure 3).
You can also view details here by clicking on the i in the ‘Details’ column (see figure 3 [1]). Or you can edit any template using the icons in the ‘Actions’ column (see figure 3 [2]). To do this, simply click on the respective icon.
From left to right (see figure 3), you have the following editing options:

Apply template

Edit template

Share template![]()
Delete template

Figure 3: Manage (own) templates
2. Creating templates from a existing job
To convert a existing job into a template, simply open the detailed view of the job and click on Create template (see figure 4 [1]). As described in the last chapter, you will then be asked to name and save the template.

Figure 4: Generating a template from an existing job in the MOXIS detail view