
Office to MOXIS öffnen und erste Schritte
Inhalt
Nachdem Sie die Installation erfolgreich hinter sich gebracht haben, wird es Zeit, Office To MOXIS auszuprobieren und die Funktionalitäten zu erkunden. Dieser Artikel führt Sie näher an das Thema heran.
1. Office To MOXIS öffnen
Bei allen Programmen, für die das Office To MOXIS Add-in aktiviert wurde, wird in der Bearbeitungsleiste der Reiter MOXIS (siehe Abbildung 1 [1]) angezeigt. Wenn Sie darauf klicken, wird Ihnen der [Öffne Office To MOXIS]-Button (siehe Abbildung 1 [2]) angezeigt. Mit einem Klick darauf öffnen Sie die Office To MOXIS Anwendung.
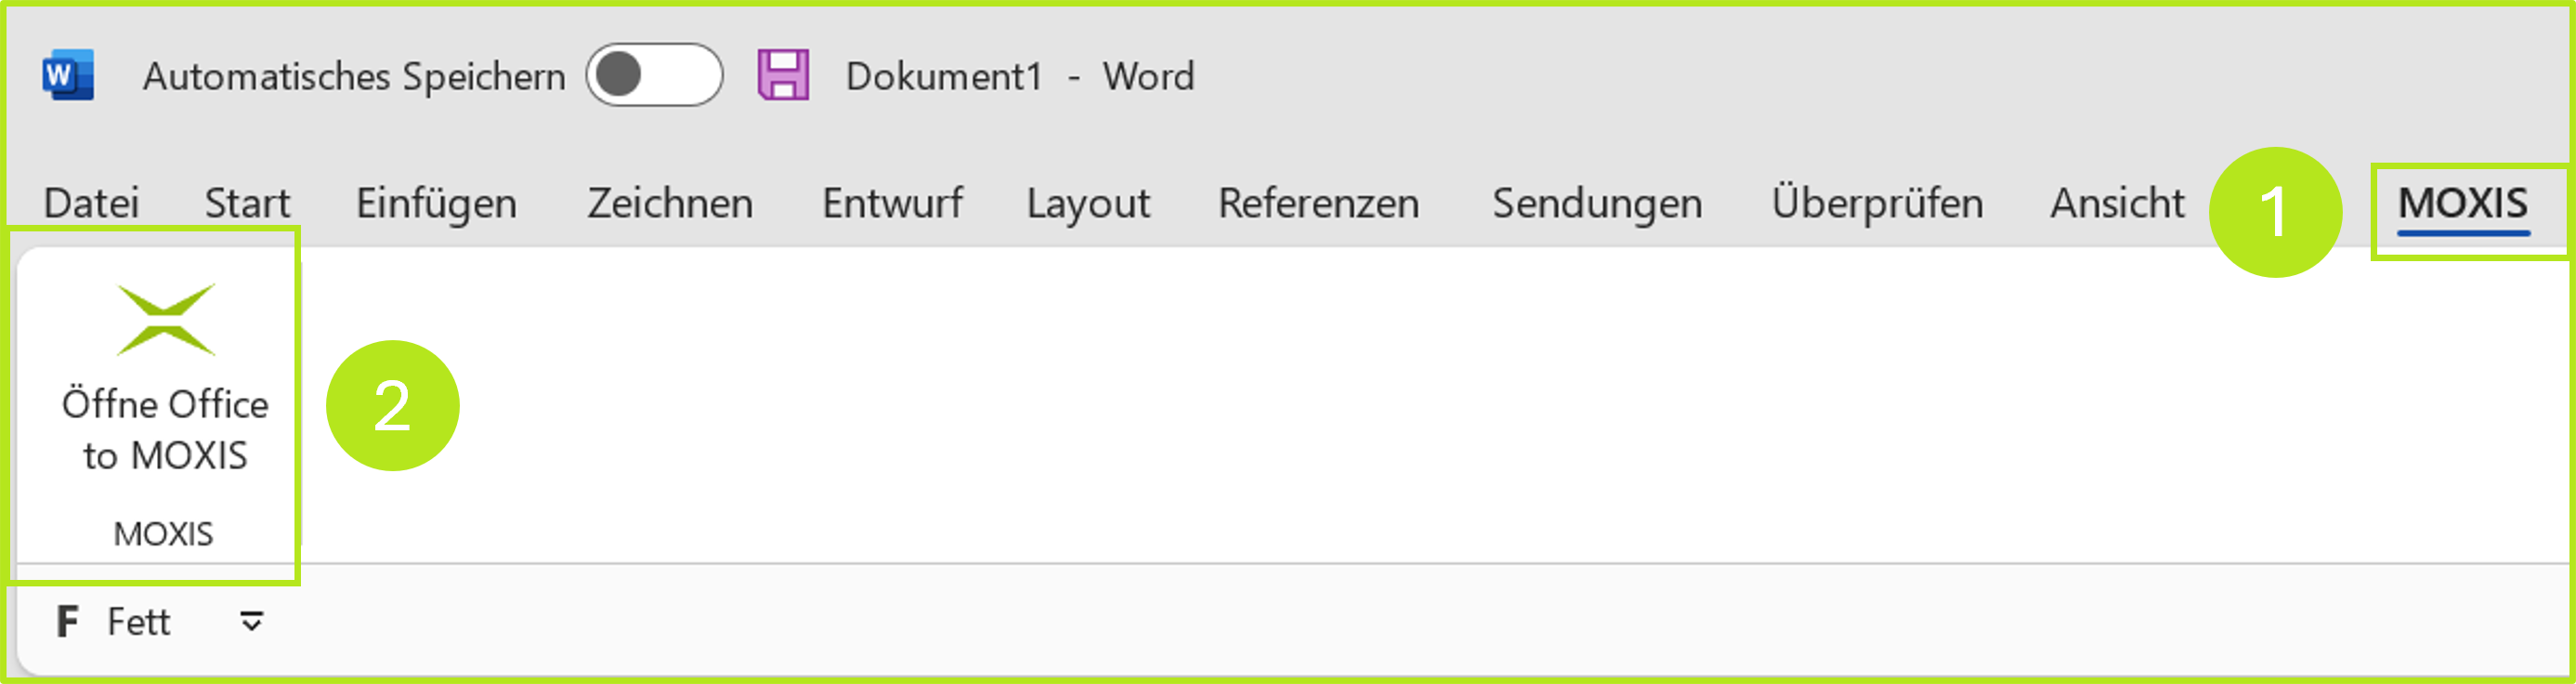
Abbildung 1: Öffnen des MOXIS Add-Ins
Das Add-in enthält Instruktionen zur Bedienung. Diese stehen in Deutsch und Englisch zur Verfügung. Die Sprache kann über das Sprachmenü am rechten oberen Rand geändert werden (siehe Abbildung 2).
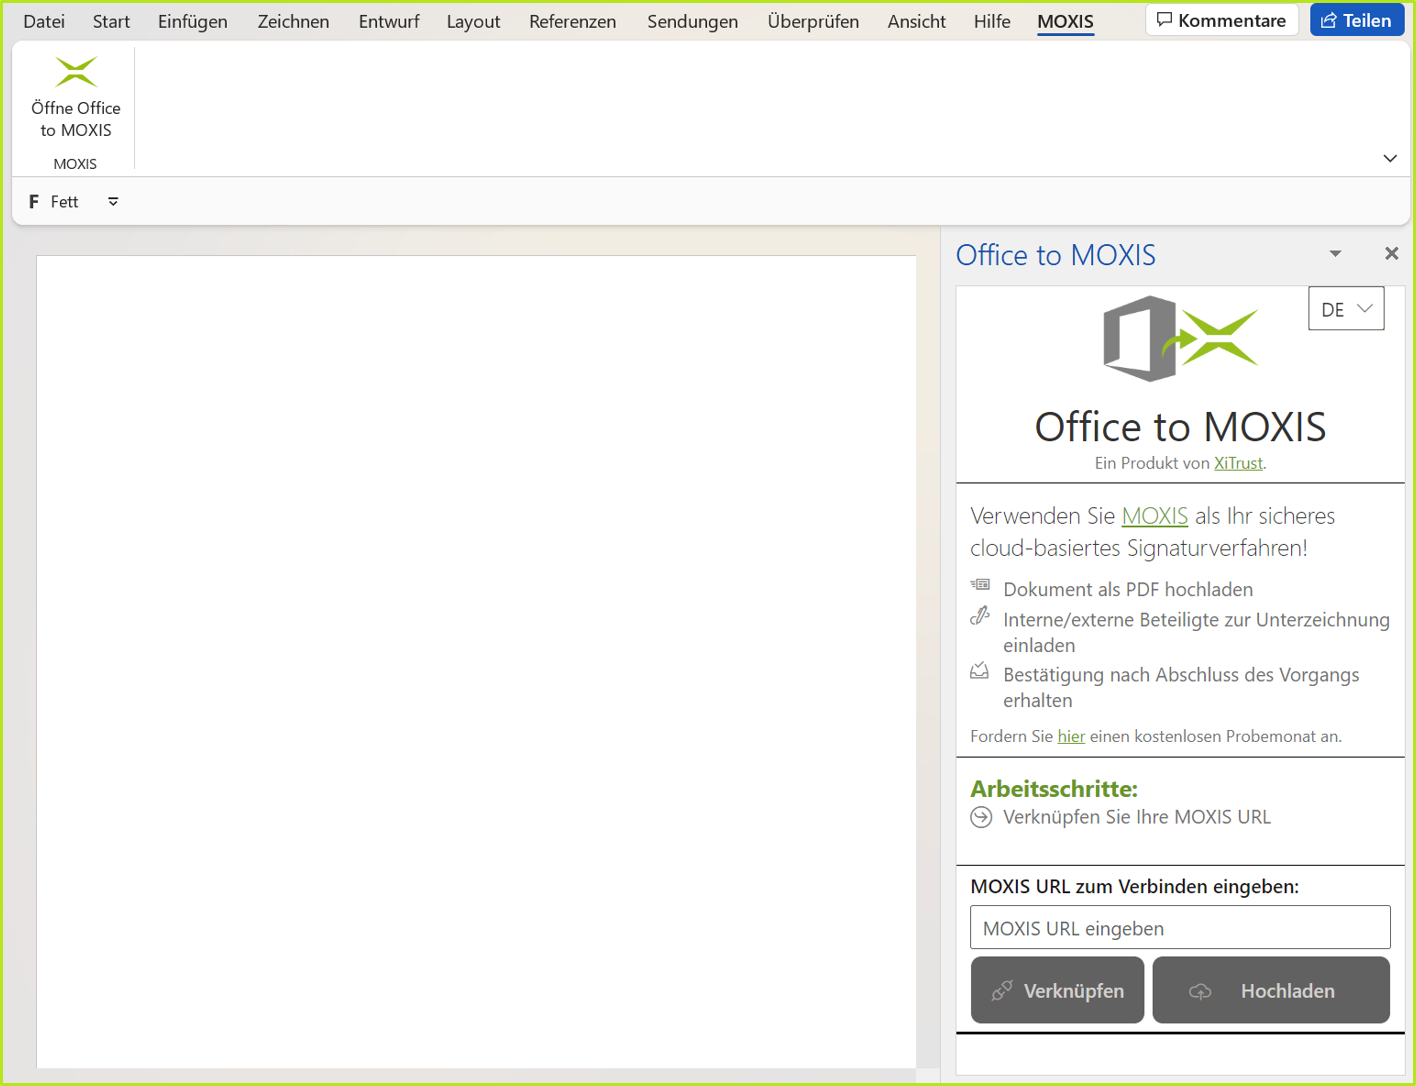
Abbildung 2: Office To MOXIS Ansicht
2. Prozessauswahl in Office To MOXIS
Wenn Sie sich einloggen, gelangen Sie auf eine Übersichtsseite, auf der Sie den gewünschten Prozess für Ihr Dokument auswählen können. Nach der Auswahl wird das Dokument im gewählten Prozess geöffnet und kann mit allen Funktionalitäten weiterbearbeitet werden.
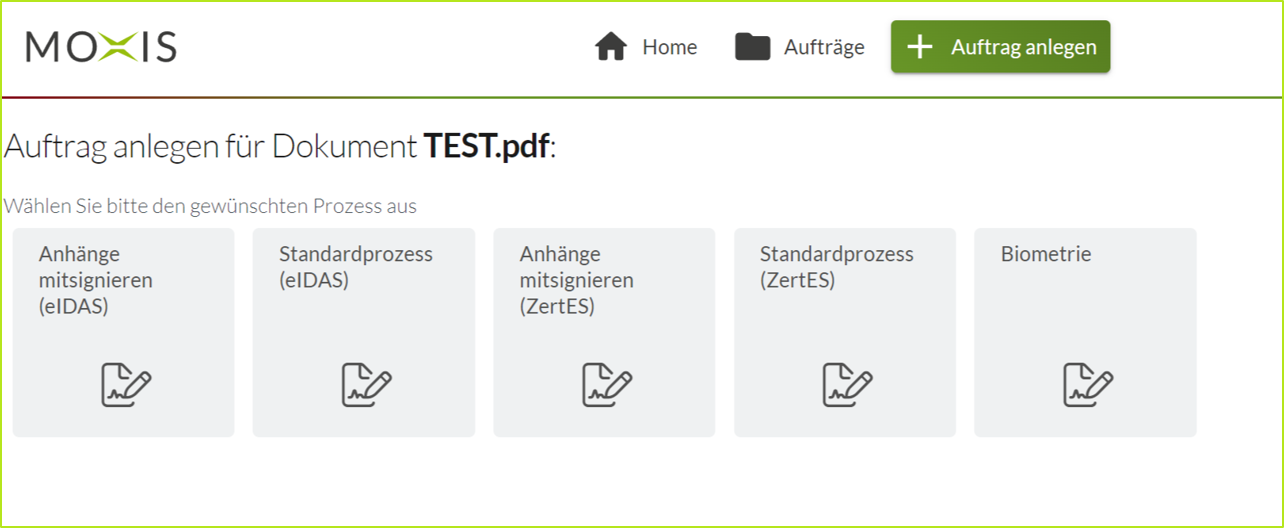
Abbildung 3: Prozessauswahl in Office To MOXIS
3. Das Hochladen von Dateien in Office To MOXIS
Office To MOXIS bietet unter anderem die Möglichkeit, Microsoft Word Dokumente hochzuladen. Handelt es sich um ein neues, noch nicht gespeichertes Dokument, müssen Sie zuerst einen Dateinamen eingeben und auf den [Hochladen]-Button klicken (siehe Abbildung 4).
XiTipp
Sofern das Microsoft Word Dokument, das Sie in die verknüpfte Instanz hochladen wollen, bereits unter einem Dateinamen gespeichert ist, wird dieser übernommen.
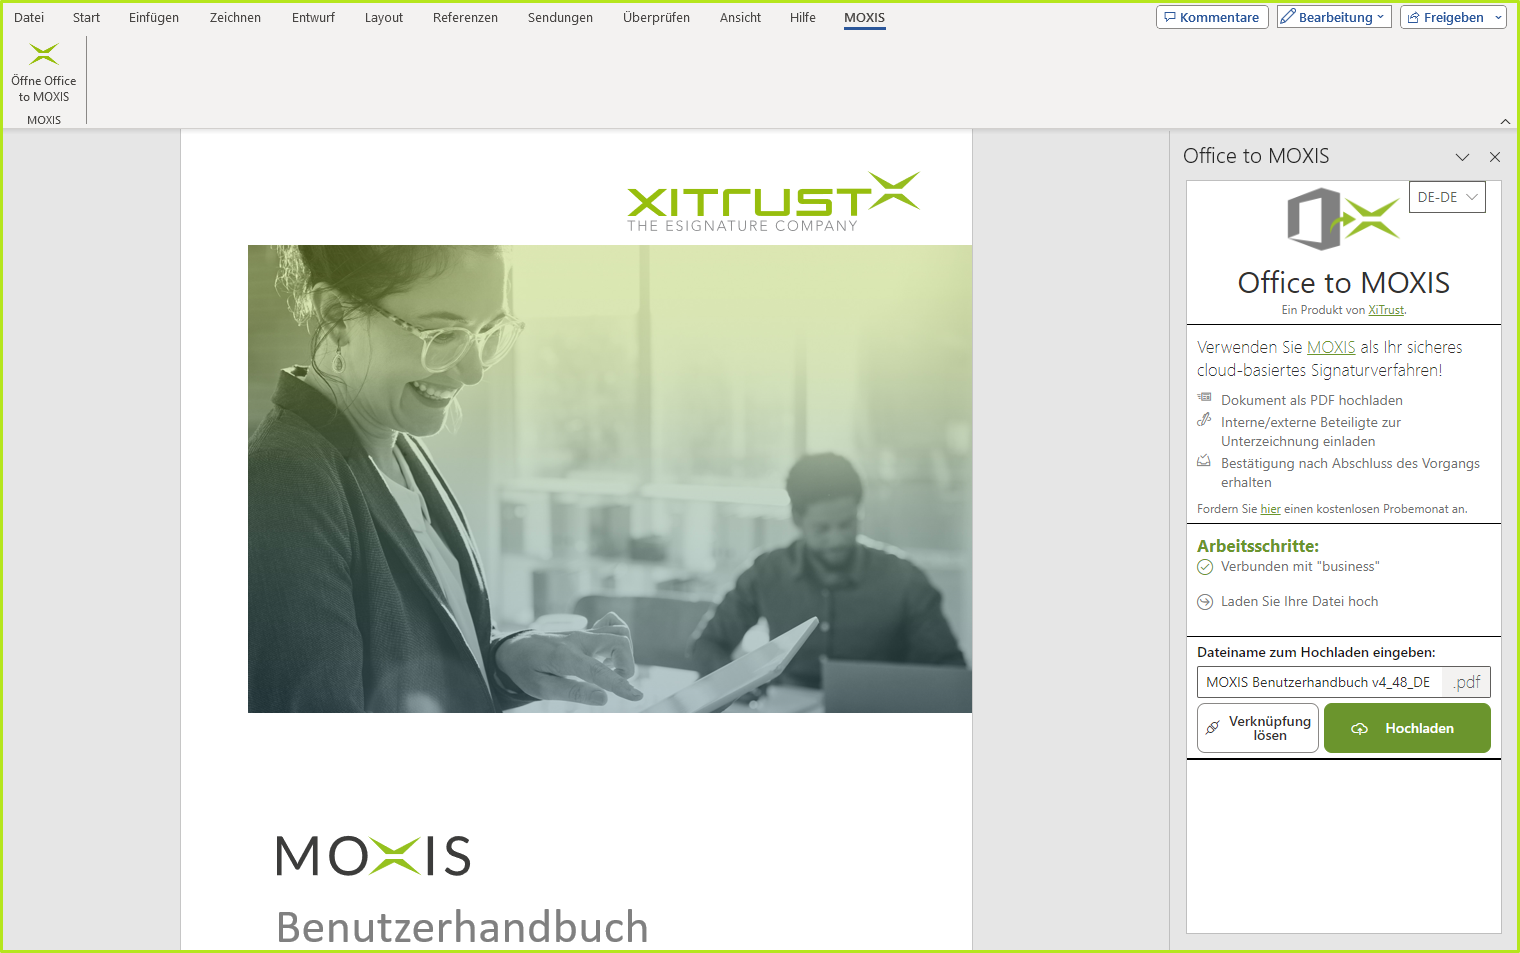
Abbildung 4: Hochladen eines Word Dokuments in Office To MOXIS
Wenn der Vorgang erfolgreich war, erscheint eine entsprechende Meldung mit Angabe des Tages und der Uhrzeit, wann das Dokument zuletzt hochgeladen wurde. Sofern Sie das Dokument erneut hochladen wollen, klicken Sie bitte auf den [Erneut hochladen]-Button.