
How do I create a suitable signature profile for my representative? (p.p.)
Content
If you have set up a representation in MOXIS or are a representative yourself, it may be advantageous to have the signature profile customised. This article shows you how to do it.
1 Step-by-step guide: Creating a signature profile for a representative
You can identify a representative for example by using the abbreviation p.p. (per procurationem). Incidentally, ‘per procurationem’ refers to a signature by a procurator with a power of attorney, the authority of which is regulated in the German Civil Code. But there are, of course, other abbreviations that can be used.
However, the best way to add the corresponding abbreviations to the signature profiles in MOXIS is as follows.
Step 1: Open the user settings by clicking on the user icon (see figure 1 [1]) in the top right corner.
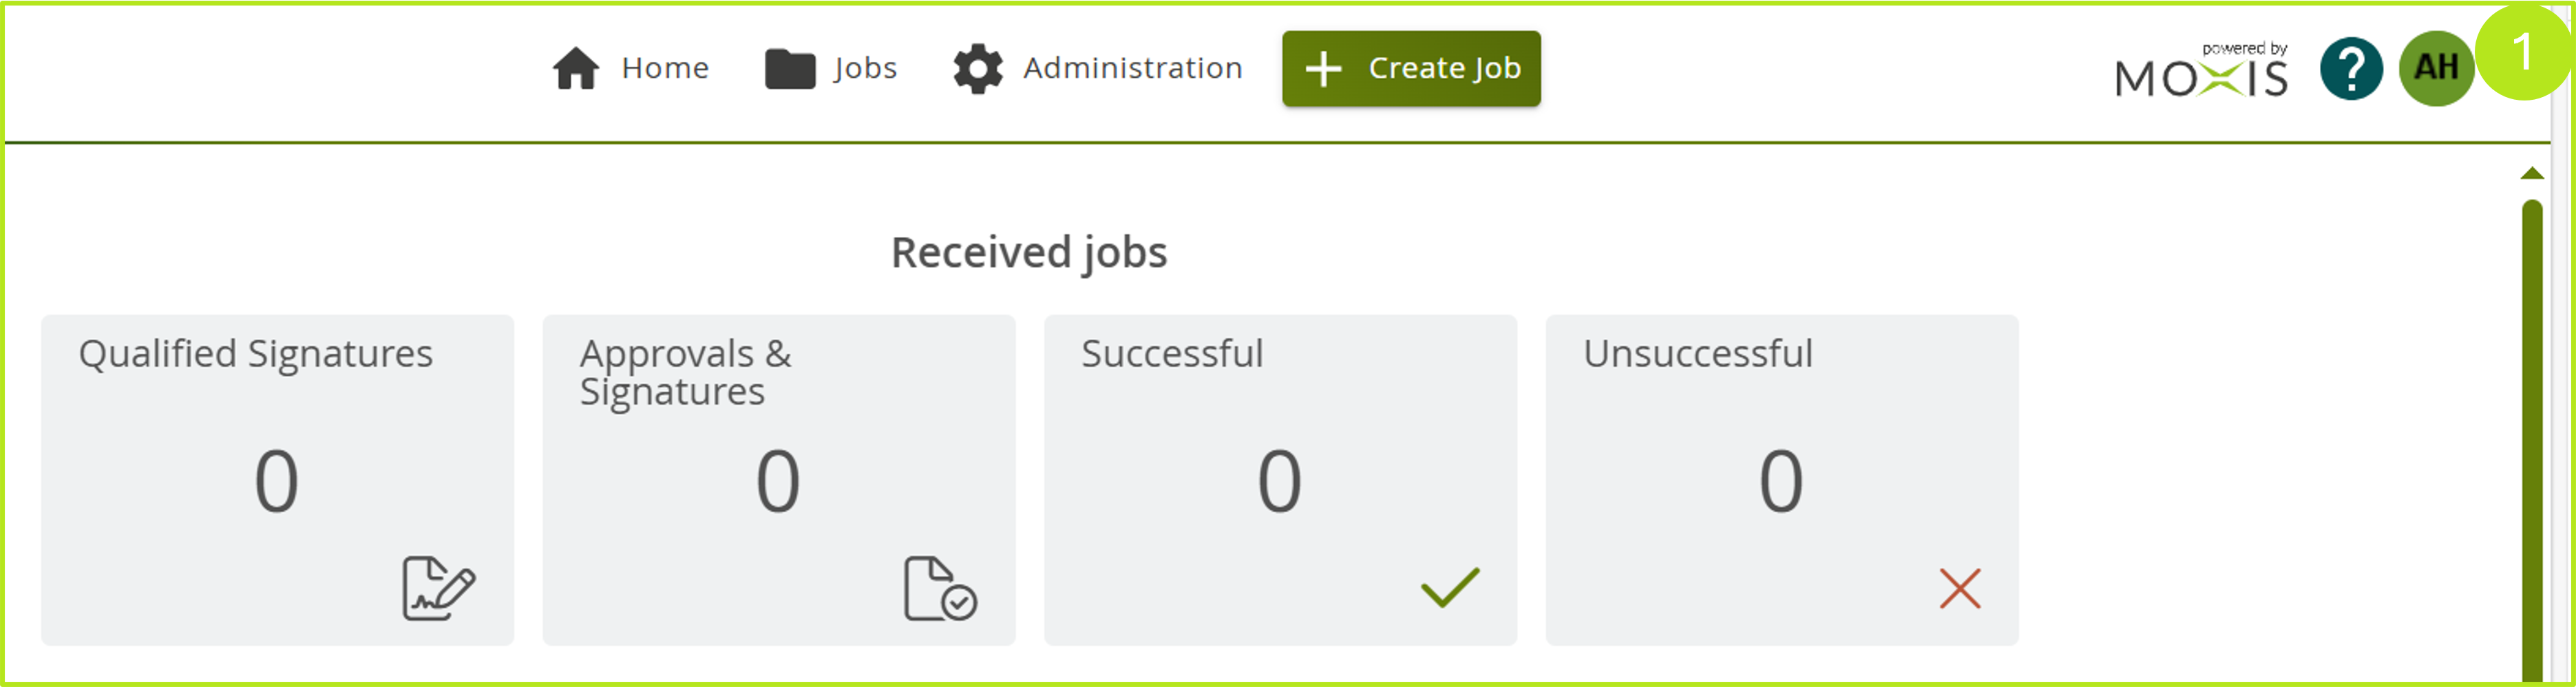
Figure 1: Open the user settings in MOXIS
Step 2: In the user menu that has now opened, select either the profile for the qualified signature or the simple signature (see figure 2 [1]). For our example, we have decided on the qualified signature (grey background in figure 2 [1]). Then click on the [+New profile]-button (see figure 2 [2]). Here you can also read how to create, change and manage your signature profile.
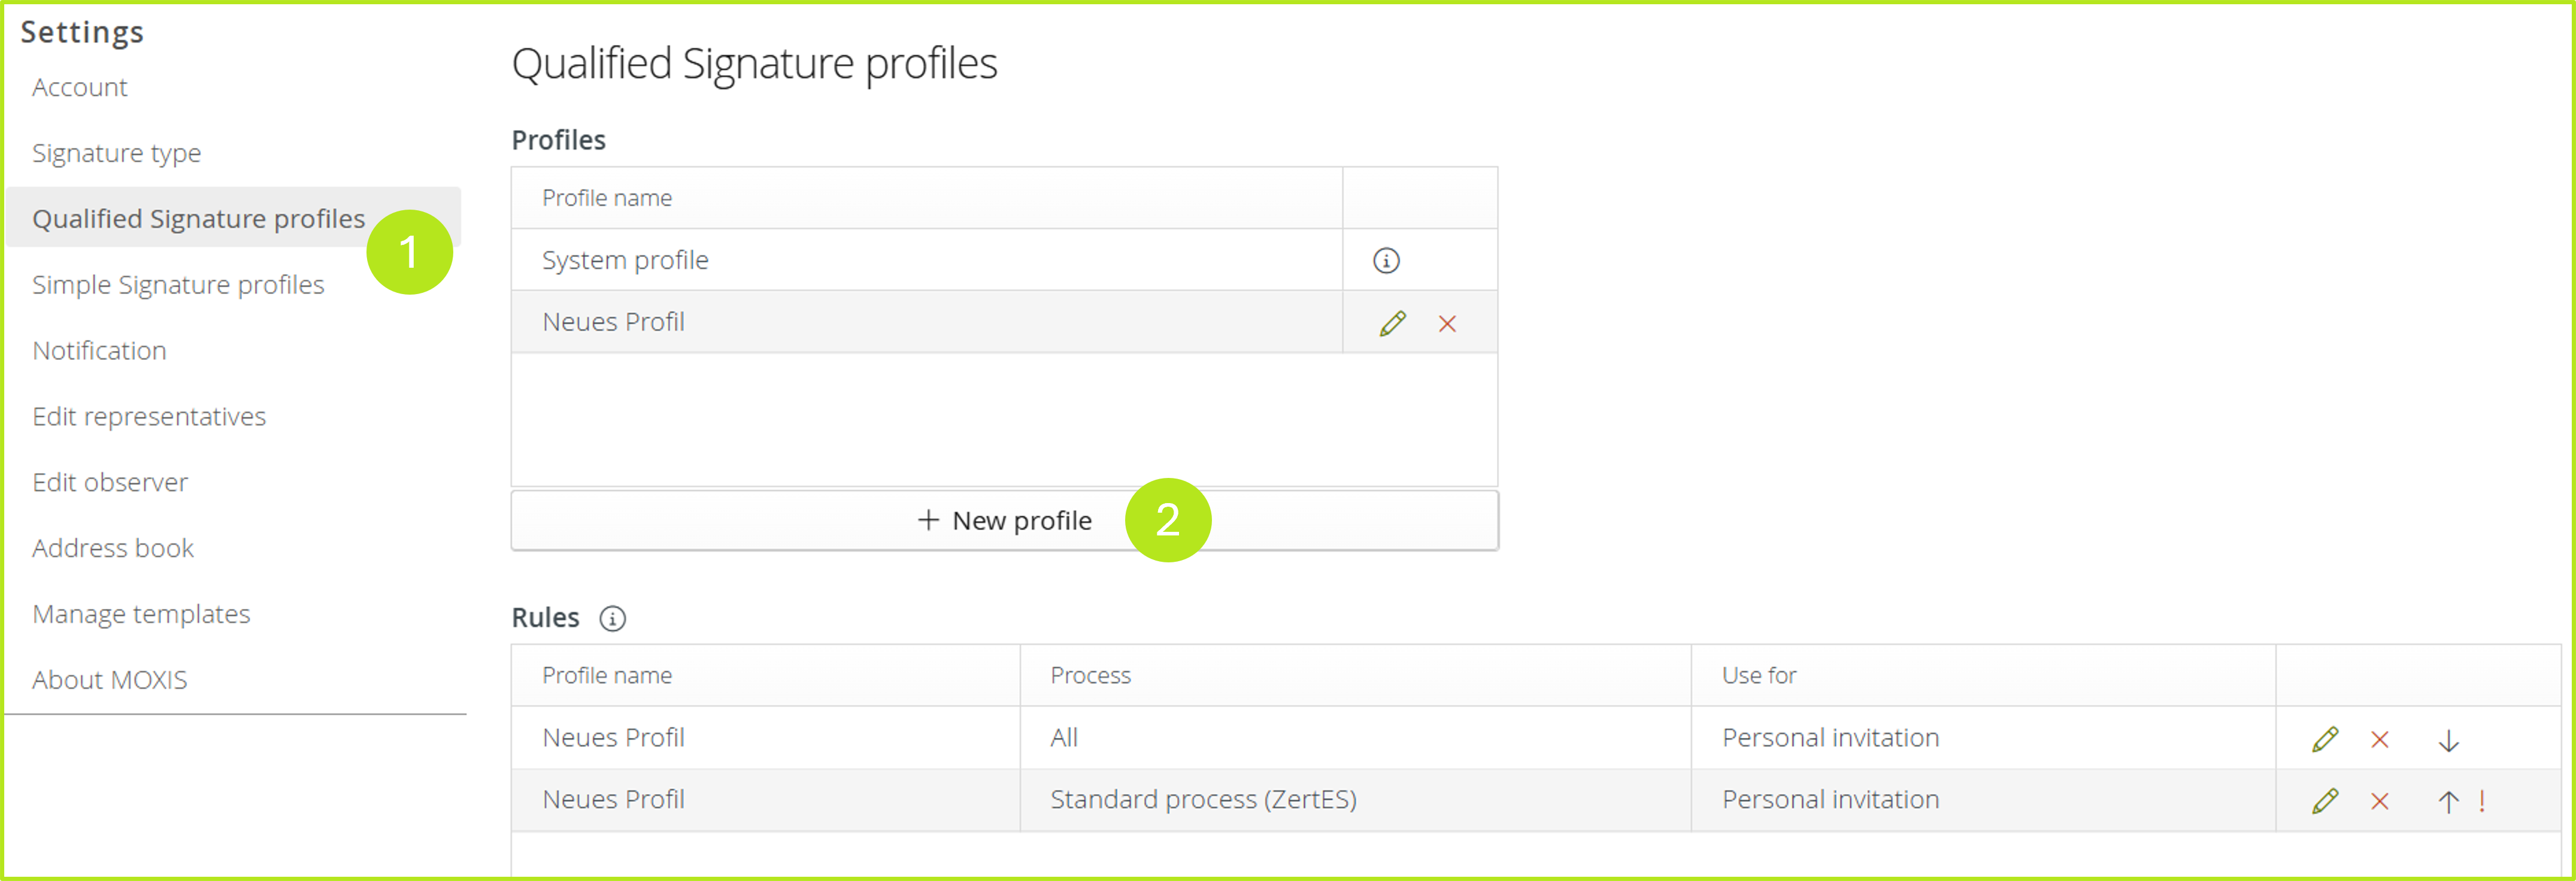
Figure 2: Create new signature profile for qualified signatures
Step 3: In the overview that now opens, first change the profile name accordingly (see figure 3 [1]). This will help to avoid confusion later on. Then please uncheck the ‘Display name’ checkbox (see figure 3 [2]) and enter your name with the corresponding abbreviation in one of the two fields below (see figure 3 [3]). Please do not forget to save the profile by clicking on the [Save]-button (see figure 3 [4]).
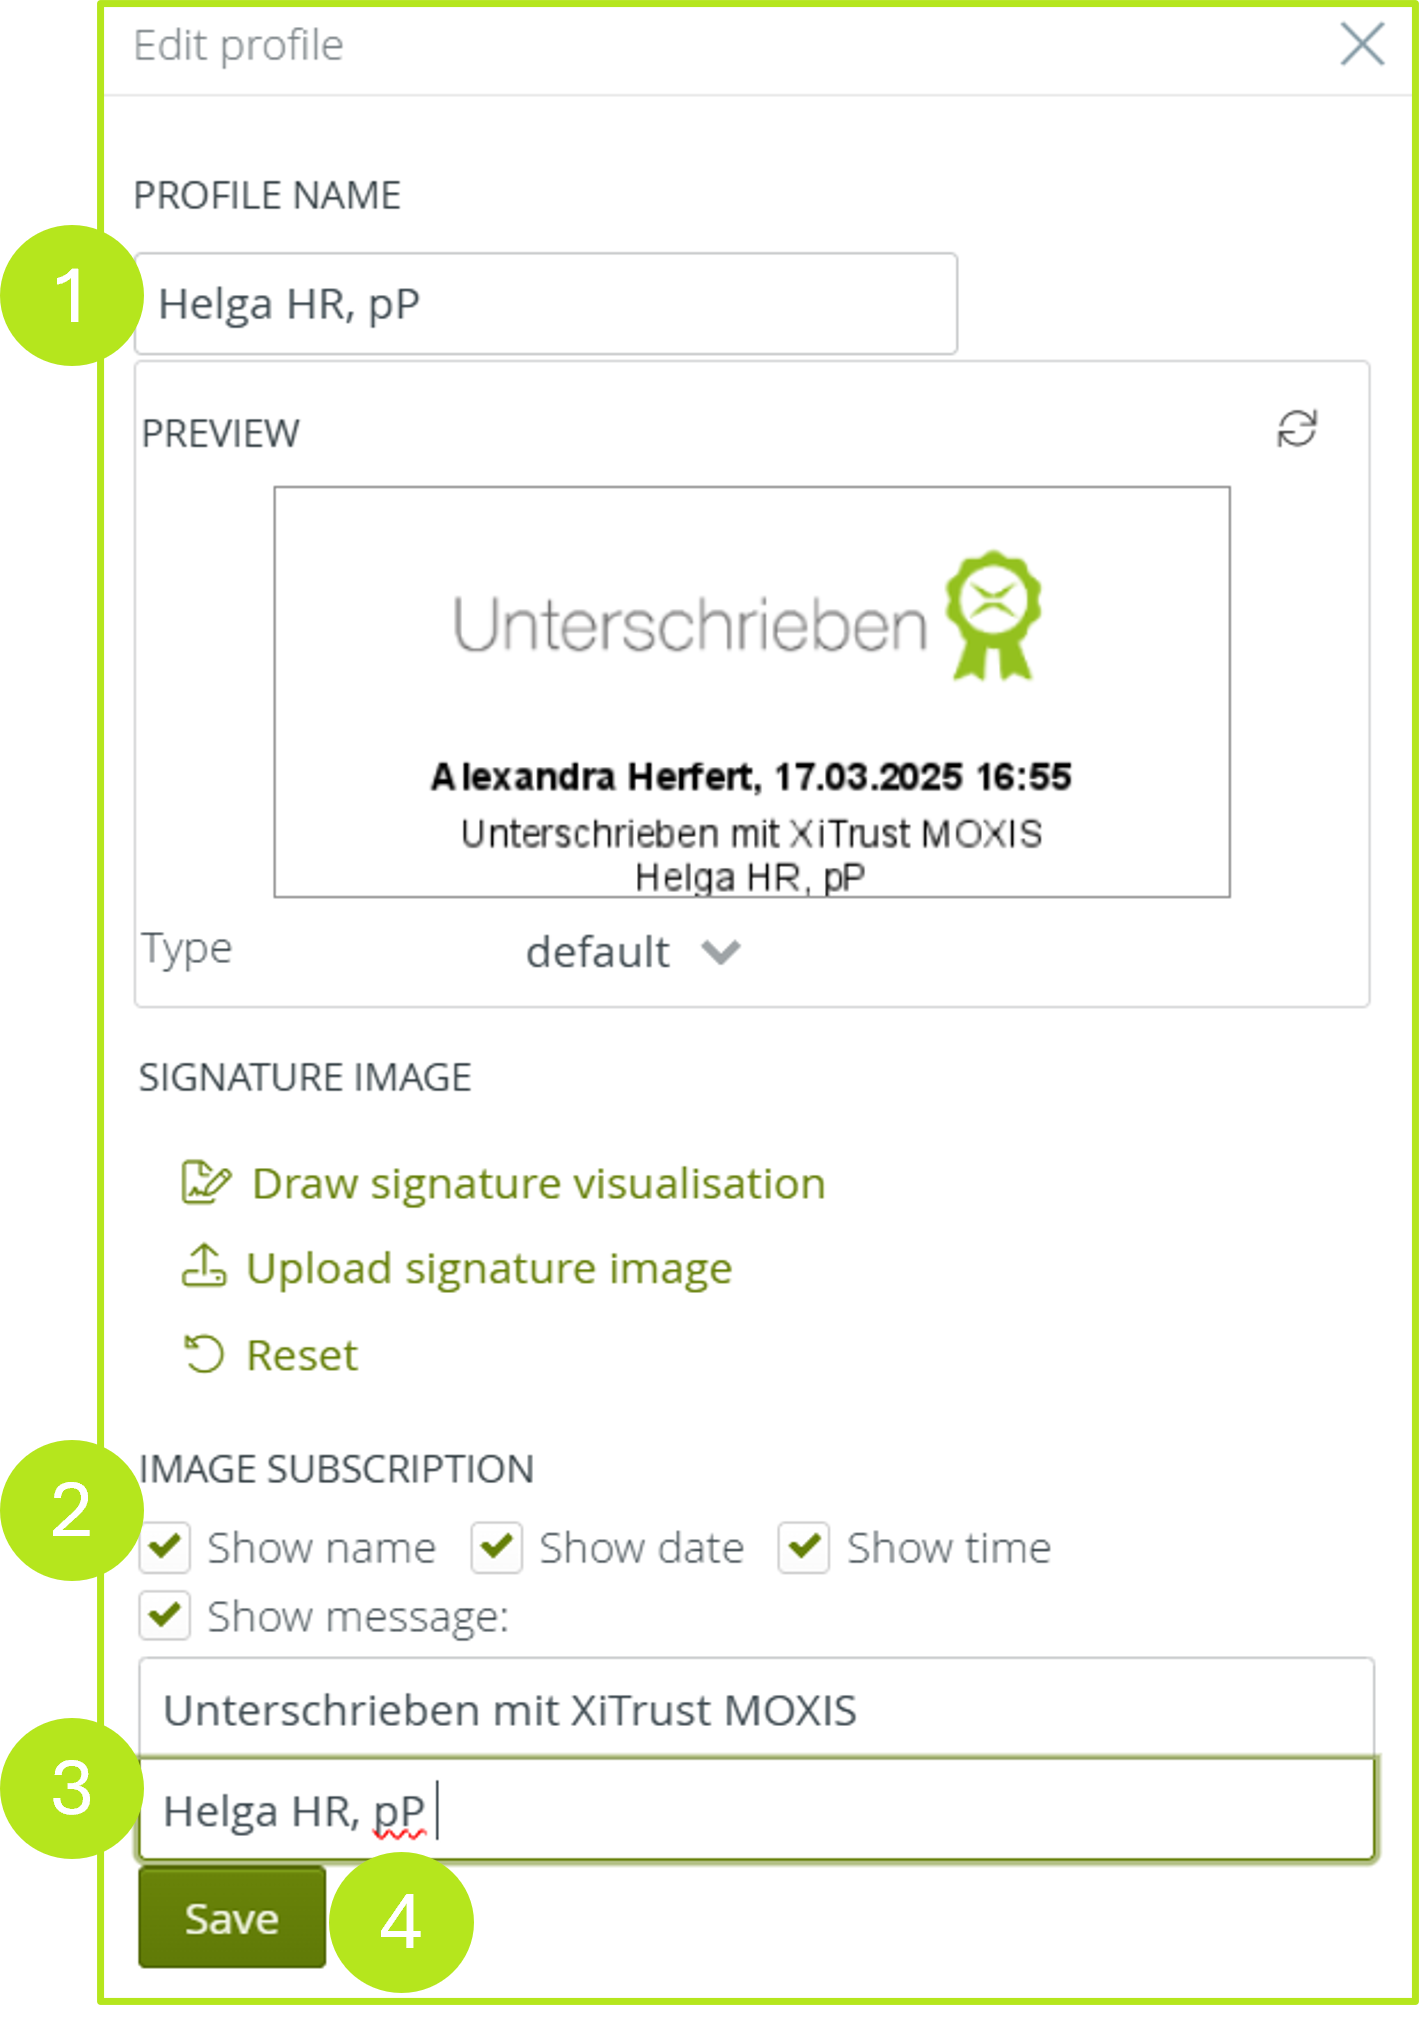
Figure 3: Generating a profile for a representation (pP)
Step 4: The generated profile is now available in the profile overview (see figure 4 [1]). You can edit it by clicking on the ‘pencil icon’ (see figure 4 [2]) or delete it by clicking on the ‘red X’ (see figure 4 [3]).
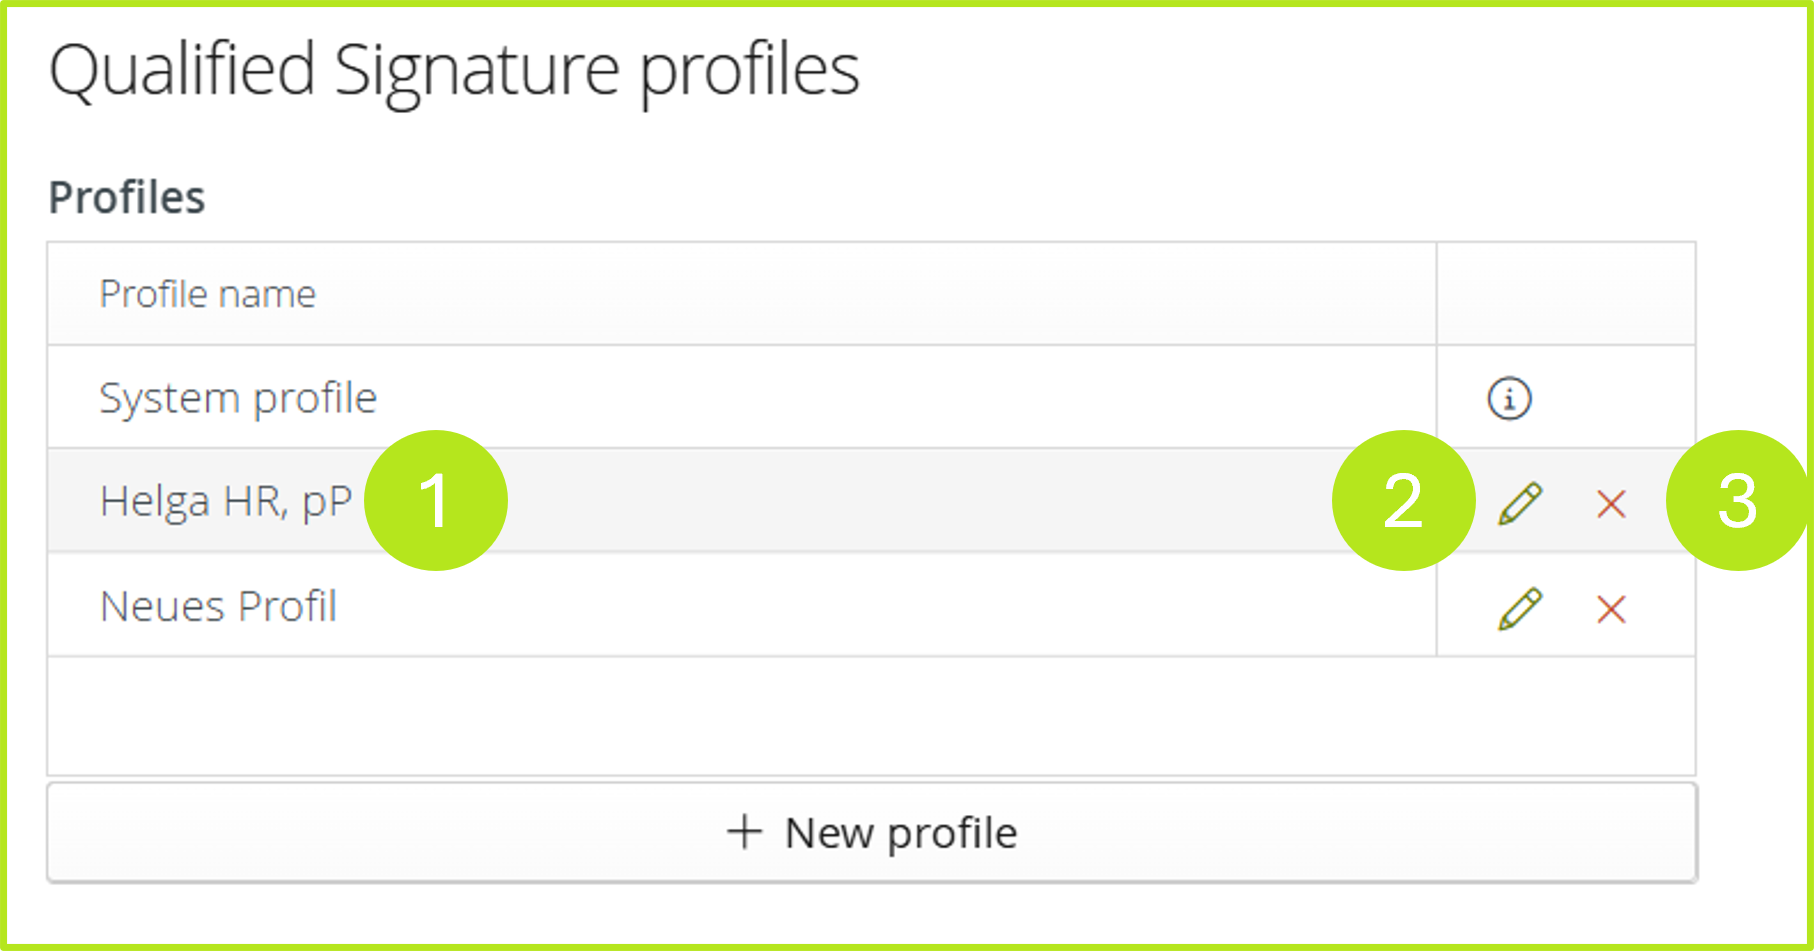
Figure 4: Profile for qualified signature with representative's abbreviation
XiTip
This step-by-step guide can be used for all other abbreviations. You can also customise the signature or other details using MOXIS resolvers. For more information on MOXIS resolvers, please refer to our admin documentation. If you have any questions, our support team will be happy to help.