
Step-by-step instructions for creating jobs in MOXIS 4.54
Content
In this article, you will learn step-by-step how to create jobs in MOXIS and what you need to bear in mind when doing so.
1. Step-by-step instructions for creating a job
These instructions provide a quick overview of the basic steps for creating a job in MOXIS. Further information on creating a job can be found here.
1.1 Step 1: Create jobs
To create a new job, please click on [+Create job] in the job overview (see figure 1 [1]).
XiTip
While MOXIS Business and MOXIS Now only offer standardized options, MOXIS Enterprise allows you to customize the signature process. This saves time and resources. For further information, please contact your XiTrust representative.
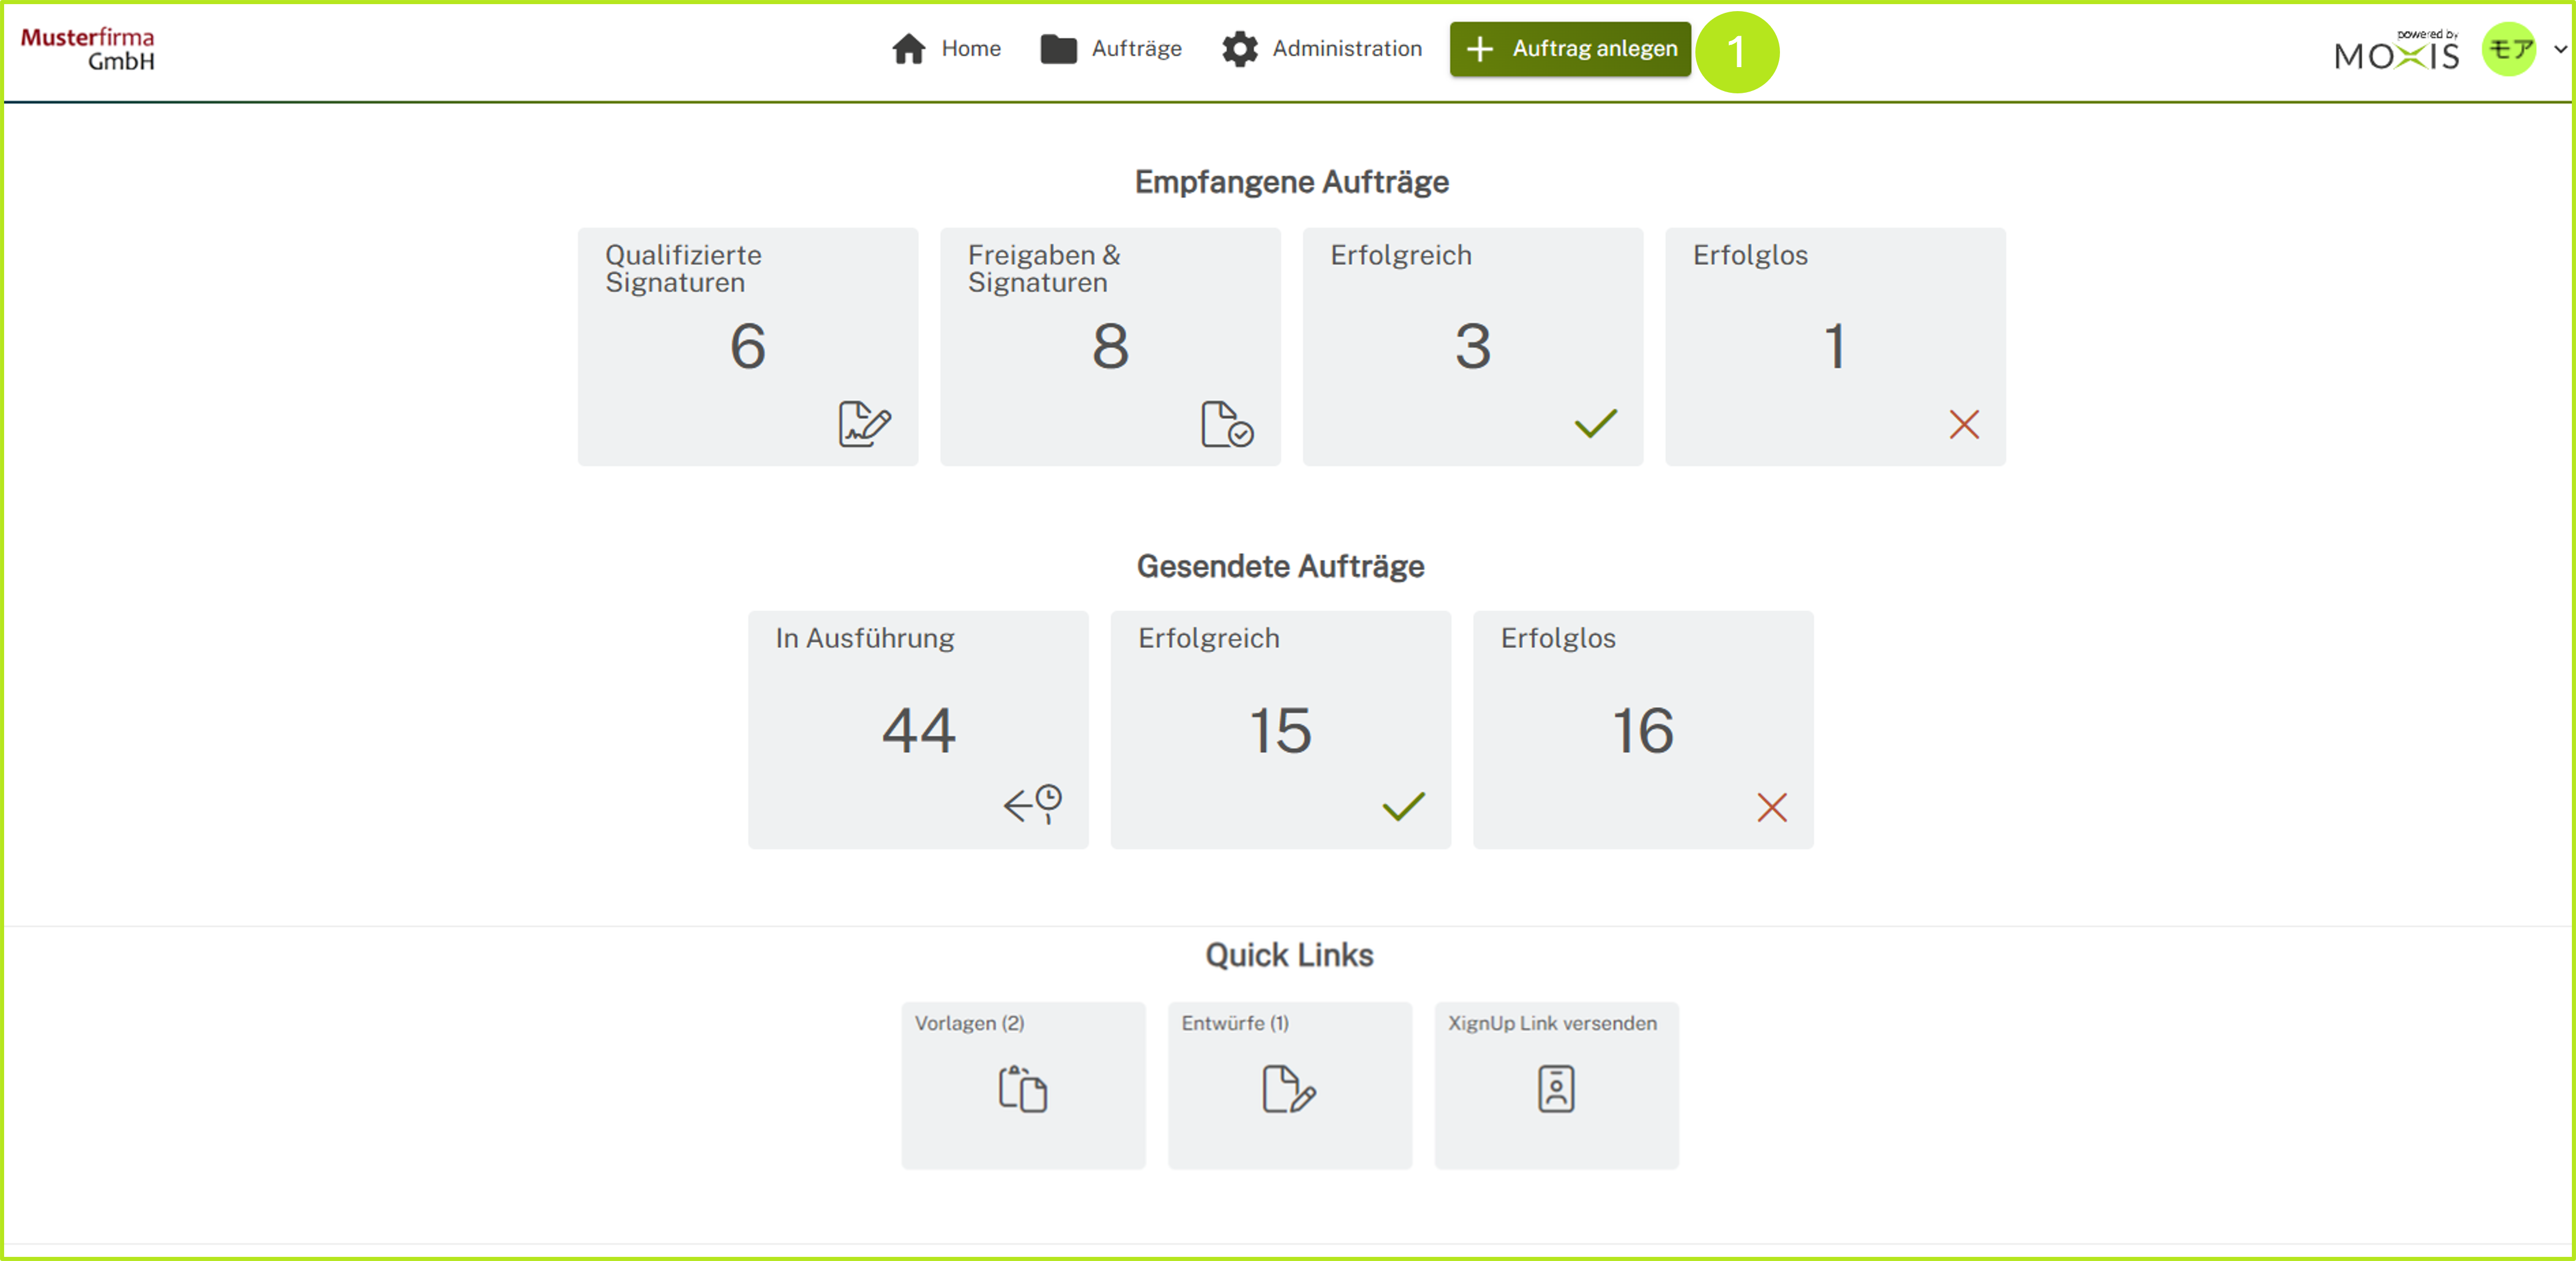
Figure 1: Create a job
1.2 Step 2: Select process
In the drop-down menu that opens, select the process you want to use to create the signature and click on it (see figure 2 [1]). For more information on creating jobs, click here.
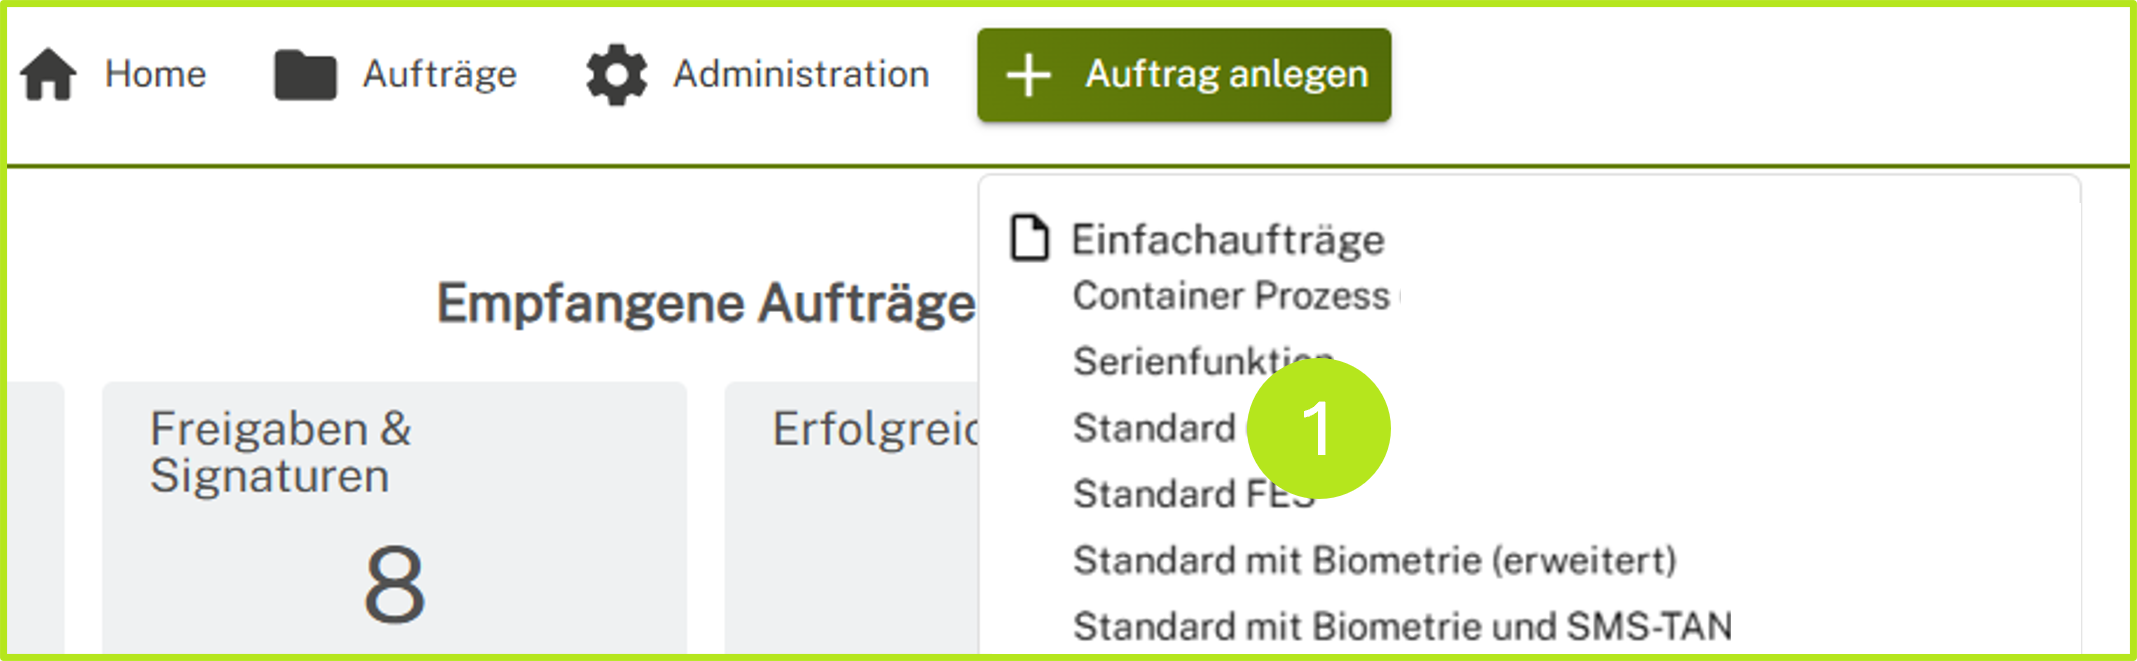
Figure 2: Select process
1.3 Step 3: Upload document for signing
Now select the document you want to sign or have signed and upload it by clicking on Browse (see figure 3 [1]) or simply drag and drop the document into the gray field.
XiTip
Please note: The files are subject to certain restrictions set by your administrator, which are displayed in the gray field (see figure 3 [2]). If you would like to make changes, please contact your administrator.

Figure 3: Uploading files to MOXIS
1.4 Step 4: Set additional signature parameters
Once you have uploaded a document, you can fill in additional fields (see Overview of the configuration options on the order page).
1.5 Step 5: Complete the job
Complete the job by clicking on the [Send job]-button (see figure 5). However, you can also save the job as a draft or template by clicking on the corresponding [Save draft]- or [Save template]-button.