[Business & Now Cloud] Self-service identification procedure in the browser based on Swisscom for external signers
Inhalt
From now on (07/2025) MOXIS Guest offers external signers the option of identifying themselves in the browser using a Swisscom-based self-service identification procedure.
The following article explains the self-service identification procedure in more detail.
1. Introduction
When you send a job to an external signer, you cannot know in advance whether this person already has a digital identity. At the latest when the job reaches your future supplier, customer or employee, they must obtain a digital identity if they do not already have one.
To keep the effort for your external signers as low as possible, MOXIS Guest now offers the option of applying for a digital identity directly in the signature process via Swisscom. Identification and signature are carried out securely and unbureaucratically in the browser without the need for an additional app.
2. How the self-service identification process works in the browser
Once the signature process has been started in MOXIS Guest by an external signer by clicking on the [Sign]-button, the signature mask opens. The signature process is carried out as usual here. Under the Additional Data-tab, the external signer then enters a valid phone number that may or may not already be linked to a digital identity. The phone number is verified in any case (see figure 1 [1]).
XiTip
Please note: If two signatories are designated for signature in an iteration level and one of them is currently signing the document, the signature will be blocked for the second signatory for 45 minutes.
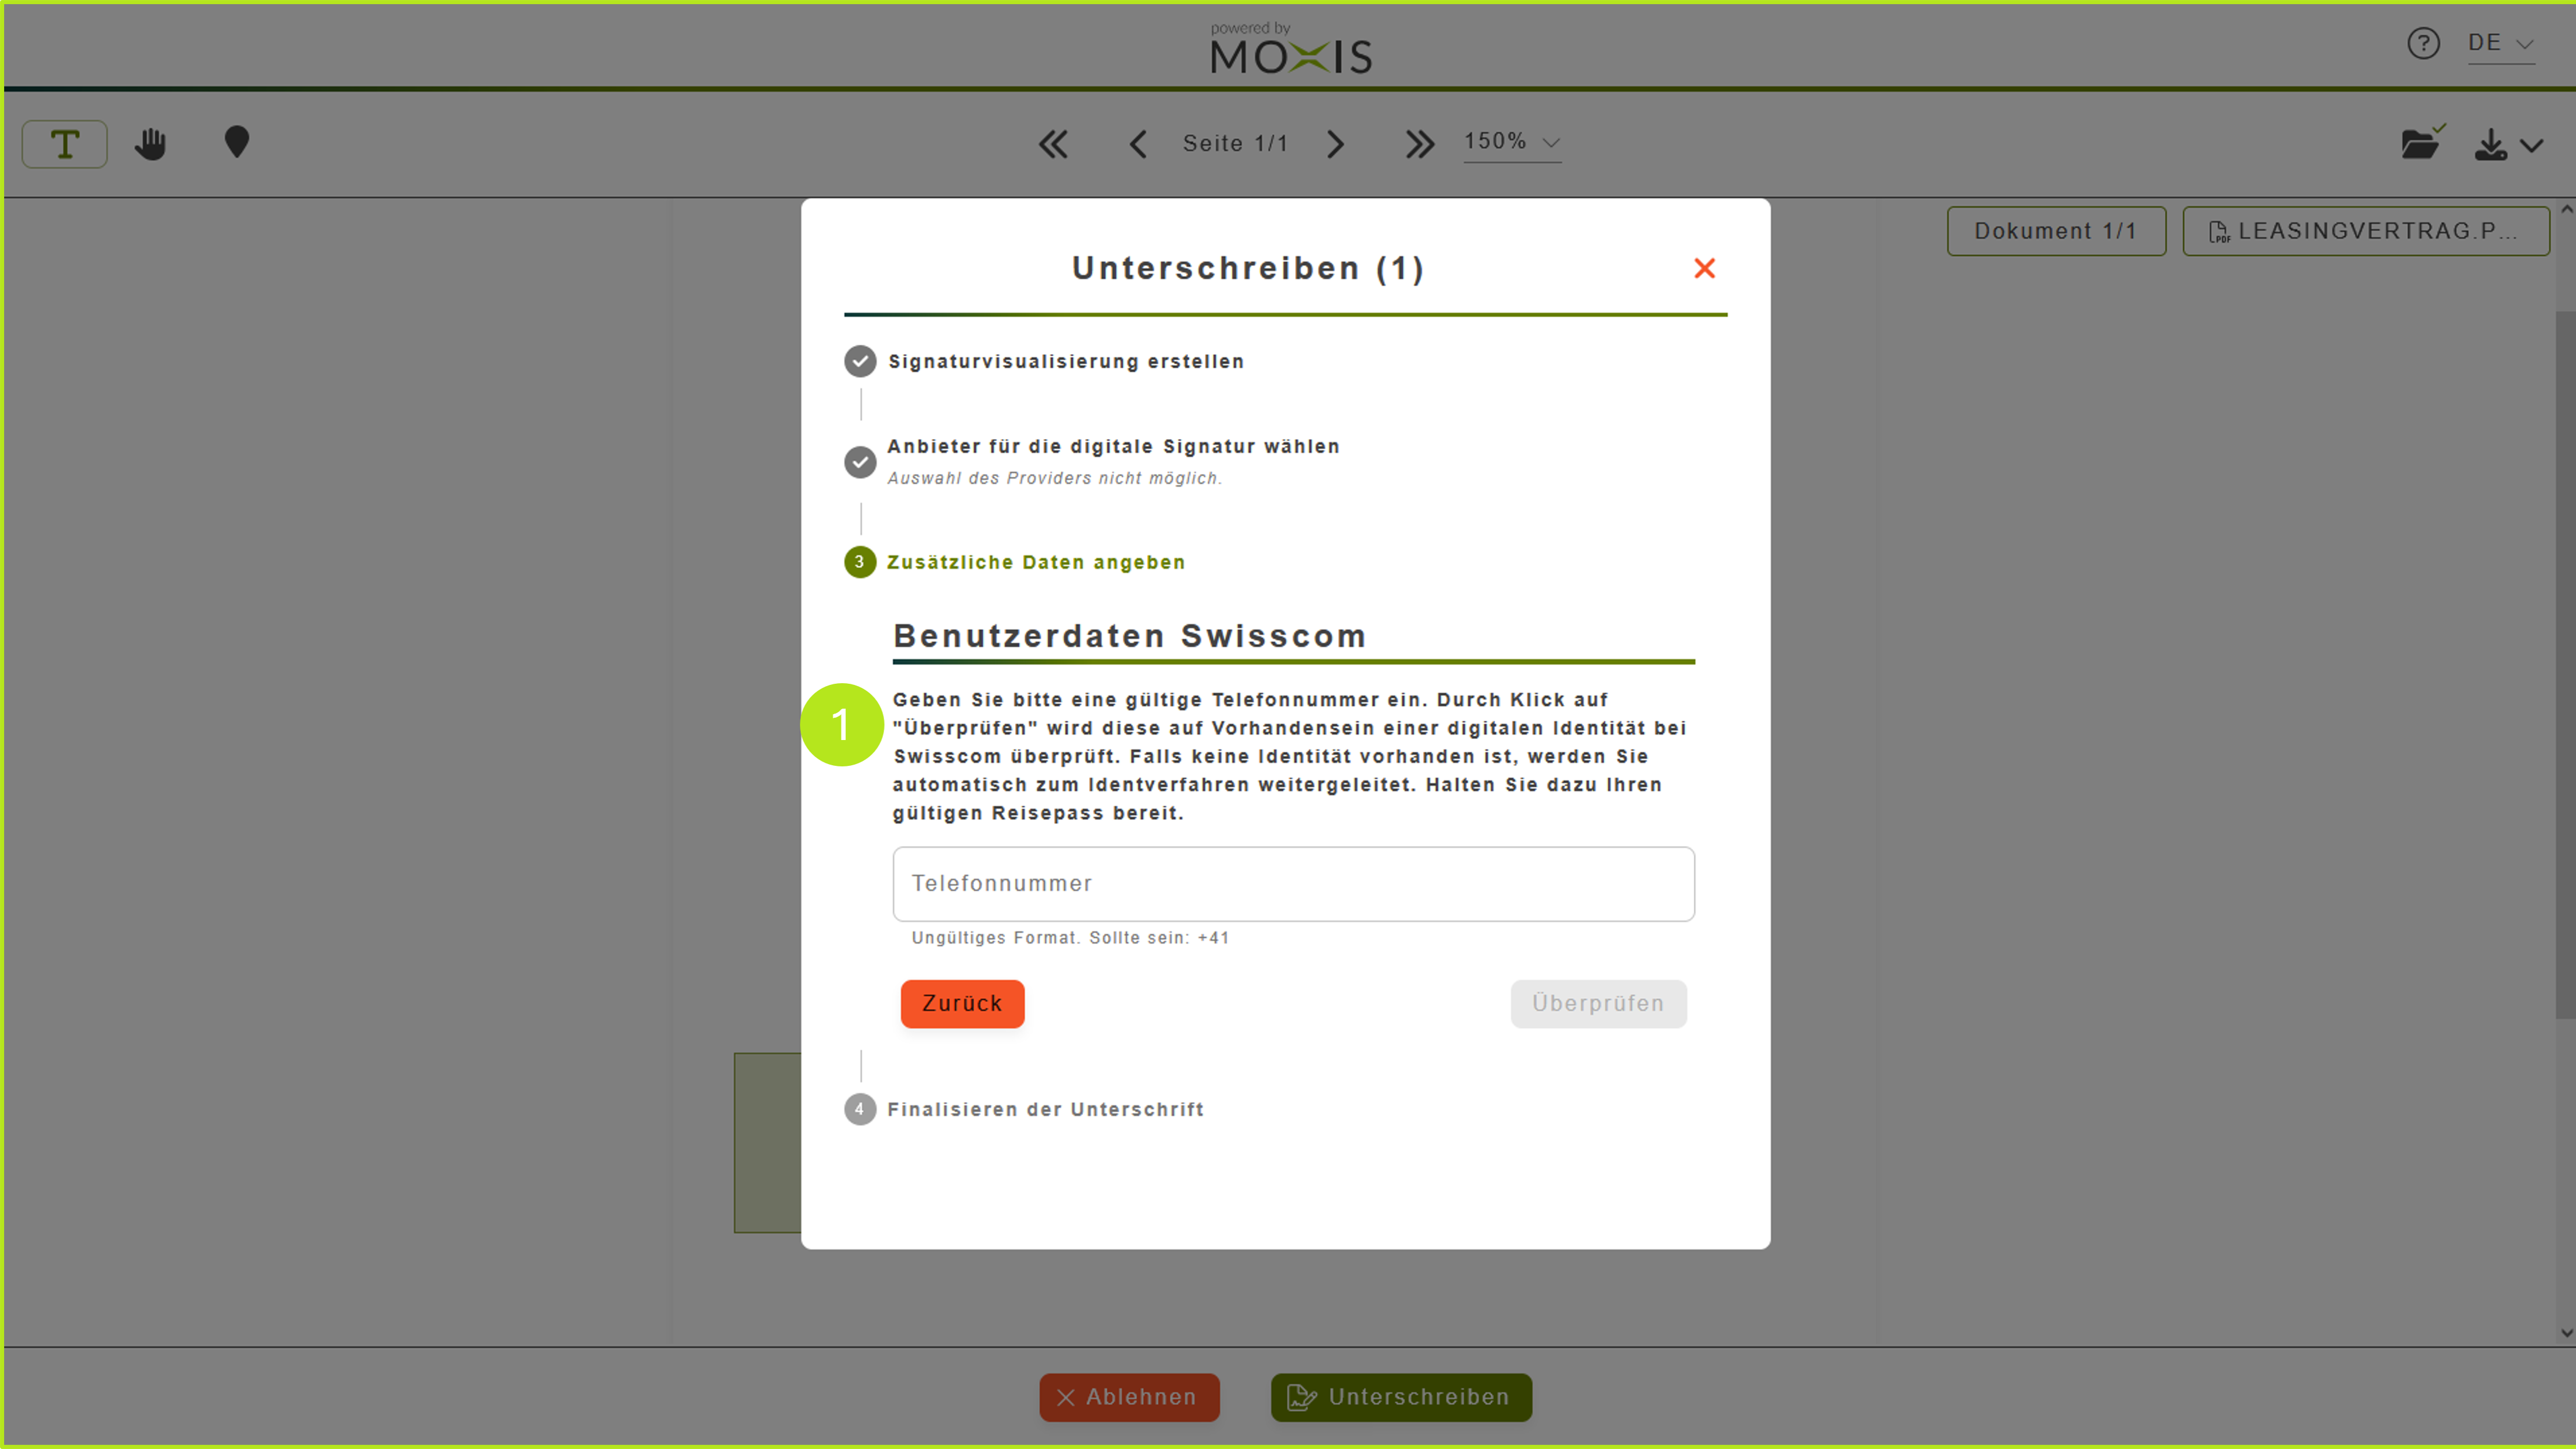
Figure 1: Signature process in MOXIS
There are three possible scenarios for successfully completing the job. We will outline the various options here.
XiTip
Please note: The signature process and identification procedure all take place in the same tab. This requires that you do not have an identity issued by Swisscom.
2.1 Scenario 1: The signer already has a Swisscom identity
If a person who wants to sign a document already has a Swisscom identity, the job is immediately released for authentication by the user via 2-factor authentication and signed (see figure 2).
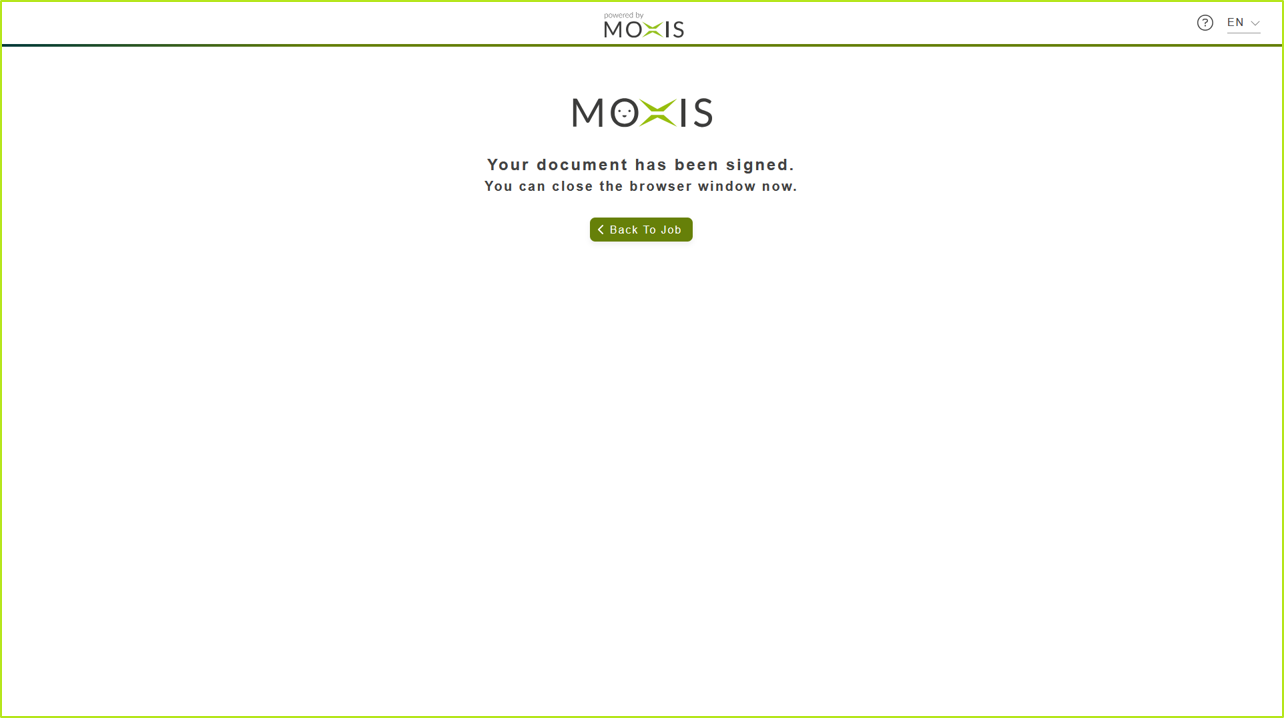
Figure 2: Successfully signed document in MOXIS Guest
2.2 Scenario 2: Signature process for external signers if the Mobile ID authentication app for two-factor authentication is missing
If one or more signers do not have the Mobile ID app, they will receive the following message immediately after entering their phone number (see figure 3). The Mobile ID app is used for two-factor authentication. This provides additional security during the signature process.
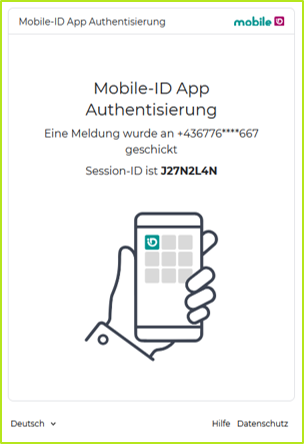
Figure 3: Launching the Mobile ID app authentication in the browser
In the next step, the signer is prompted to install the app (see figure 4).
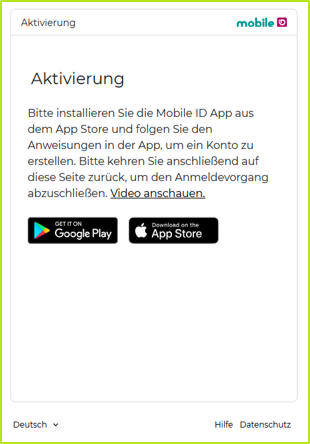
Figure 4: Activating the Mobile ID app
After successful installation and if a Swisscom identity already exists, the signature process is carried out and the job is completed using the app as a means of 2-factor authentication.
If the Swisscom identity is missing, the identification process is initiated directly in the browser. The next chapter shows how.
2.3 Scenario 3: Signature process for external signers if Swisscom identity is missing
If the verification process determines that the signer does not have a Swisscom identity, they will be redirected to Swisscom in the same browser window. There, the person must first accept the terms of use by ticking both boxes (see figure 5 [1]) and clicking on the [Accept]-button (see figure 5 [2]).
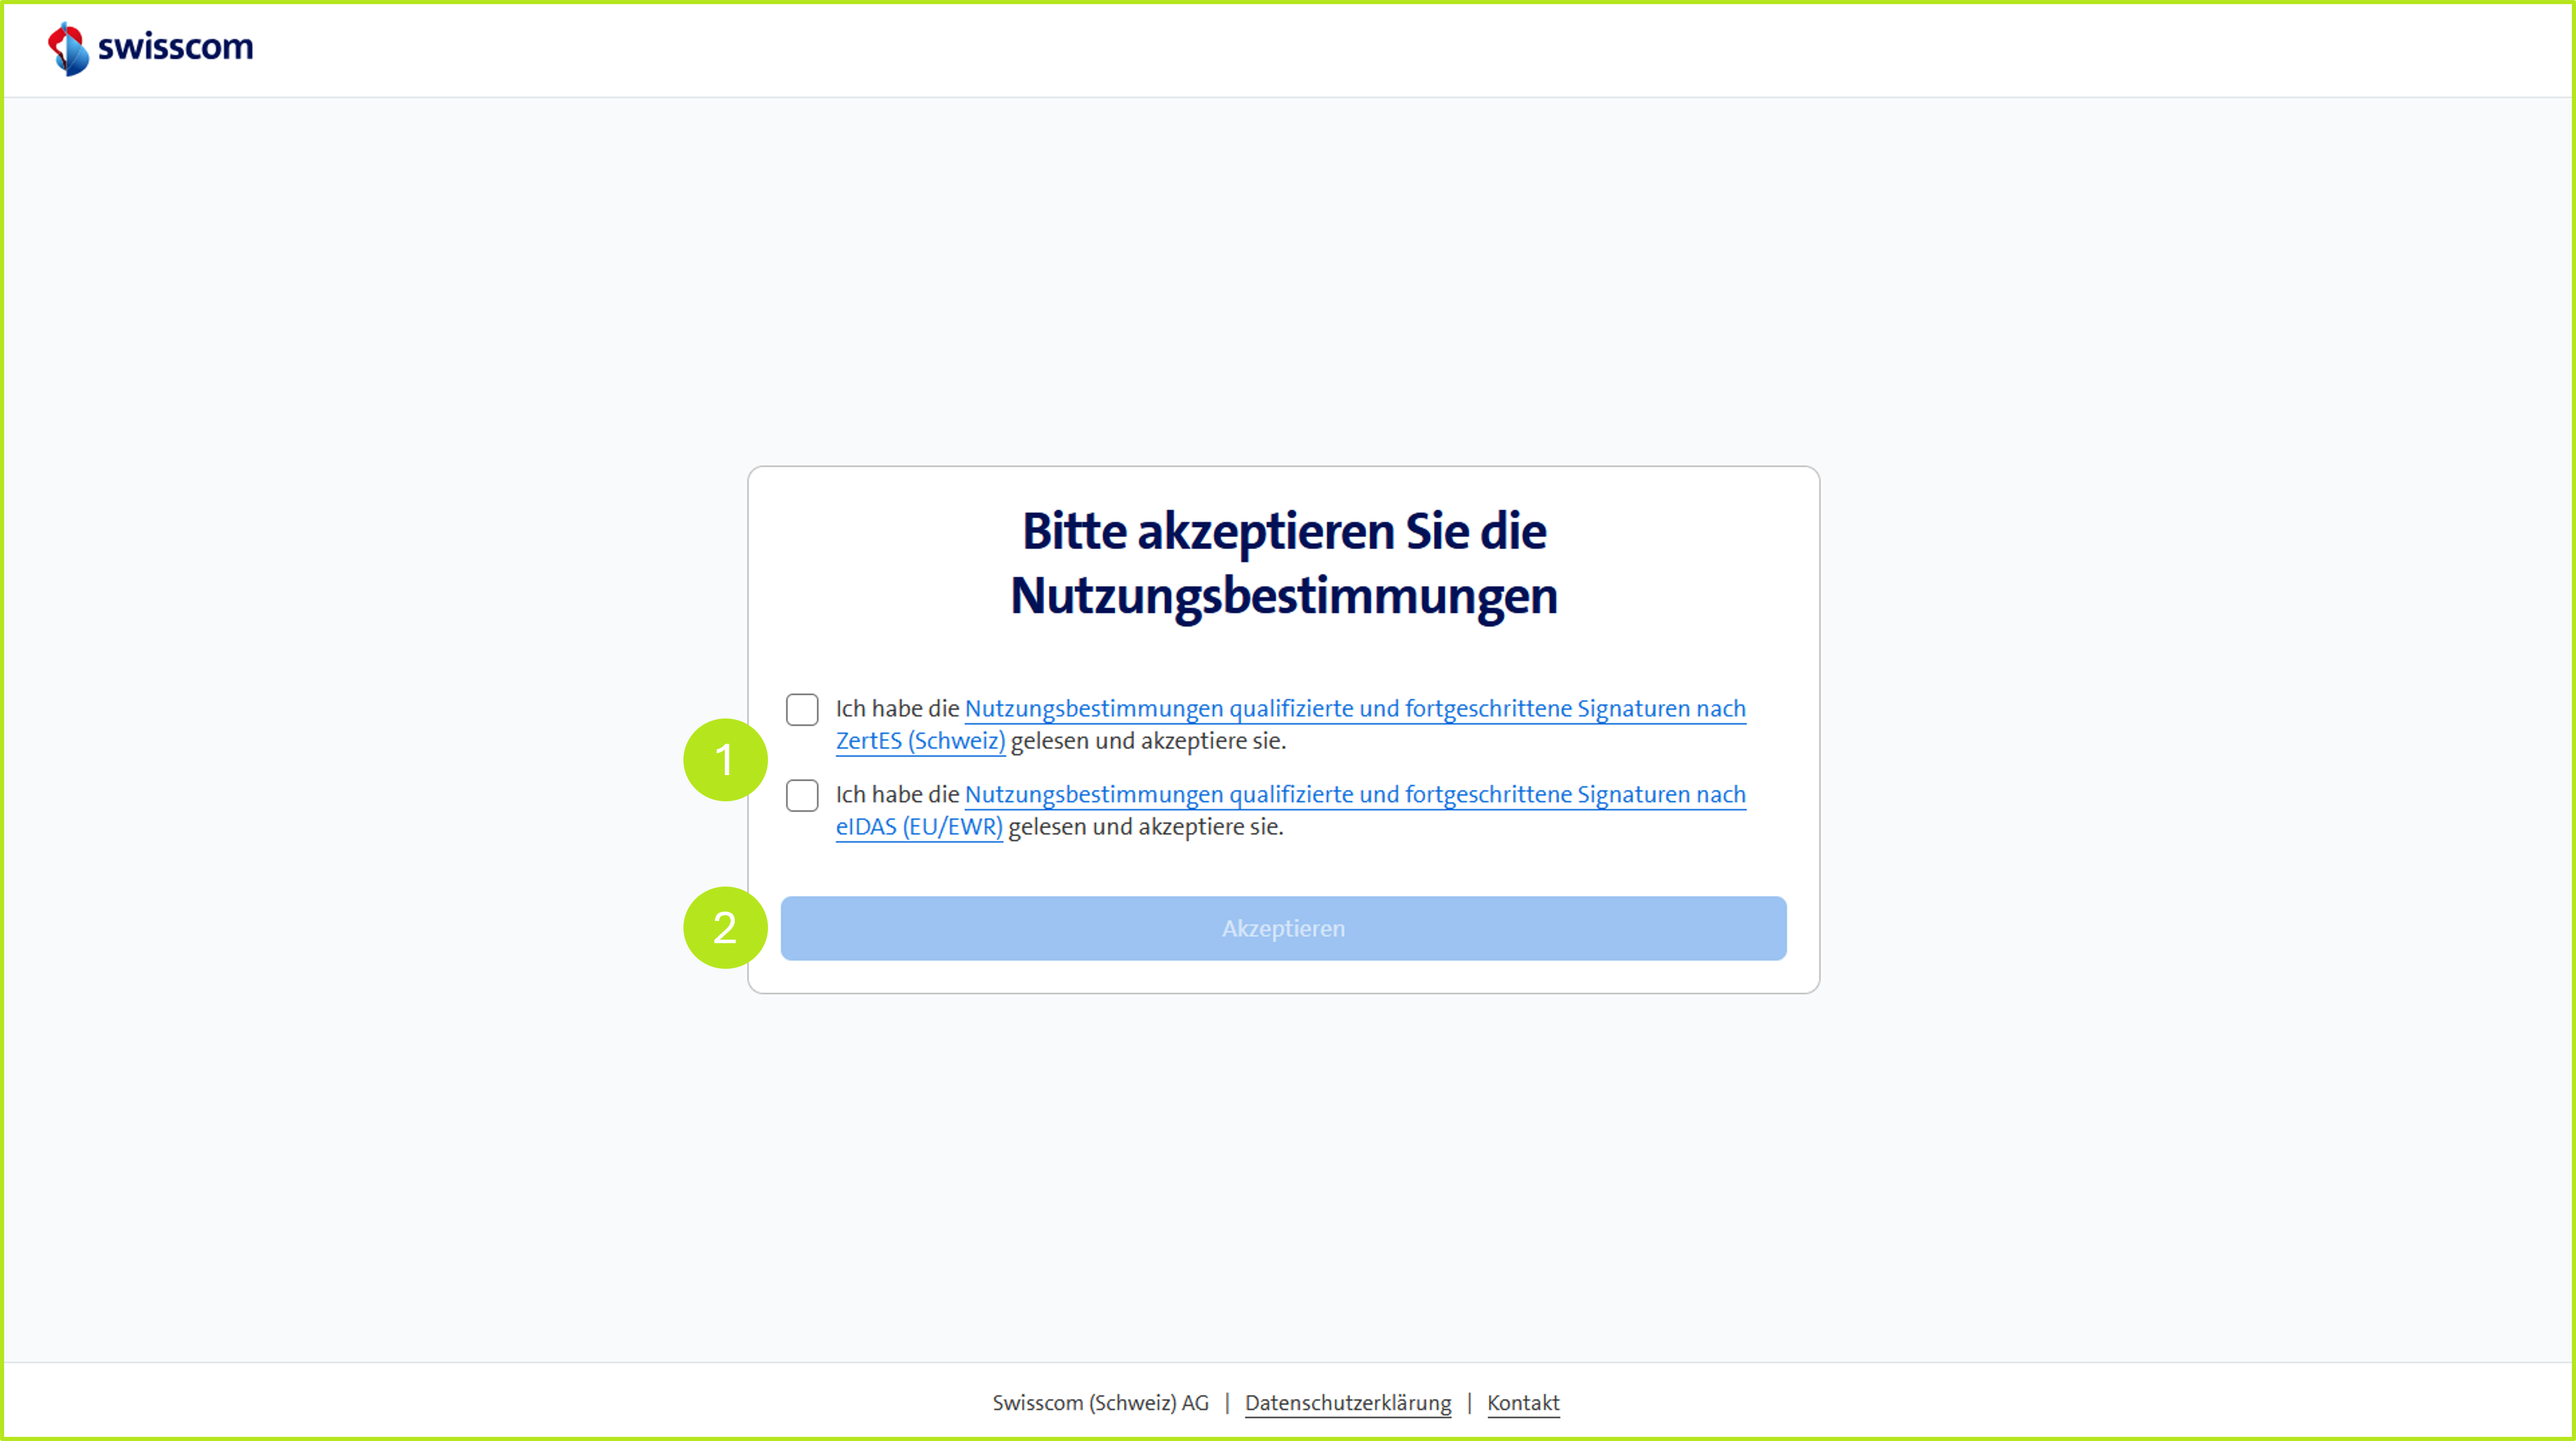
Figure 5: Accepting the terms of use
The next step is to initiate the identification process with Swisscom. To complete the identification process successfully, you will need a smartphone, valid ID (e.g. a passport) and good ambient lighting (see figure 6 [1]). Click on the [Continue]-button to start the identification process (see figure 6 [2]).
If you would like more information about the process, click on Video instructions (see figure 6 [3]). You can change the language settings in the top right-hand corner (see figure 6 [4]).
Next, you must confirm the legal information provided by fidentity. This is the identity provider that performs the identity verification (see figure 7). Clicking on the [Continue]-button (see figure 7 [1]) will forward the external signer or signers in the process.
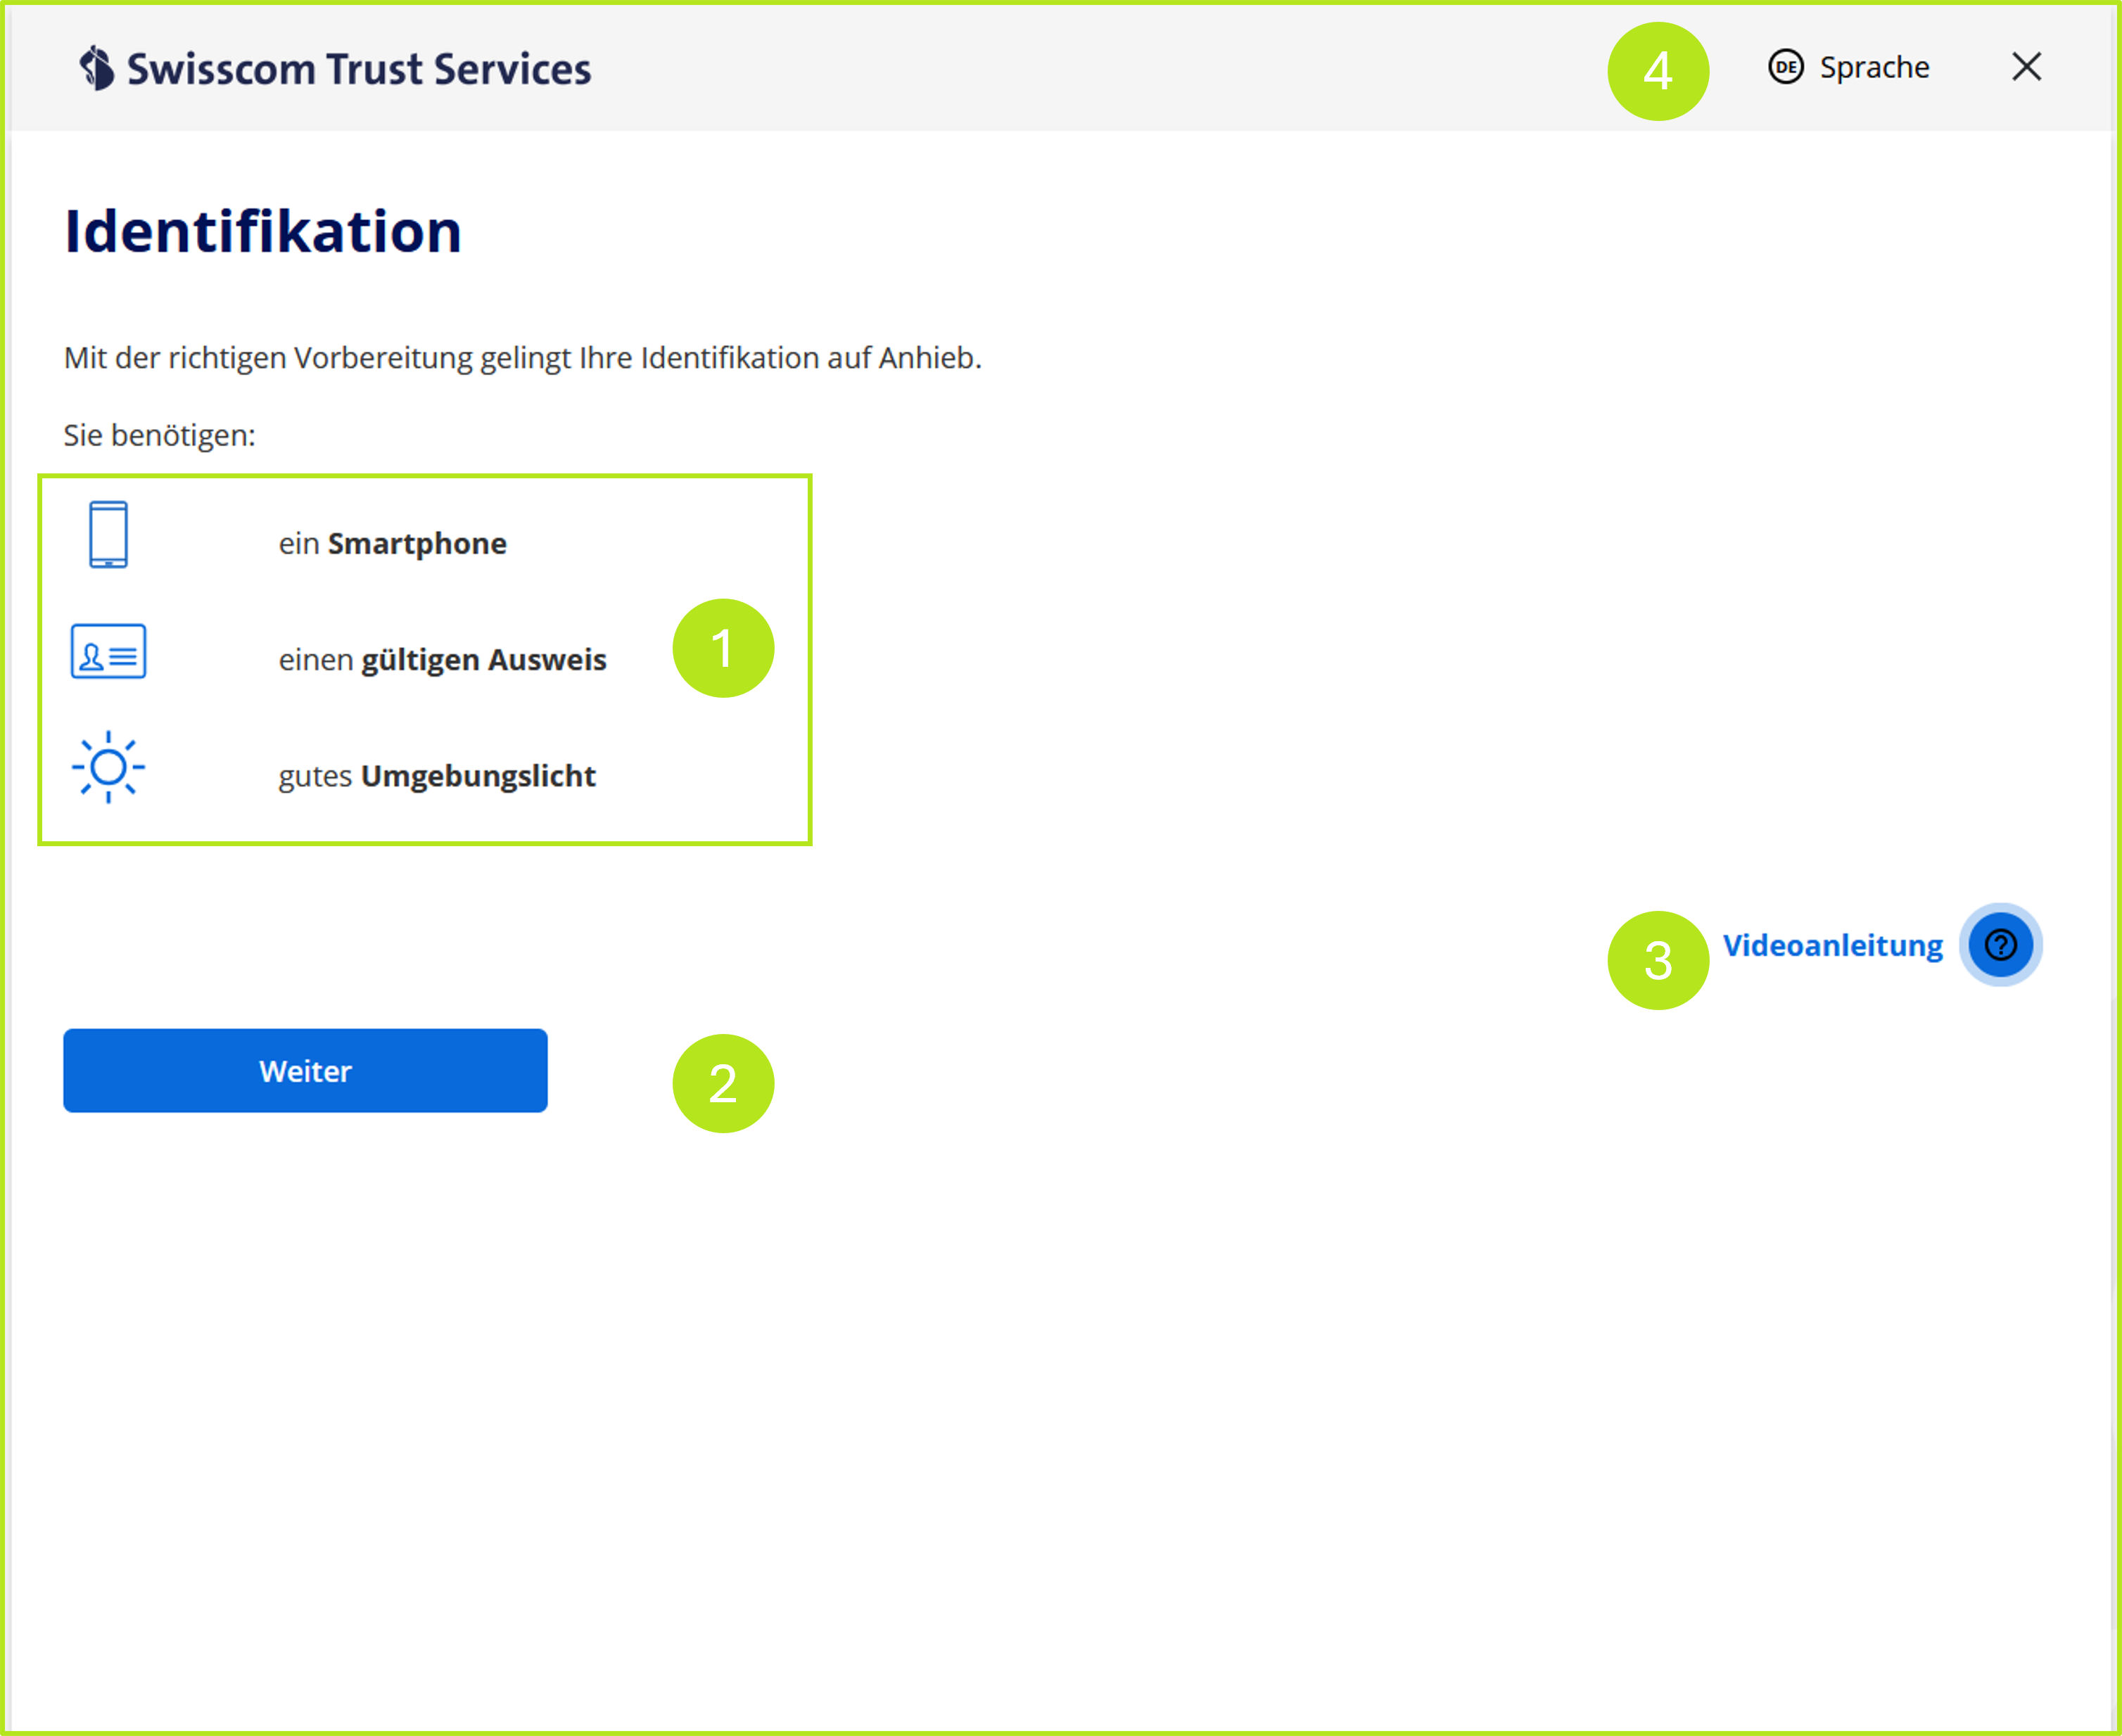
Figure 6: Initiation of identification by Swisscom
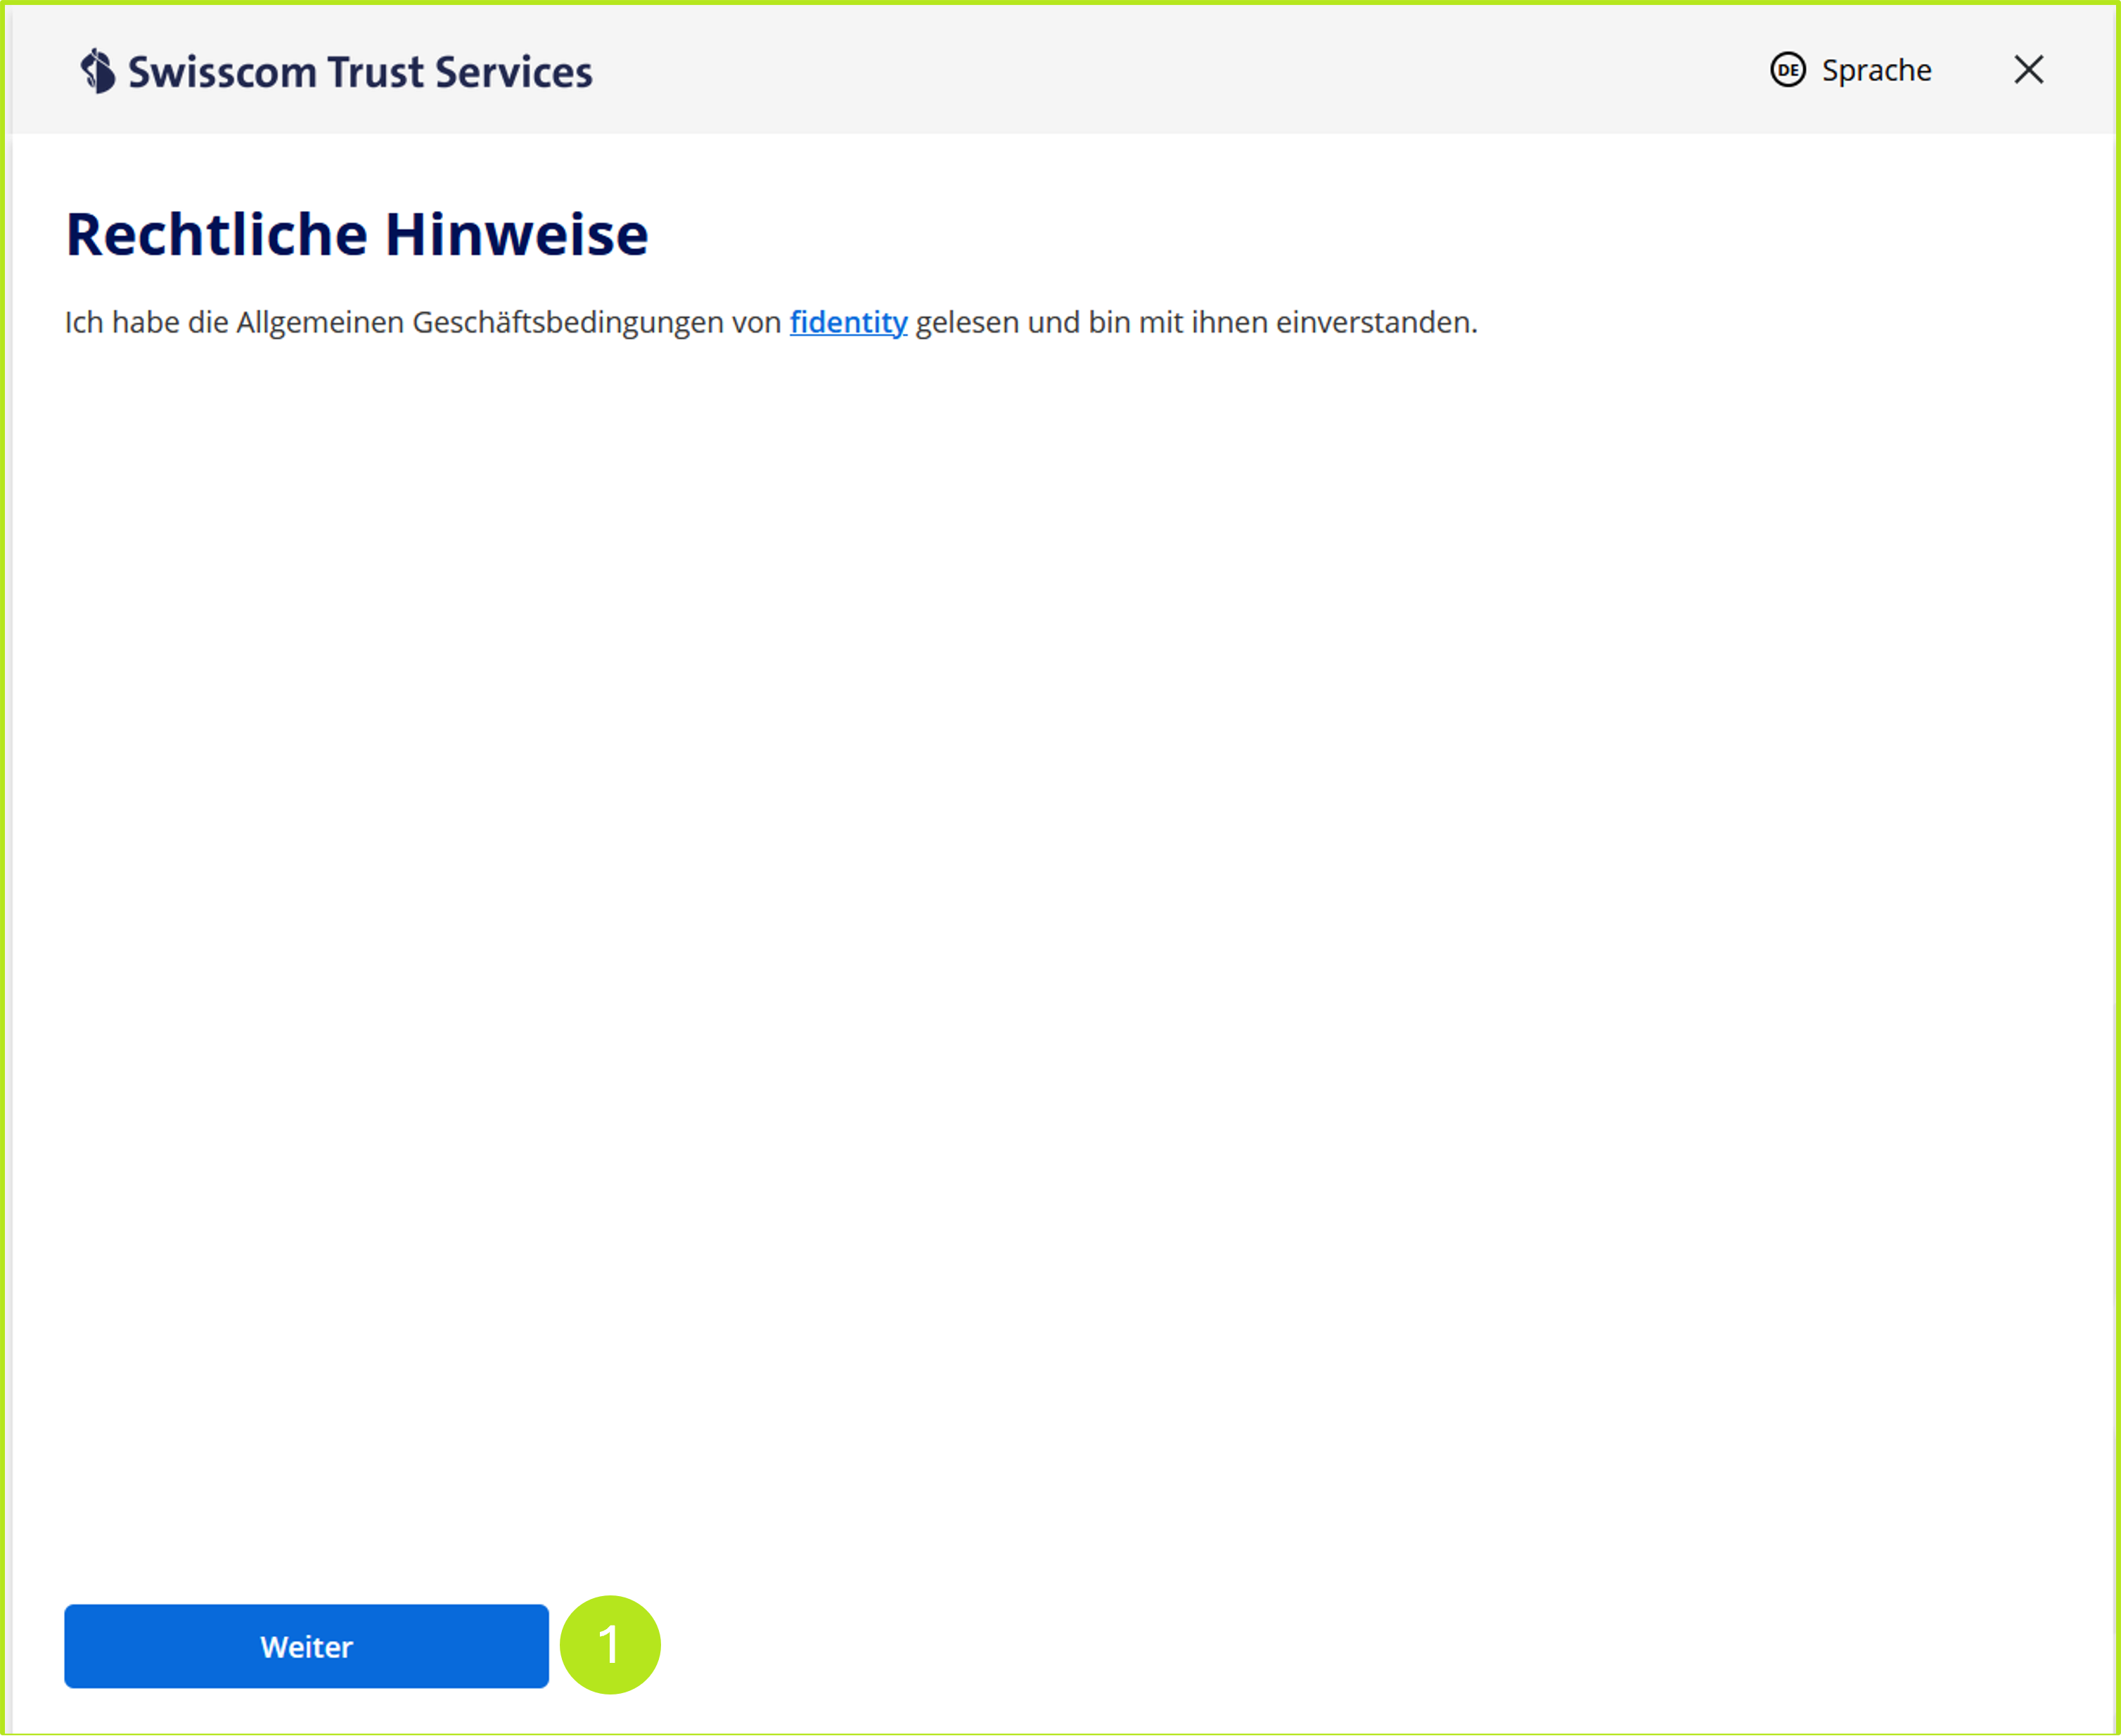
Figure 7: Legal information about fidentity
In the next step, the steps of the process are briefly described (see figure 8) so that it is clear what the external signer or signers can expect. When the external signers click on the [Continue]-button, they are prompted to scan a QR code with their smartphone to initiate the process (see figure 9).
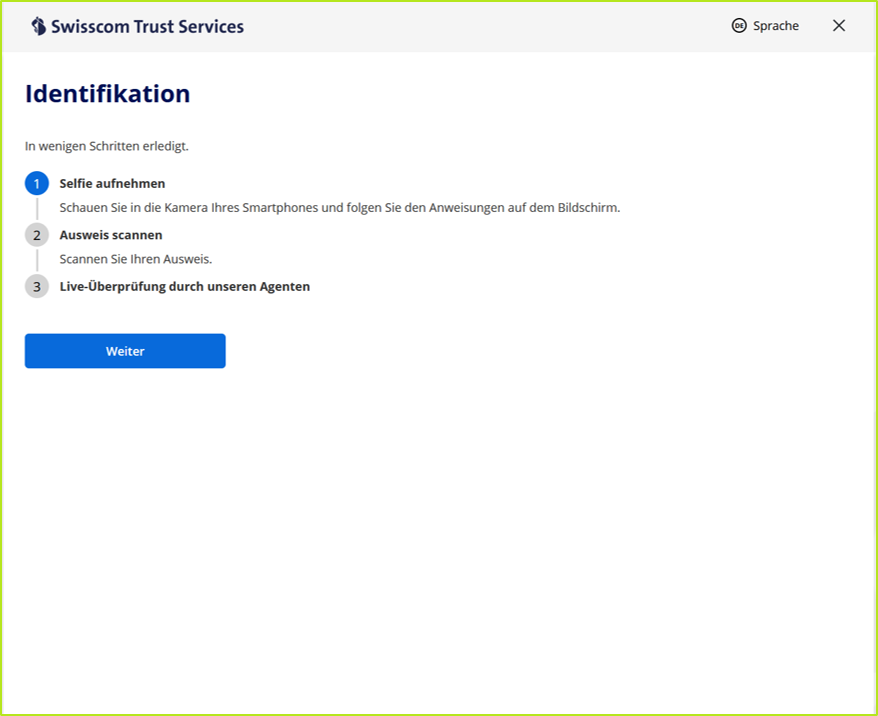
Figure 8: Overview of the next steps
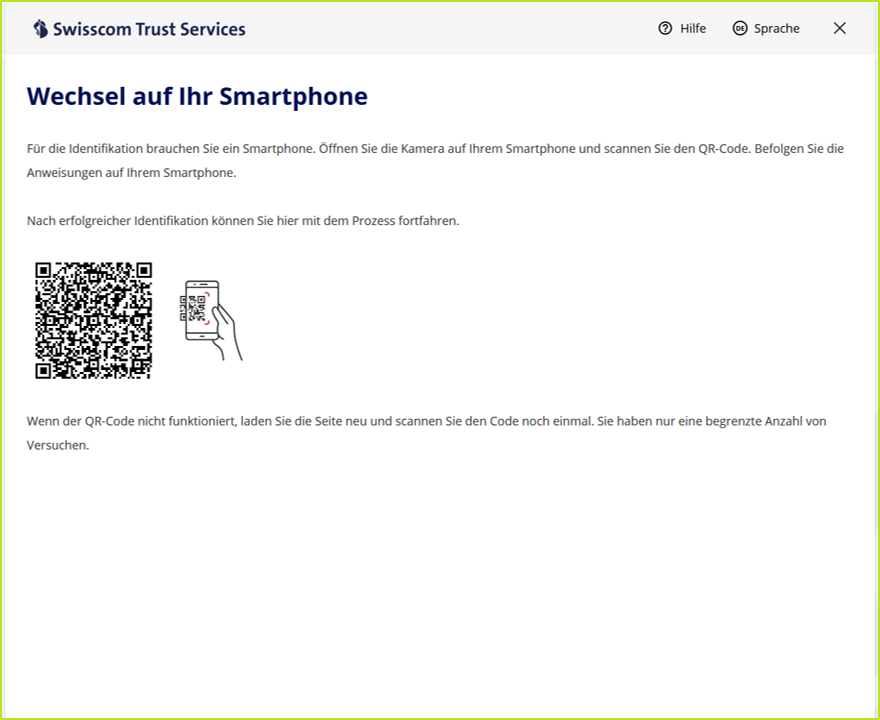
Figure 9: Switch to smartphone
The identification process then follows the steps shown in figure 8, alternating between the smartphone and the browser window. Thanks to its intuitive handling, it is quick and secure. Once this is done, the document is signed as described in Scenario 1.
