
[Business & Now Cloud] Creating Jobs
1. Step-by-step instruction: How do I create a new job in MOXIS?
Step 1: To create a job in MOXIS, click on the [+ Create Job]-button (see figure 1 [1]).

Figure 1: Use the [+Create Job]-button to create a new job
*** *** *** *** *** *** *** *** *** *** *** *** *** *** *** *** *** *** *** *** *** ***
1.1. What types of jobs can I create in MOXIS and what do they do?
Basically, there are four types of orders in MOXIS Business, each of which can be executed on the basis of the eIDAS or ZertES regulations.
Sign document with attachments
Sign document with attachments (ZertES)
Sign document(s) with biometric features
Sign document(s) with biometric features (ZertES)
Sign document(s) with external attachments
Sign document(s) with external attachments (ZertES)
Sign document(s)
Sign document(s) (ZertES)
When you click on the [+ Create order]-button, you will be given the option to choose between four (or eight) options (see figure 2).
But which one is right for your application? To answer this question, please read on below.
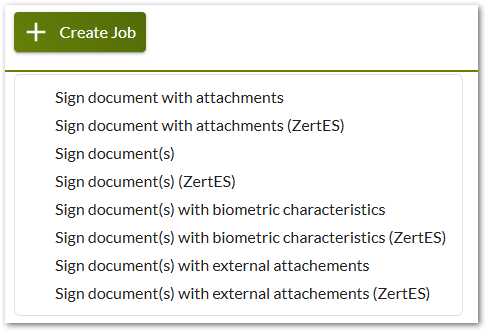
Figure 2: Creating a new order in the MOXIS Business Cloud with a choice of four (or eight) options
1.1.1. Sign document with attachments
Select this option if you want to send a document as a PDF and have it signed. You can upload any number of attachments. These will be signed along with the main document.
Examples of use: Car purchase, contracts including sending the terms and conditions, additional information on travel warnings when booking trips, cancellation policies
1.1.2. Sign document(s) with biometric characteristics
You should select this option if your document is to have at least one advanced signature (FES or AES). For more information about signature qualities, please read here.
Examples of use: When there are two contracting parties, one of whom is not qualified to sign, but you still want to ensure the traceability of the signature. Reasons why someone may not be qualified to sign include:
The country from which the person originates does not offer the option of qualified electronic signatures.
There is no valid ID.
The person does not have access to the internet.
They do not wish to register.
1.1.3. Sign document(s) with external attachments
Select this option if you want to send (a) document(s) as a PDF to an external person and have it signed.
Please note: When this option is used, external recipients must upload at least one attachment.
Examples of use: Identity or Know-Your-Customer documents (copy of ID, extract from the commercial register, supplementary contract), financial and creditworthiness documents (payslips, balance sheet/P&L, risk assessment), HR documents (CV, certificates, references, work samples), application attachments for authorities (expert opinions, plans, photos), evidence for complaints, cancellations or claims (photos, delivery notes, return receipts, email correspondence).
1.1.4. Sign document(s)
Select this option if you have a large number of PDFs to sign. Each PDF can be signed with one or more separate signatures. Please note: In this case, attachments are NOT automatically signed.
Examples of use: Contract documents, minutes
*** *** *** *** *** *** *** *** *** *** *** *** *** *** *** *** *** *** *** *** *** ***
Step 2: In the form on the left-hand side, you can then create iteration levels with a click on the [+Create iteration]-button (see figure 2 [1]) and fill in the necessary data for the job (see figure 3 [1 - 12]).
On the right-hand side, you can upload the corresponding documents or attachments (see figure 2 [2]) and select your preferred visualization type. There are different ways to upload attachments depending on the different processes (see figures 4 - 7).
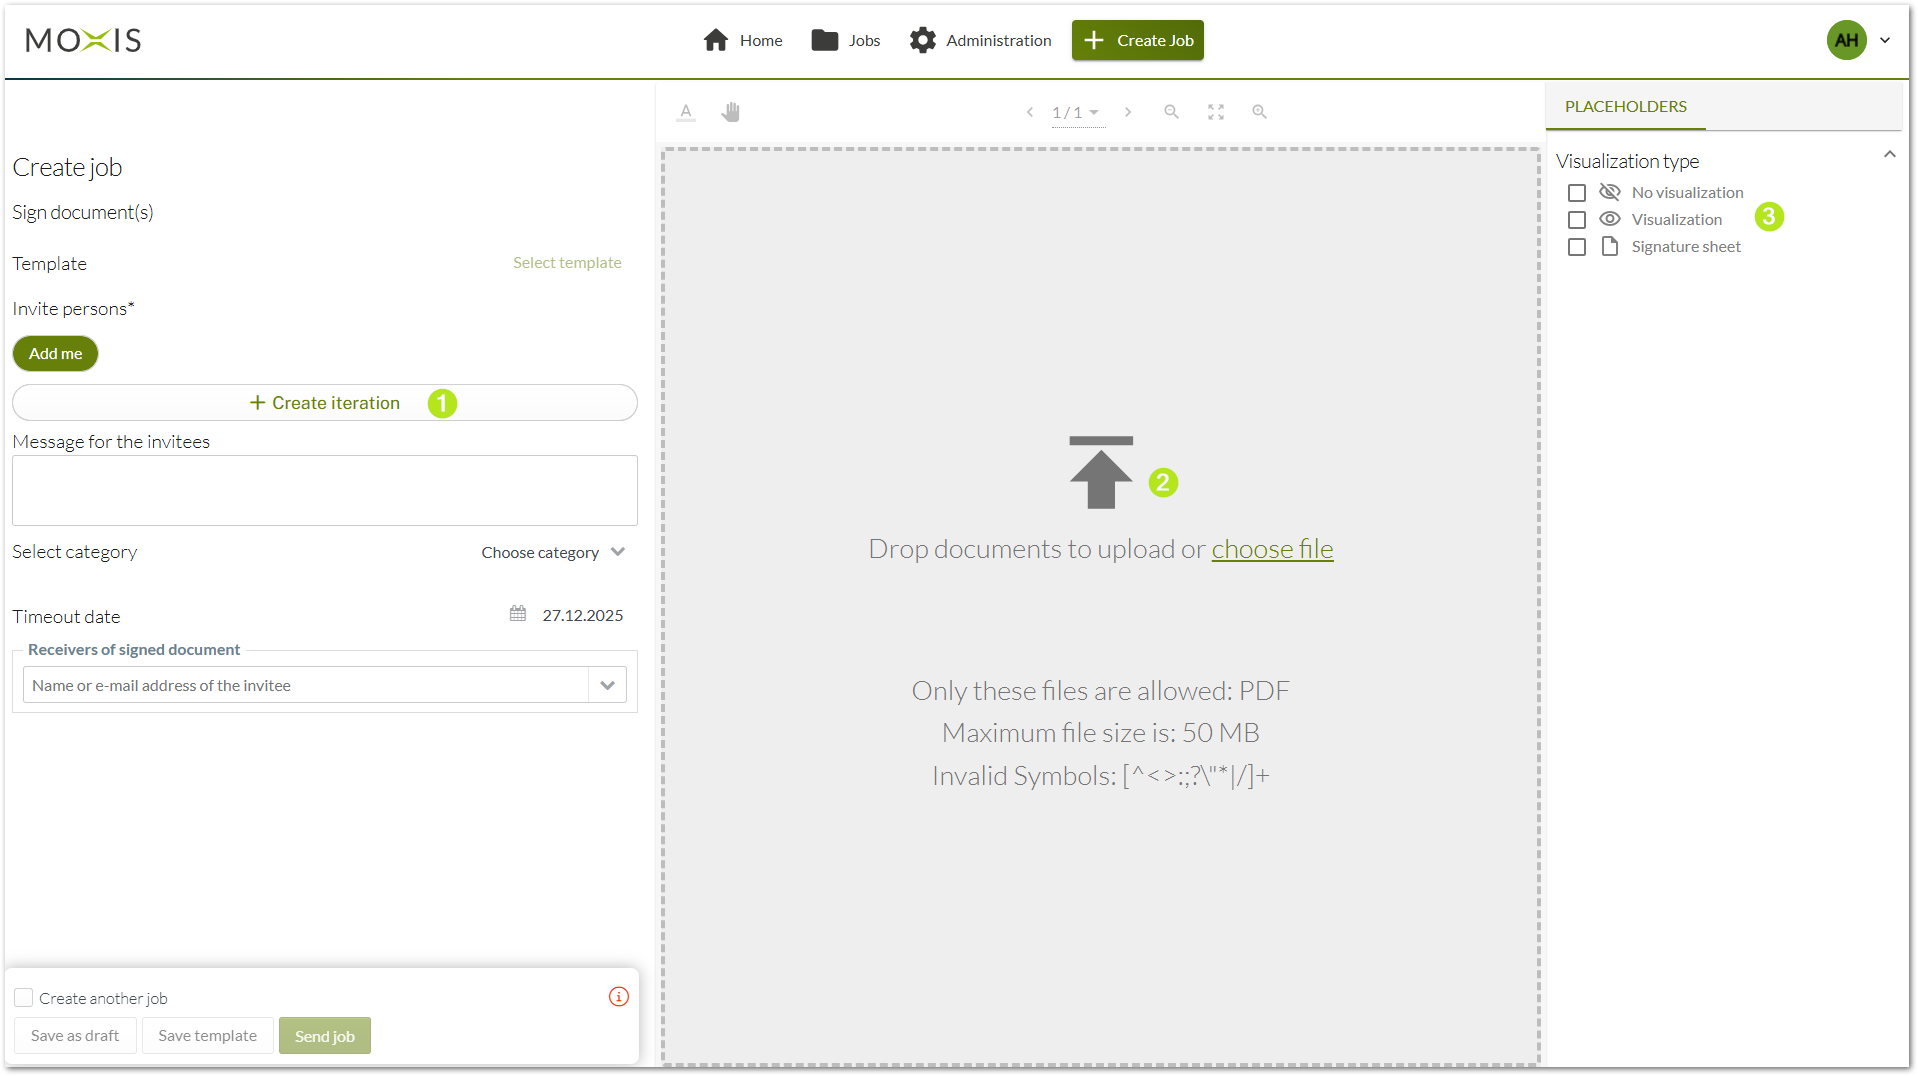
Figure 2: Create new job and an iteration
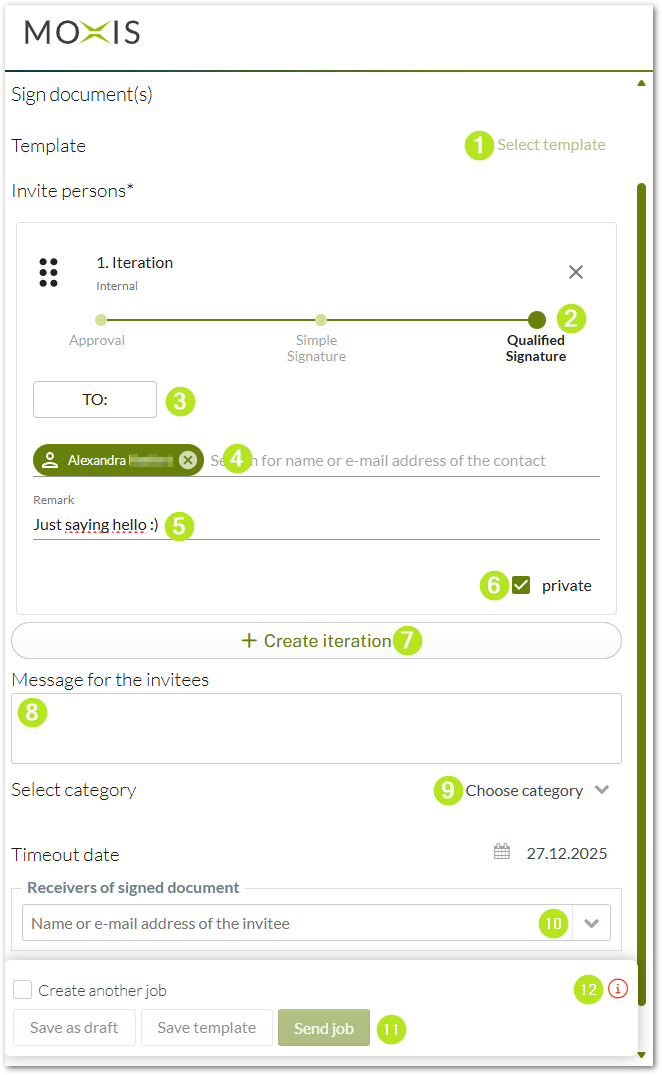
Figure 3: Add information to the job
You can still change the signature quality as well as the recipient at any time.
Please note: If you add additional recipients to a job, the original ones may be deleted because external and internal recipients cannot be mixed in one iteration. However, you will receive a warning in advance.
The following job data can/must* be entered (see figure 3):
Select template:
If you are working with templates, please select one here by clicking on Select template (see figure 3 [1]).Signature quality*:
Please select a signature quality by moving the slider to the right or left (see figure 3 [2]).Recipients*:
The job recipients are to be listed here (see figure 3 [4]). Depending on the configuration, the search can be performed by first and last name or e-mail address. Both registered MOXIS users and external signers (optional) can be invited. With one click on the [TO:]-button (see figure 3 [3]) you can open the address book and add recipients directly from it.Remark:
There is the option of providing a remark (see figure 3 [5]).Private Iteration:
An iteration can be marked as private. Please note, that in this case, no other person but the constituent have access to the data in the iteration (see figure 3 [6]).[+Create iteration]-button:
You can add as many further iterations as you wish with a click on the [+Create iteration]-button that appears at the bottom of an iteration as soon as it was created (see figure 3 [7]).Message for the invitees:
You can leave a message for the invitees right here (see figure 3 [8]).Category:
The job can optionally be assigned to a category (see figure 3 [9]).Receivers of the signed document:
Optionally, further receivers of the signed document can be added (see figure 3 [10]).[Save as draft] [Save template] [Send job]
Here, you can save a draft, a template or send a job with a click on the corresponding button (see figure 3 [11]). Please note, that these buttons stay greyed out until every necessary information to the job has been given. The icon in the top right-hand corner (see figure 3 [12]) of the section provides you with information about which data is still missing for the order to be completed or shipped when you hover over it with the mouse.
1.2. Ways to handle attachments when creating a job
1.2.1. Sign documents with attachment (eIDAS or ZertES)
When you select this process (see figure 4 [1]), you will have the possibility to upload attachments after you uploaded the main document (see figure 4 [3]). To upload an attachment, please click on the paperclip-icon (see figure 4 [2]).
If ‘Sign document(s) with attachments’ is selected as the signature process, the ‘complete package’ consisting of the main document and attachments will be signed. In this case, the attachments are part of the main document. Depending on the configuration, attachments may be restricted to certain file types.
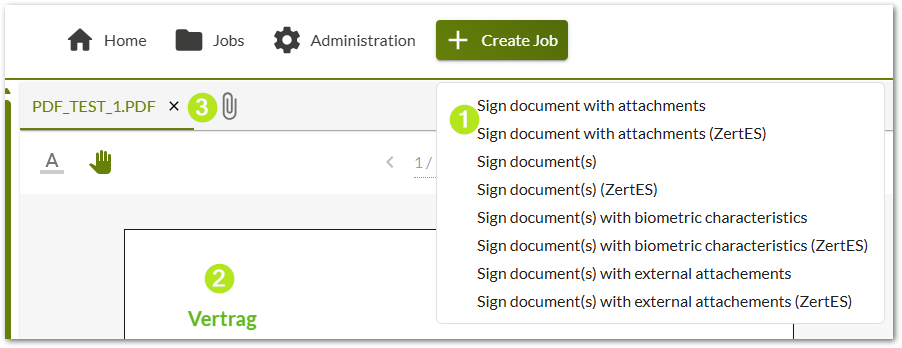
Figure 4: Sign documents with attachments
1.2.2. Sign document(s) (eIDAS or ZertES)
When you select this process (see figure 5 [1]), you will have the possibility to upload attachments after you uploaded the main document (see figure 5 [2]). To upload an attachment, please click on the plus-icon (see figure 5 [3]). The following overview allows you to upload a PDF or an attachment (see figure 6).
By default, the system is configured so that up to ten attachments can be uploaded. Attachments serve as information for job recipients and are not co-signed in the case of a standard configuration.
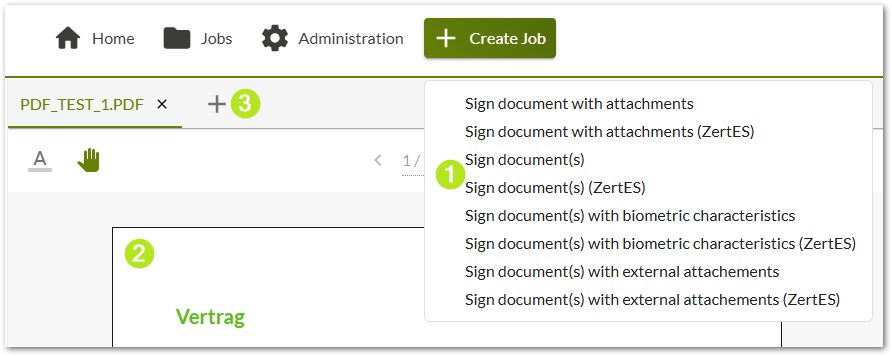
Figure 5: Sign document(s)
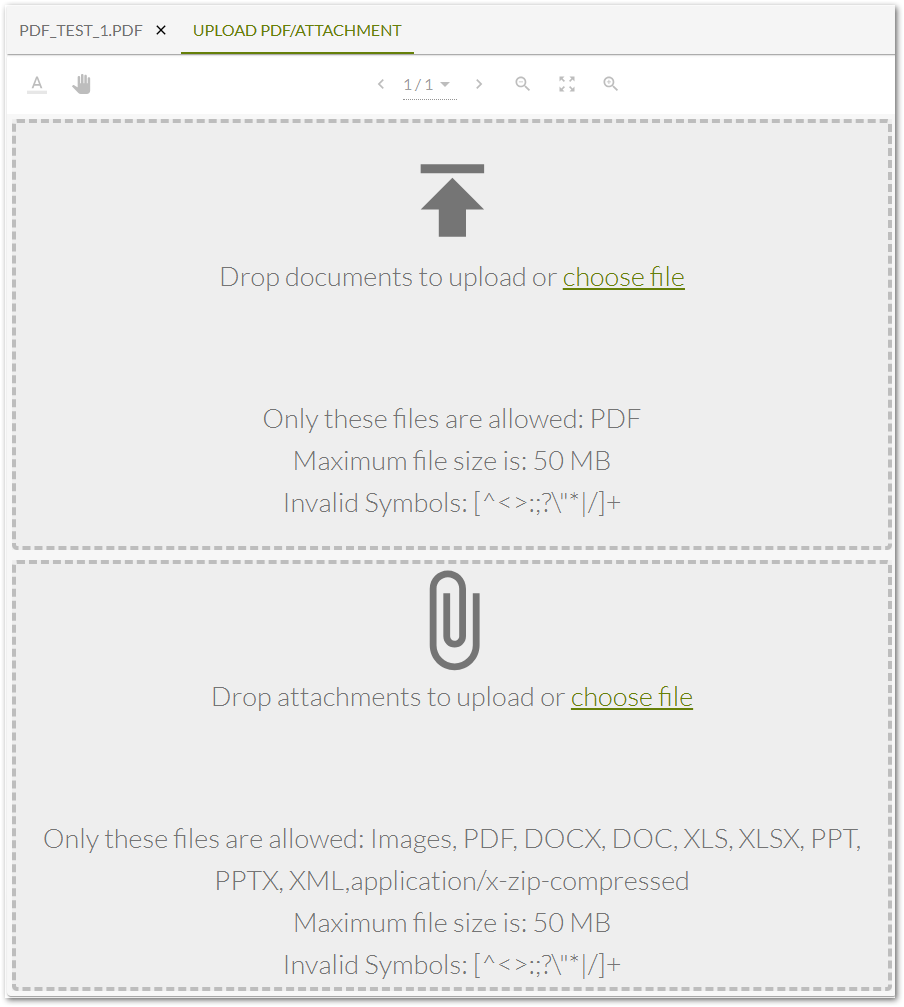
Figure 6: Upload PDF/Attachments in the “Sign document(s)”-process
1.2.3. Sign document(s) with external attachments (eIDAS or ZertES)
When you select this process (see figure 7 [1]), you will have the possibility to upload attachments after you uploaded the main document (see figure 7 [2]). To upload an attachment, please click on the plus-icon (see figure 7 [3]).
If ‘Sign document(s) with external attachments’ is selected as the signature process, only the main document will be signed by the external recipient. By default, the system is configured so that up to ten attachments can be uploaded. Attachments serve as information for job recipients and are not co-signed in the case of a standard configuration.
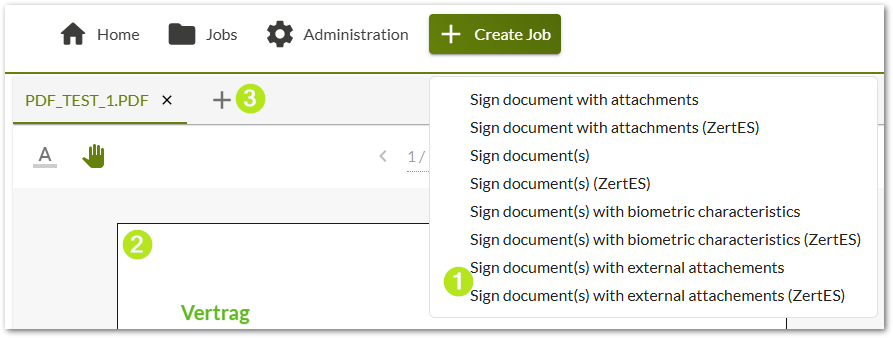
Figure 7: Sign document(s) with external attachments
When you add a photo as an attachment, a preview is displayed so you can check if you have selected the correct file. To do this, open the respective tab (see figure 8). For very large files, scroll bars make it easier for you to check.
Figure 8: Preview of an uploaded image
Please note: Certain file types (e.g. txt) are not displayed in the preview. However, if the upload of such files was successful, this is indicated accordingly (see figure 9).
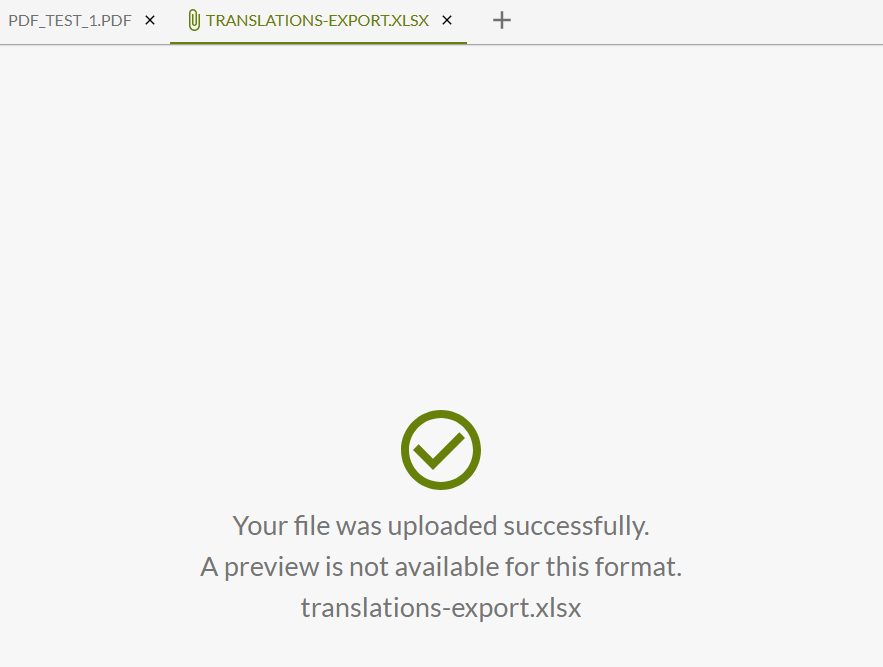
Figure 9: Upload successful, but preview not available
If you upload a file with an invalid format according to the configuration or which exceeds the allowed file size, you will receive a corresponding error message (see figure 10 and 11).
The permitted formats and sizes are displayed in the input screen (see figure 6) and depend on the system configuration of your MOXIS instance!

Figure 10: error message for invalid file format

File 11: Error message for invalid file size