
XignUp Configuration
Content
With XignUp from XiTrust, you can obtain your digital identity in accordance with eIDAS in no time at all. XiTrust has introduced the term “xIDENTITY” in cooperation with A-Trust and coined the term. For more information about xIDENTITY and XignUp, take a look at the user manual, the admin manual, or read more here. This article shows you how to connect XignUp via the administration area in MOXIS to make xIDENTITY available to your users.
1. Step-by-step instructions: Configuring XignUp in MOXIS
Step 1: Please log in to the administration area. Here, under the XignUp Configuration-tab (see figure 1 [1]), you can configure XignUp in MOXIS. The connection enables you to create registration links, which in turn allow individuals to register for a digital identity based on an auto-identification process.
Step 2: Please enter your login details in the fields provided. You can obtain your XignUp login details from your XiTrust contact person. Figure 2 shows an example configuration.
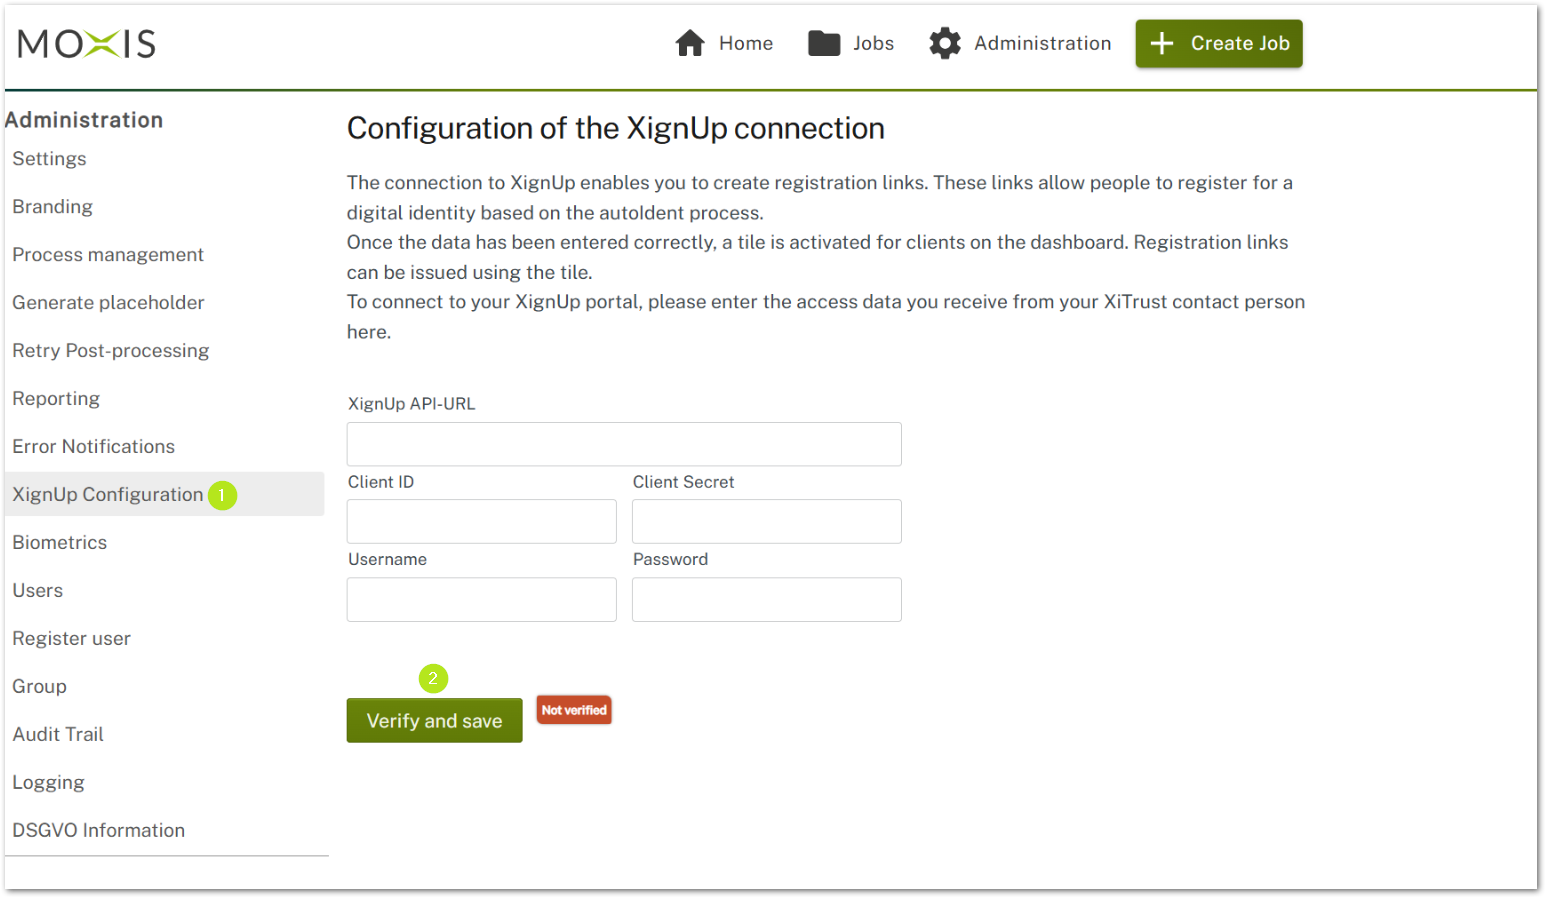
Figure 1: Configuration of the XignUp Connection
Step 3: To complete the registration, please click on the [Verify and save]-button (see figure 1 [2]).
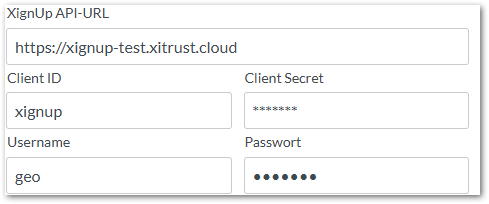
Figure 2: Connection of XignUp with test data
Step 4: Once the connection has been successfully established, the user interface will change. The following options are now available to you:
(1) XignUp API URL: After the registration, the XignUp API URL is created. It can be viewed here (see figure 3 [1]).
(2) [Disconnect]-button: You can disconnect at any time using this button (see figure 3 [2]).
(3) [Verified]-button: Here you can see the status. This can be either [verified] or [not verified] (see figure 3 [3]).
(4) Expiration date: In this area, you can see the validity of the token. In our example, the token is valid until May 27, 2026 (see figure 3 [4]).
(5) Identification limit: Here you can see how many identification links you can still issue and how many have already been issued. In our example, 23 of 50 have been issued (see figure 3 [5]).
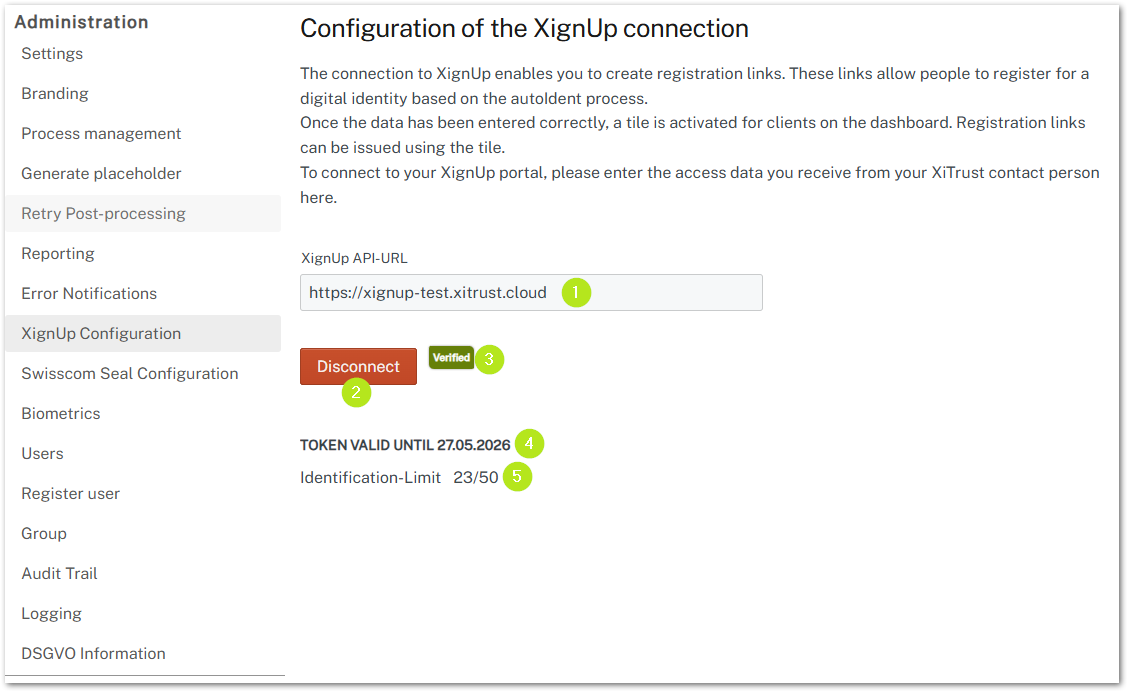
Figure 3: Successfully established XignUp connection
Step 4: From now on, any MOXIS user with the appropriate rights can generate and send emails containing a dynamic link to register for an xIDENTITY by clicking on the activated tile in the user interface (see figure 4 [1]).

Figure 4: Creating and sending XignUp Links from the user interface