
Groups
Content
The Groups tab in the MOXIS administration area displays the existing groups and allows you to create new ones. This article introduces you to the topic.
1. Groups interface (Dashboard)
To access the groups interface, open the administration area and open the the Group-tab (see figure 1 [1]).
In addition to the list of all existing groups (groups listed by group name; see figure 1 [2]), module groups (see figure 1 [3]), and number of group users (see figure 1 [4]), you also have the option of adding new groups here (see figure 1 [5]).
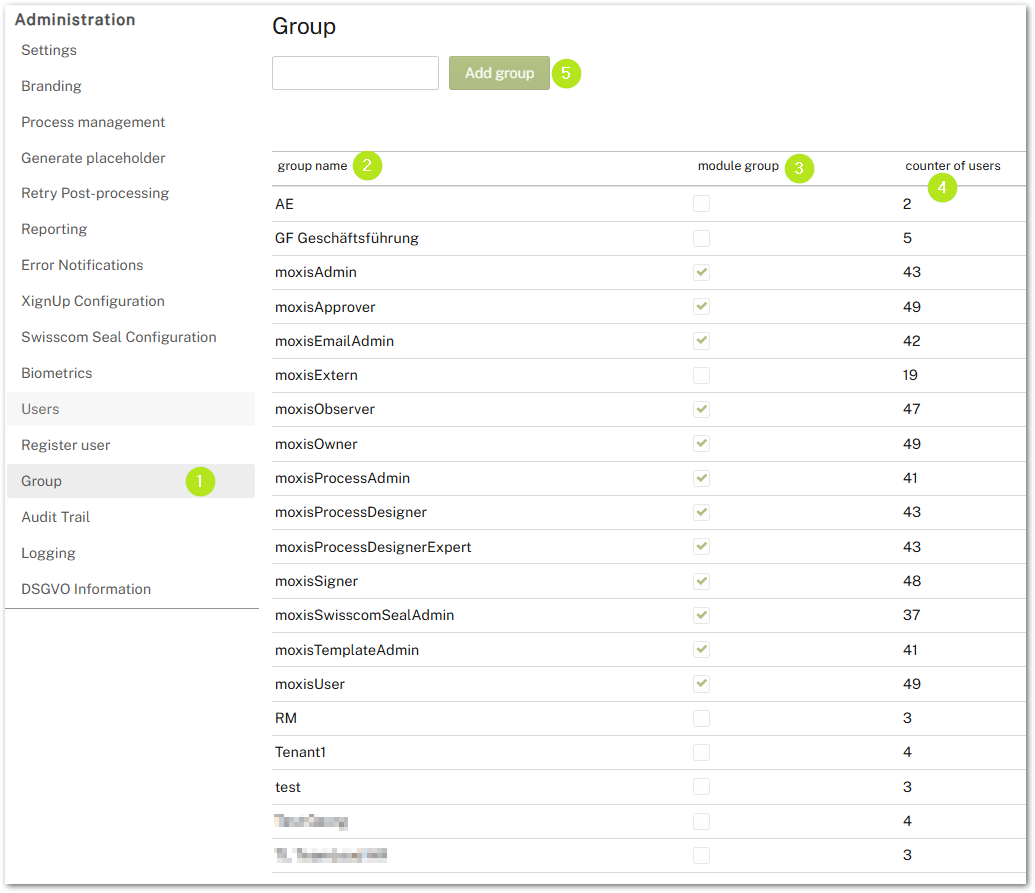
Figure 1: Group-dashboard in the MOXIS Administration
Please note: Module groups are groups based on roles specified by MOXIS, which automatically assign the corresponding role to the users in the group.
XiTip
Further information on configuring roles can be found in the Administration Manual, the Admin FAQ, or the User Manual.
By moving your mouse over the name of a group (see figure 2 [1]), you can add users to a group (see figure 2 [2]), remove them from the group (see figure 2 [3]), or show them in the group (see figure 2 [4]), because hovering over the name provokes three fields to appear on the right side of the table.

Figure 2: Edit users of a group
1.1. Step-by-step instructions: Creating groups
Step 1: To create a group, first enter the desired name of the group in the field provided (here: Test 1; see figure 2 [1]) and click on the [Add group]-button (see figure 2 [2]).
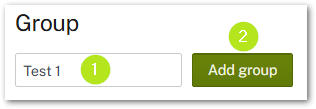
Figure 2: Add group
Step 2: Once the group has been created, you will see it listed as a group in the overview (see figure 3 [1]). However, no users have been assigned to the group yet. Please add them now using the [Add user]-button (see Figure 3 [2]). Further possiblities to edit the group’s users are: Remove user and Show users in Group. Alternatively, you can delete the group.
XiTip
The [Add user]-button appears when you hover your mouse over the group name (see figure 3 [1]).

Figure 3: Edit users in group
Step 3: In the window that opens, you can select and add as many users as you want by searching for their names and clicking the [OK]-button (see figure 4). A Click on the [Cancel]-button cancels the process.
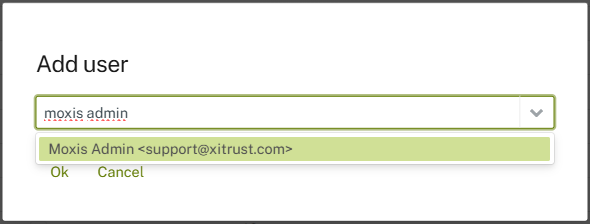
Figure 4: Add users to a group
XiTip
You can remove users from groups as well by clicking on the [Remove user]-button (see figure 3) and then selecting the relevant users and deleting them from the list.
You can also show all users from a group by clicking the corresponding option in the overview (see Figure 3).
In the overview that opens, you can see all users from a group and use the corresponding buttons (see figure 3) to edit, deactivate, or reset the password of the user directly in the overview (please see our article on users in the administration manual).