
[ADMIN FAQ] How do I configure a Swisscom seal?
Content
Swisscom SealService enables companies to provide files with an electronic seal. This article explains how to configure such seals.
1. General information about Swisscom seals
A Swisscom seal can be considered a digital company stamp, which corresponds to an advanced or qualified electronic signature for natural persons. Electronic seals prove that a document (contract, invoice, image, etc.)
is genuine (authenticity),
was created by a specific organisation (origin) and
has not been altered (integrity).
The electronic stamp is based on asymmetric encryption. In this public-key procedure, a digital signature is created with a private (secret) key, while its authenticity is verified with a public key. The access certificate (client TLS) is protected, not the seal itself. The key for the seal is stored in an HSM at Swisscom.
2. Step-by-step guide: Configuring Swisscom Seals
Step 1: Log in to the administration interface. Open the process for which you want to configure the Swisscom seal in the process management and navigate to the signature tab. Add the tenant for which you want to configure the process. Save your changes.
Step 2: Switch to the Personal Encryption tab (see figure 1 [1]), set a password and confirm it (see figure 1 [2]). Now click on the [Create new key]-button (see figure 1 [3]).
.png?inst-v=d601b899-05f7-48b8-bb07-f142edd7f092)
Figure 1: Creating a password-protected key in MOXIS
Congratulations! You have just created your first password-protected key in MOXIS. The window now looks like the one in Figure 2.
XiTipp
Please note: You can delete the key by clicking on the [Delete key]-button. However, this may affect the entire configuration of your Swisscom seal. Therefore, if you ever want to delete the key, please contact XiTrust Support beforehand.
It is also possible to change the password by clicking on the [Change password]-button.
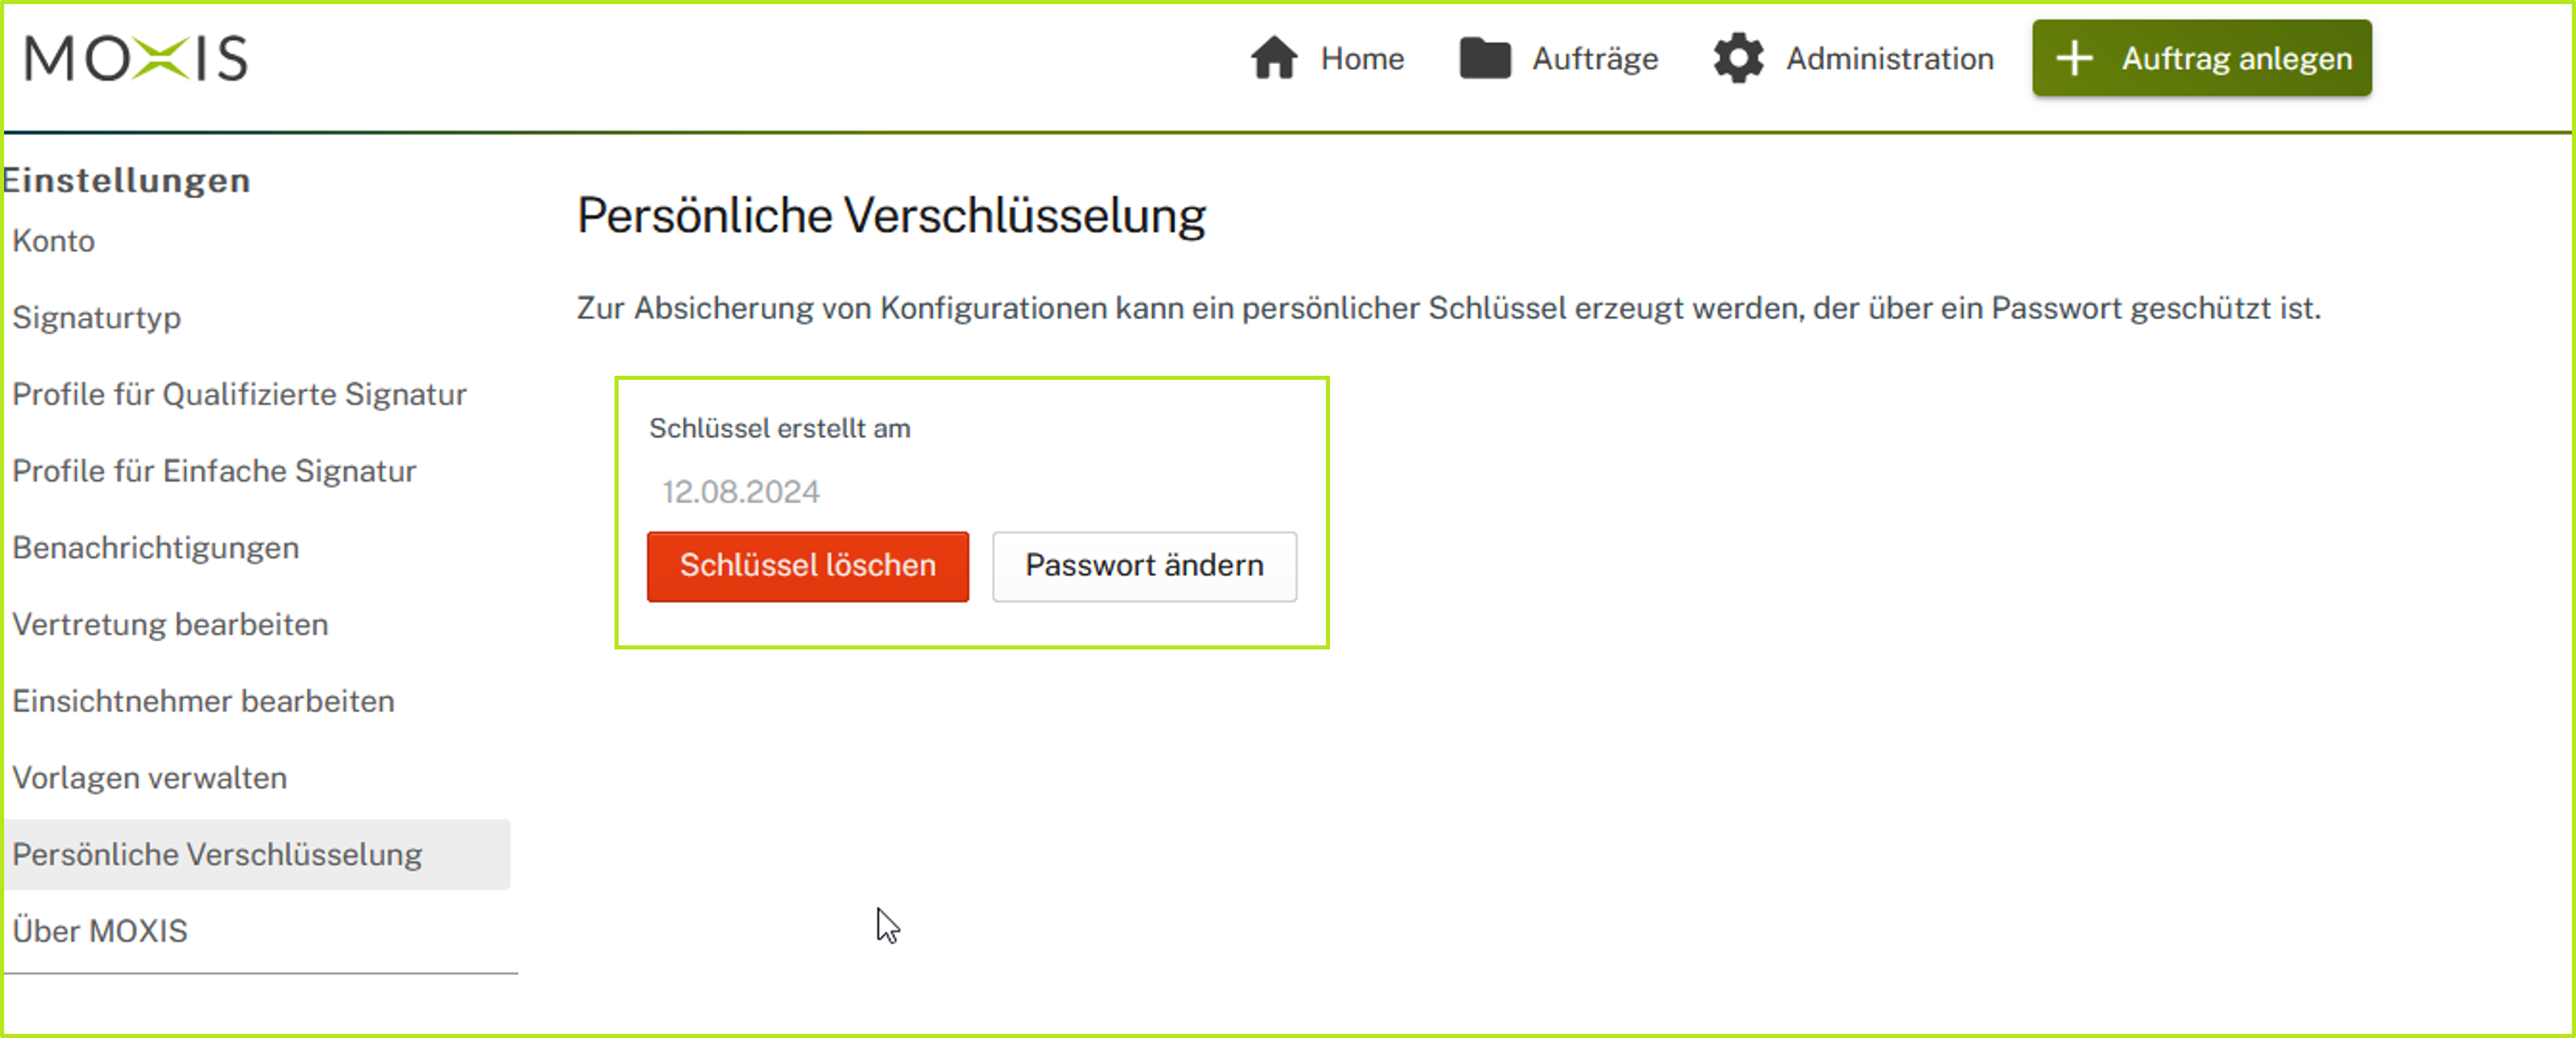
Figure 2: Password-protected key created in MOXIS
Step 3: Now switch to the Swisscom Seal Configuration tab in the administration interface (see figure 3 [1]). In the overview that now opens, you can check whether the tenant assignment has worked. The assigned tenant is shown here in parentheses (see figure 3 [2]).
Step 4: Create an SSL certificate. To do this, please enter the following values in the designated area:
Personal encryption password (which you generated in step 2)
Common name (which you will receive from XiTrust after configuration)
E-mail
Organisation
Country
Validity (select between productive access, test access or partner access – see figure 3 [3]. If you have any questions regarding the selection, please contact our support team.)
Step 5: Once you have completed all fields, please click on the [Create SSL certificate]-button (see figure 3 [4]). Please note: You will receive the claimed identity (see figure 3 [5]) from Swisscom at a later date. In the first step, this is still omitted.
Step 6: The certificate appears in the last section. This consists of the following parts (from left to right)
Subject DN (contains the certificate)
Expiration date (shows the expiration date)
Action (allows you to edit, download or delete the certificate)
Please download the certificate by clicking on the middle option in the Action column. A downloaded example certificate can be seen in Figure 5. It is stored as a Base64-encoded certificate in a text file to make it easier to submit. Once the claimed identity is available, it can be entered here and the certificate can be assigned to users from the corresponding tenant group.
.png?inst-v=d601b899-05f7-48b8-bb07-f142edd7f092)
Figure 3: Swisscom configuration interface
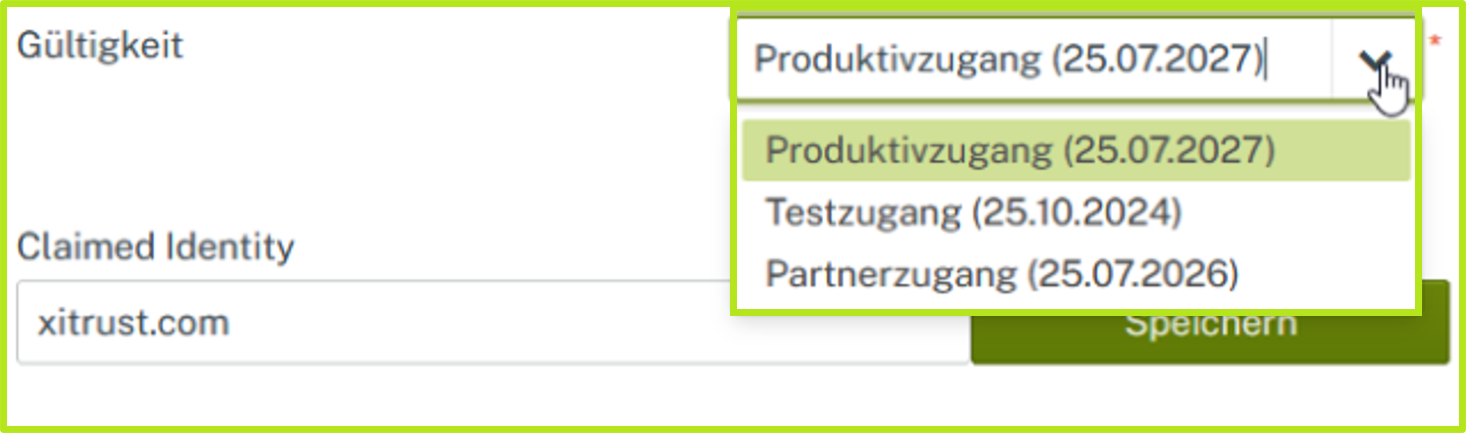
Figure 4: Choose between productive, test or partner access
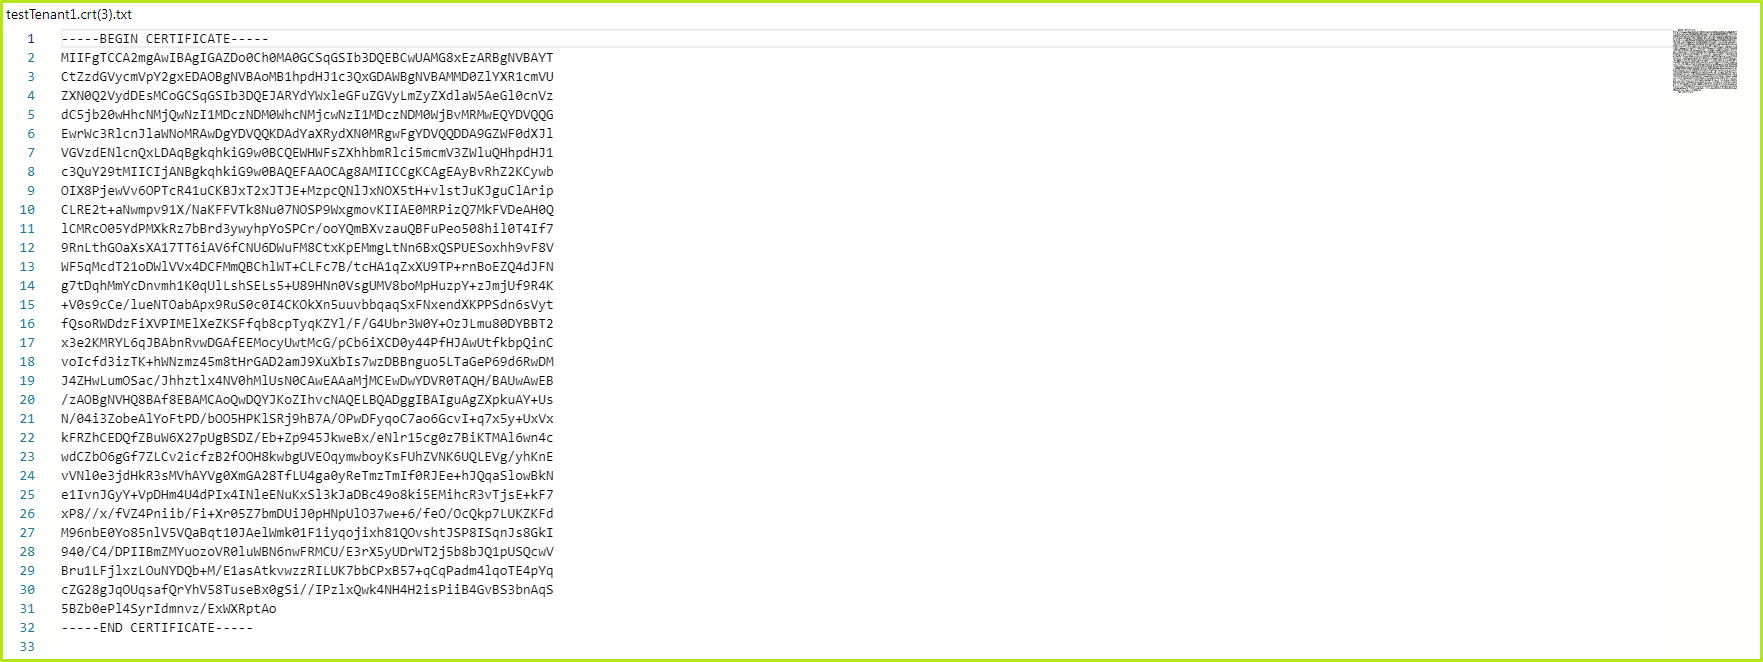
Figure 5: Example of a downloaded certificate
Step 7: In the next step, a PDF application with various information including the downloaded certificate must be sent. In order to receive the PDF application and to address possible questions in advance, please contact the XiTrust Support.
XiTip
Please note: It may take up to a week for Swisscom to carry out the mandatory check and report back with a so-called Claimed ID. As soon as this has been done, the process moves on to the next step.
Step 8: The Claimed Identity is announced by Swisscom in the confirmation To add it to the certificate, please click on the pencil icon (Edit; see figure 3 [6]) and enter the CI in the Claimed Identity field (see figure 3 [5]). Then click on the [Save]-button (see figure 3 [5]) and finalise your entry.
Further information on managing the Swisscom seal generated in this way can be found here.