
[ADMIN FAQ] How do I configure group visibility in MOXIS?
Content
If group visibility is deactivated in MOXIS, every user (and all groups) is visible to everyone else. In some cases (for example, if there are a large number of groups), it can be helpful to restrict visibility in order to strictly separate user groups from each other (for example, service providers in your own system). This article explains how to configure and control group visibility in MOXIS.
XiTip
Please note: Whether group visibility is activated depends on the configuration of your MOXIS instance by XiTrust. However, as soon as it is activated, groups are no longer visible to ‘normal users’ in MOXIS. This means that group visibility must be configured to ensure the visibility of certain groups for certain other groups.
1. Configuration of group visibility in MOXIS
To configure group visibility in MOXIS, please access the administration. If the feature is enabled in your instance, you will see it in the menu. To configure group visibility, please click on the Group visibility-tab (see figure 1 [1]). Here, on the right-hand side, you have the option to control the visibility of groups accordingly (see figure 1 [2]). The following step-by-step instructions explain how to do this.

Figure 1: Configuring group visibility in MOXIS in the MOXIS administration area
1.1 Step-by-step instructions: Configuring group visibility in MOXIS
Step 1: Enter the name of the group (see figure 2 [1]) whose visibility you want to configure
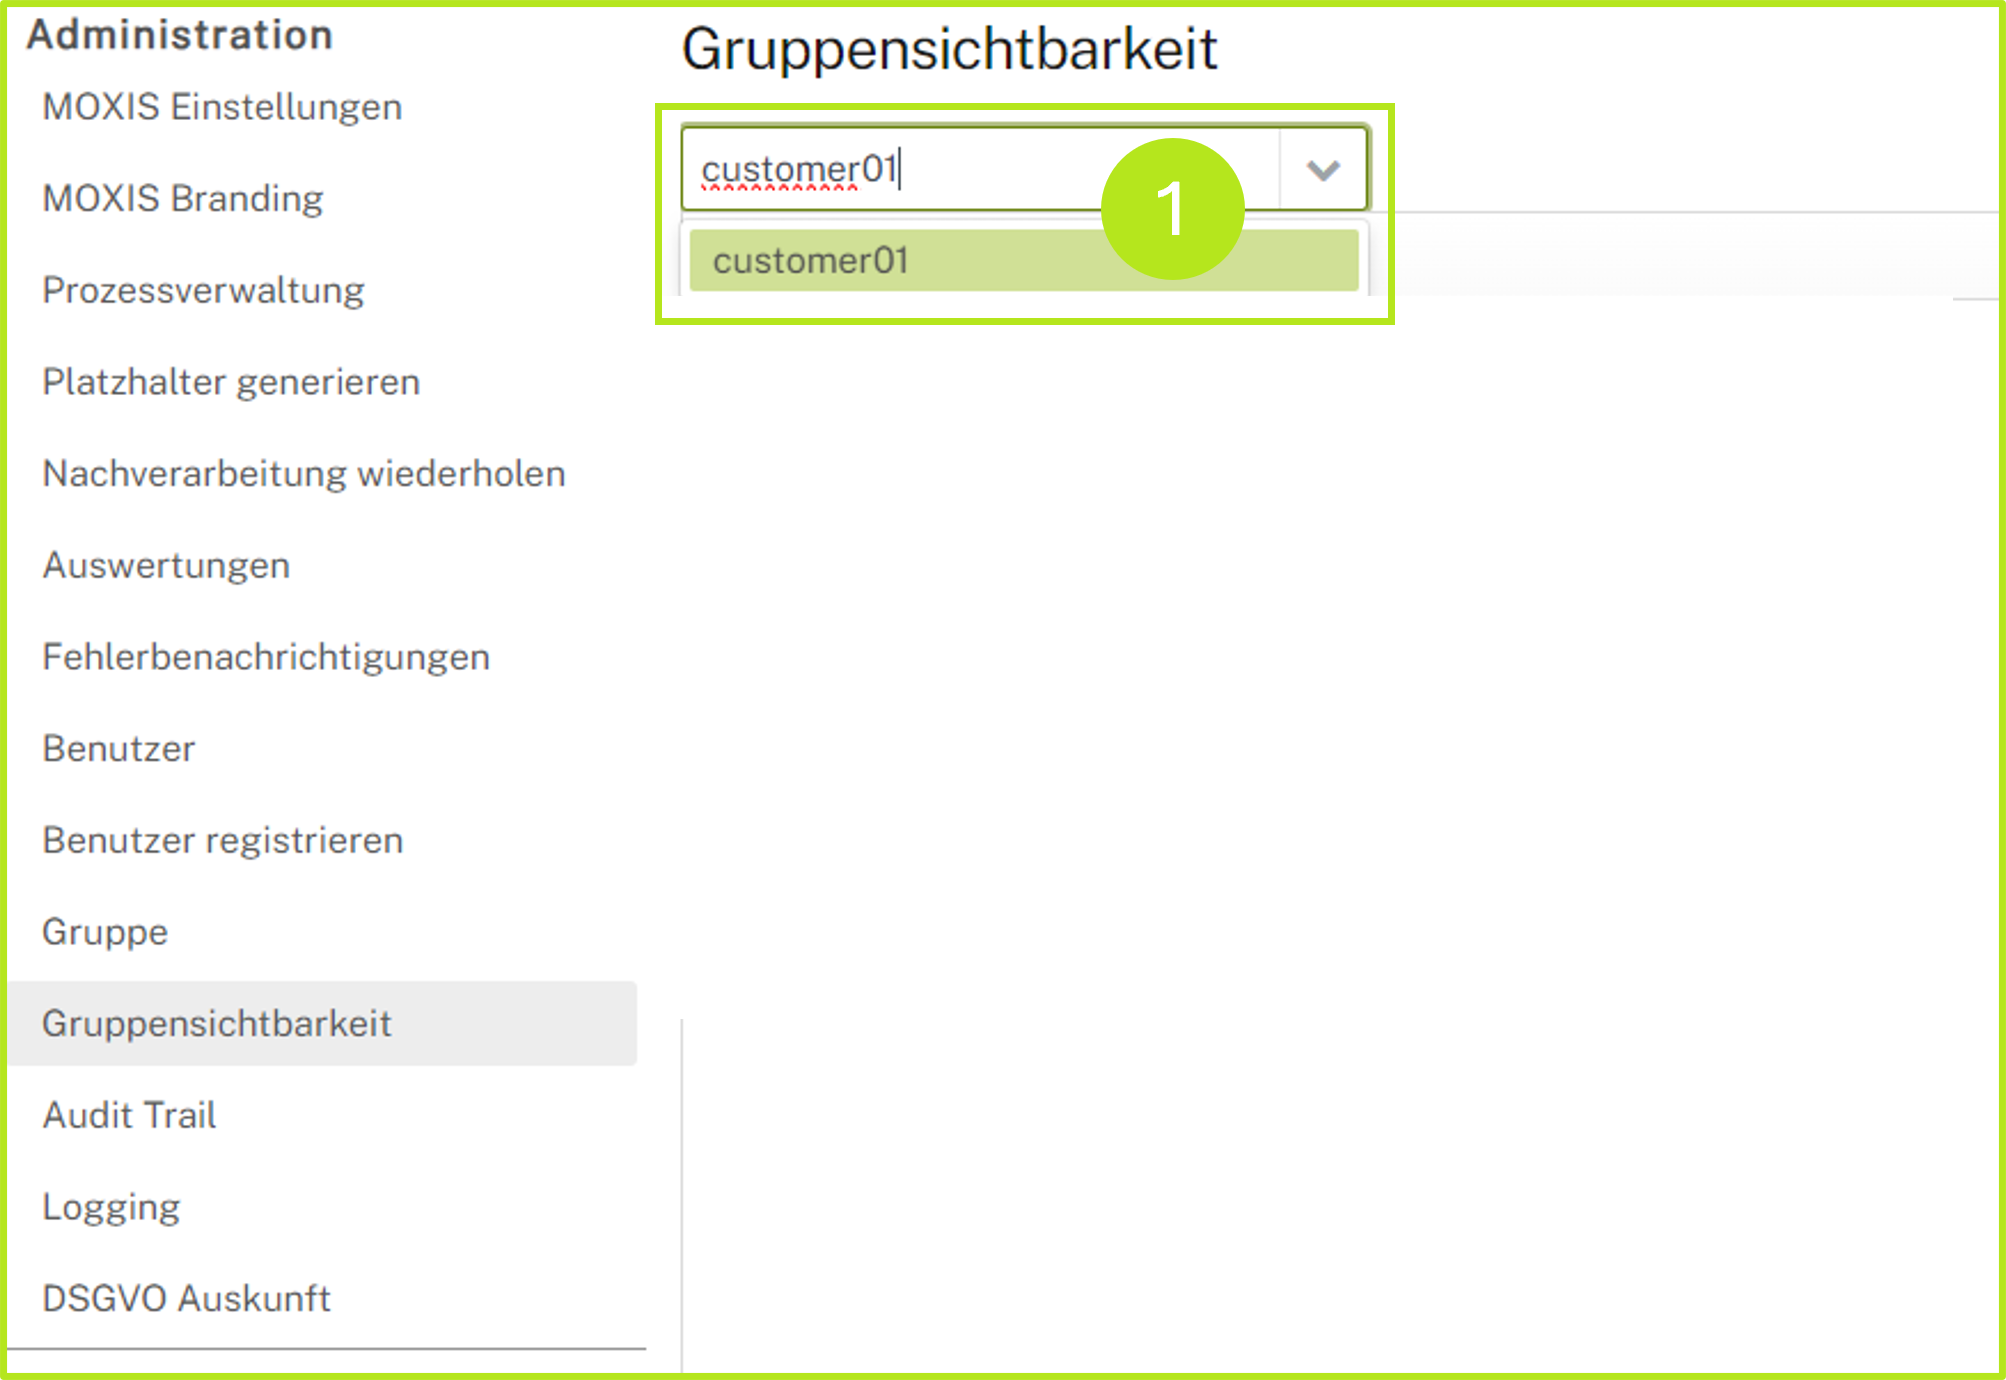
Figure 2: Define a group whose visibility you want to configure.
Step 2: The group is now displayed in the overview. Click on the pencil icon (see figure 3 [1]) to open the editing interface. You can also delete the groups again by clicking on the x icon (see figure 3 [1])
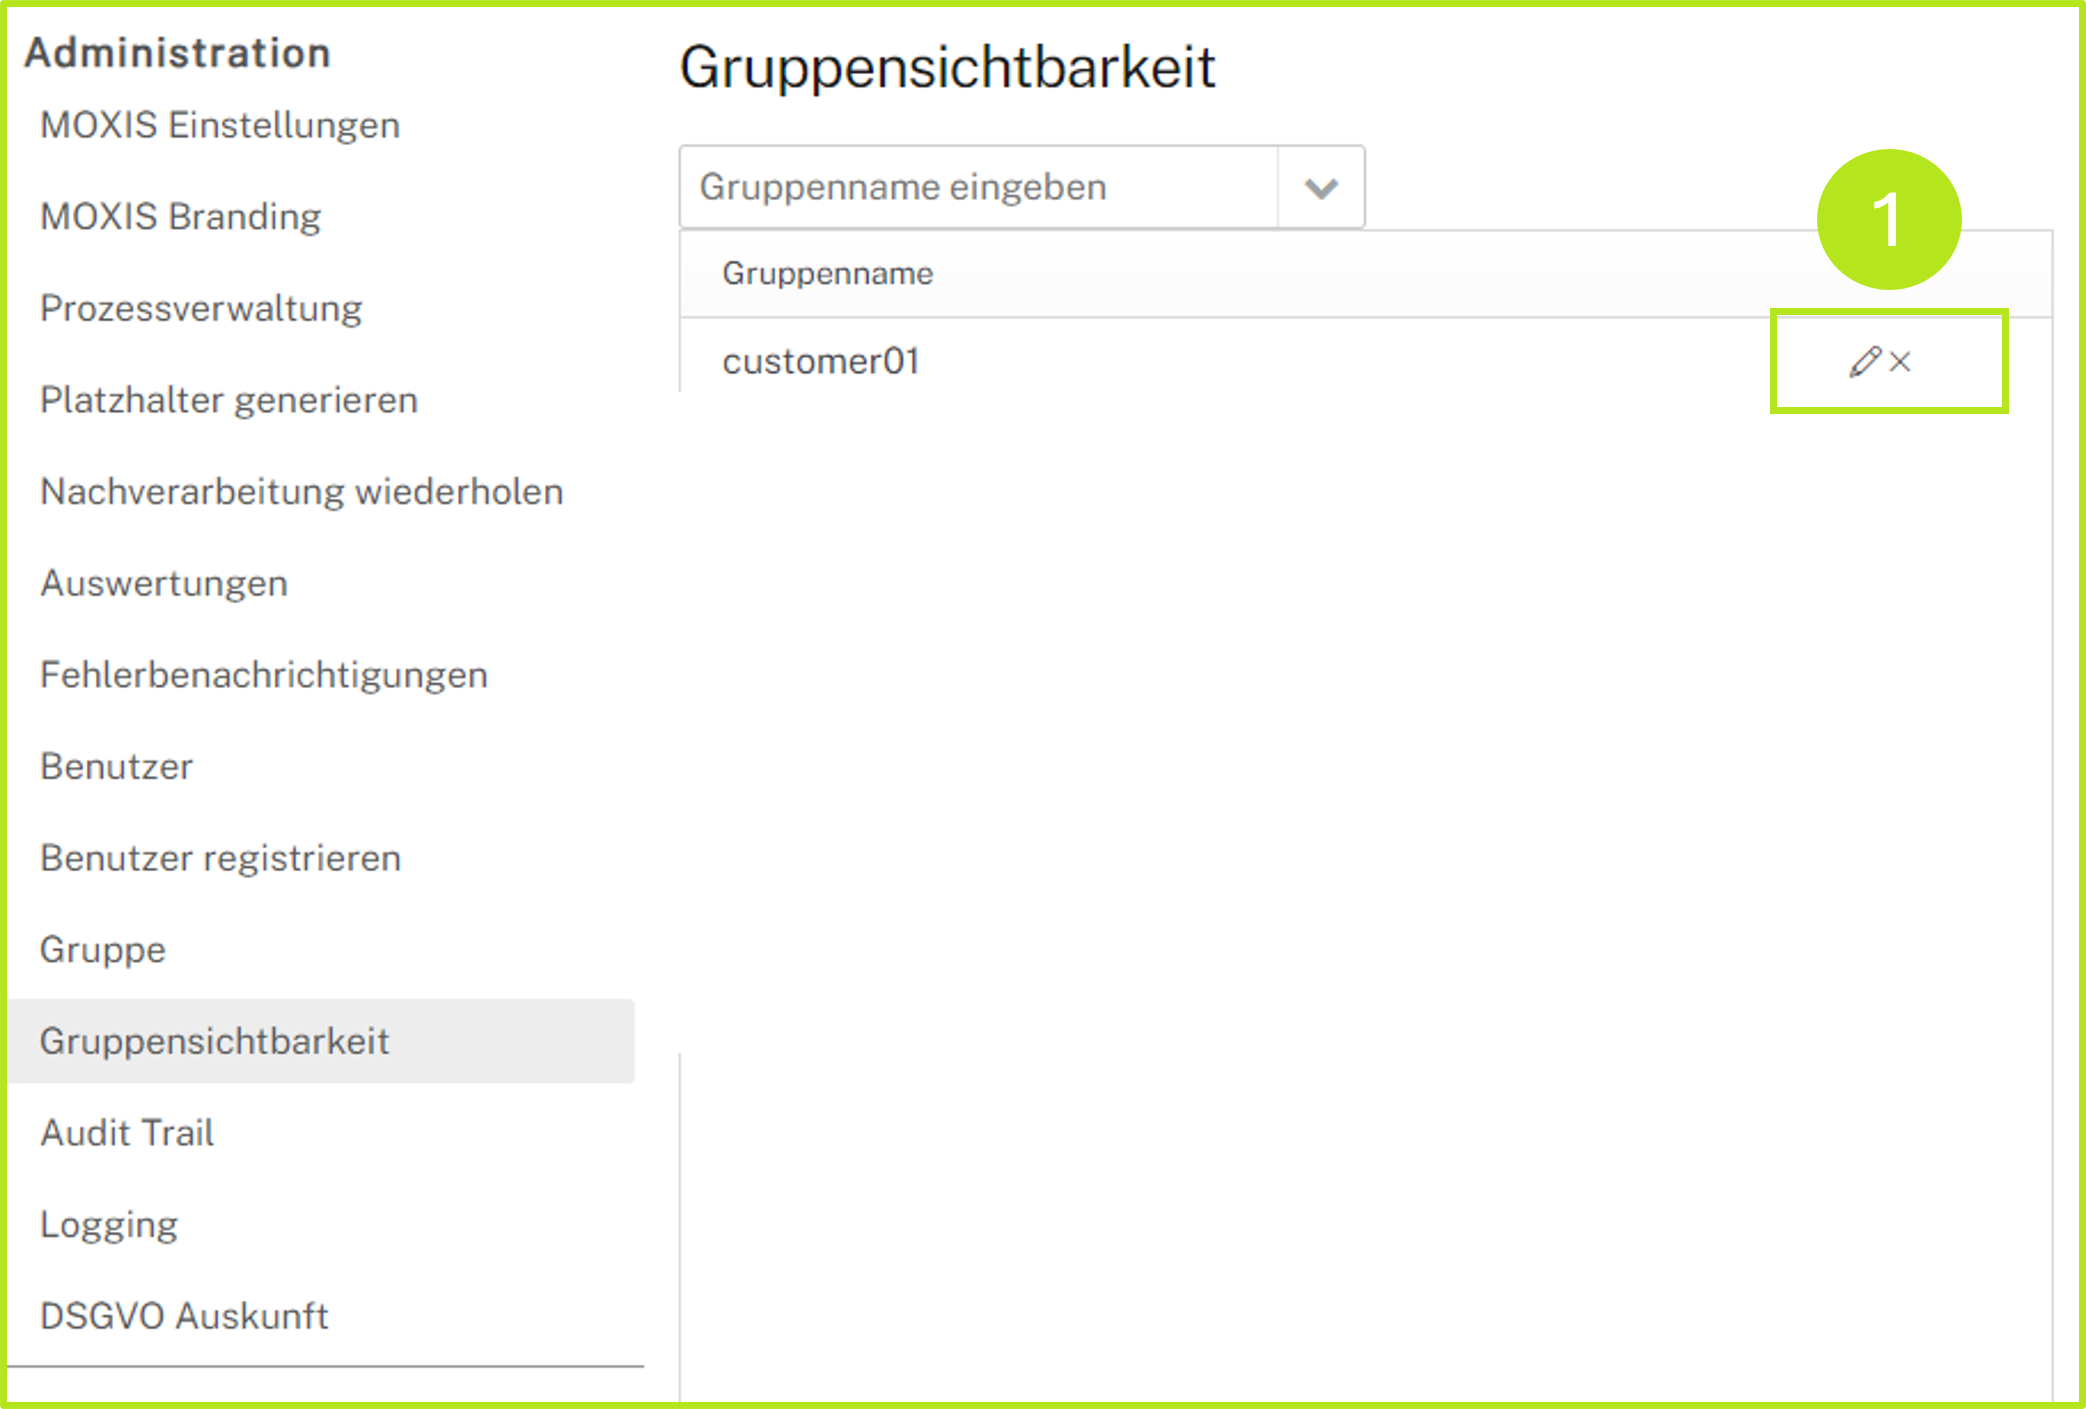
Figure 3: Configuring group visibility for groups
Step 3: Now configure the groups according to the same principle as when creating them in the editing module. For example, you can make users in a group visible to each other by adding only their own group to the profile. Or you can add several groups (as shown in our example in figure 4 [3] ) and make the added group(s) visible to all users in the configured group.
You have the following options for the configuration:
(1) All groups are visible for this group: If you tick this checkbox, all groups in your instance are visible for the group. The other groups cannot see each other, but the group configured here can see all others (see figure 4 [1]).
(2) Enter group name: Enter the name of the group whose members should be able to see each other here. If you enter several groups here, only the members of the group configured here first can see the members of all other groups. Please note: If you want the other group to also have access to the group configured here, you must also configure this yourself. The group view is therefore unidirectional. You can list as many groups as you like here (see figure 4 [2]).
(3) Group names: Here you will find a list of all current groups that the group originally configured here has access to. In our example, the ‘customer01’ group has access to the ‘XiTrust’ group. Theoretically, however, you could add further groups here, but only the ‘customer01’ group would have access to them (unless configured otherwise). (see figure 4 [3]).
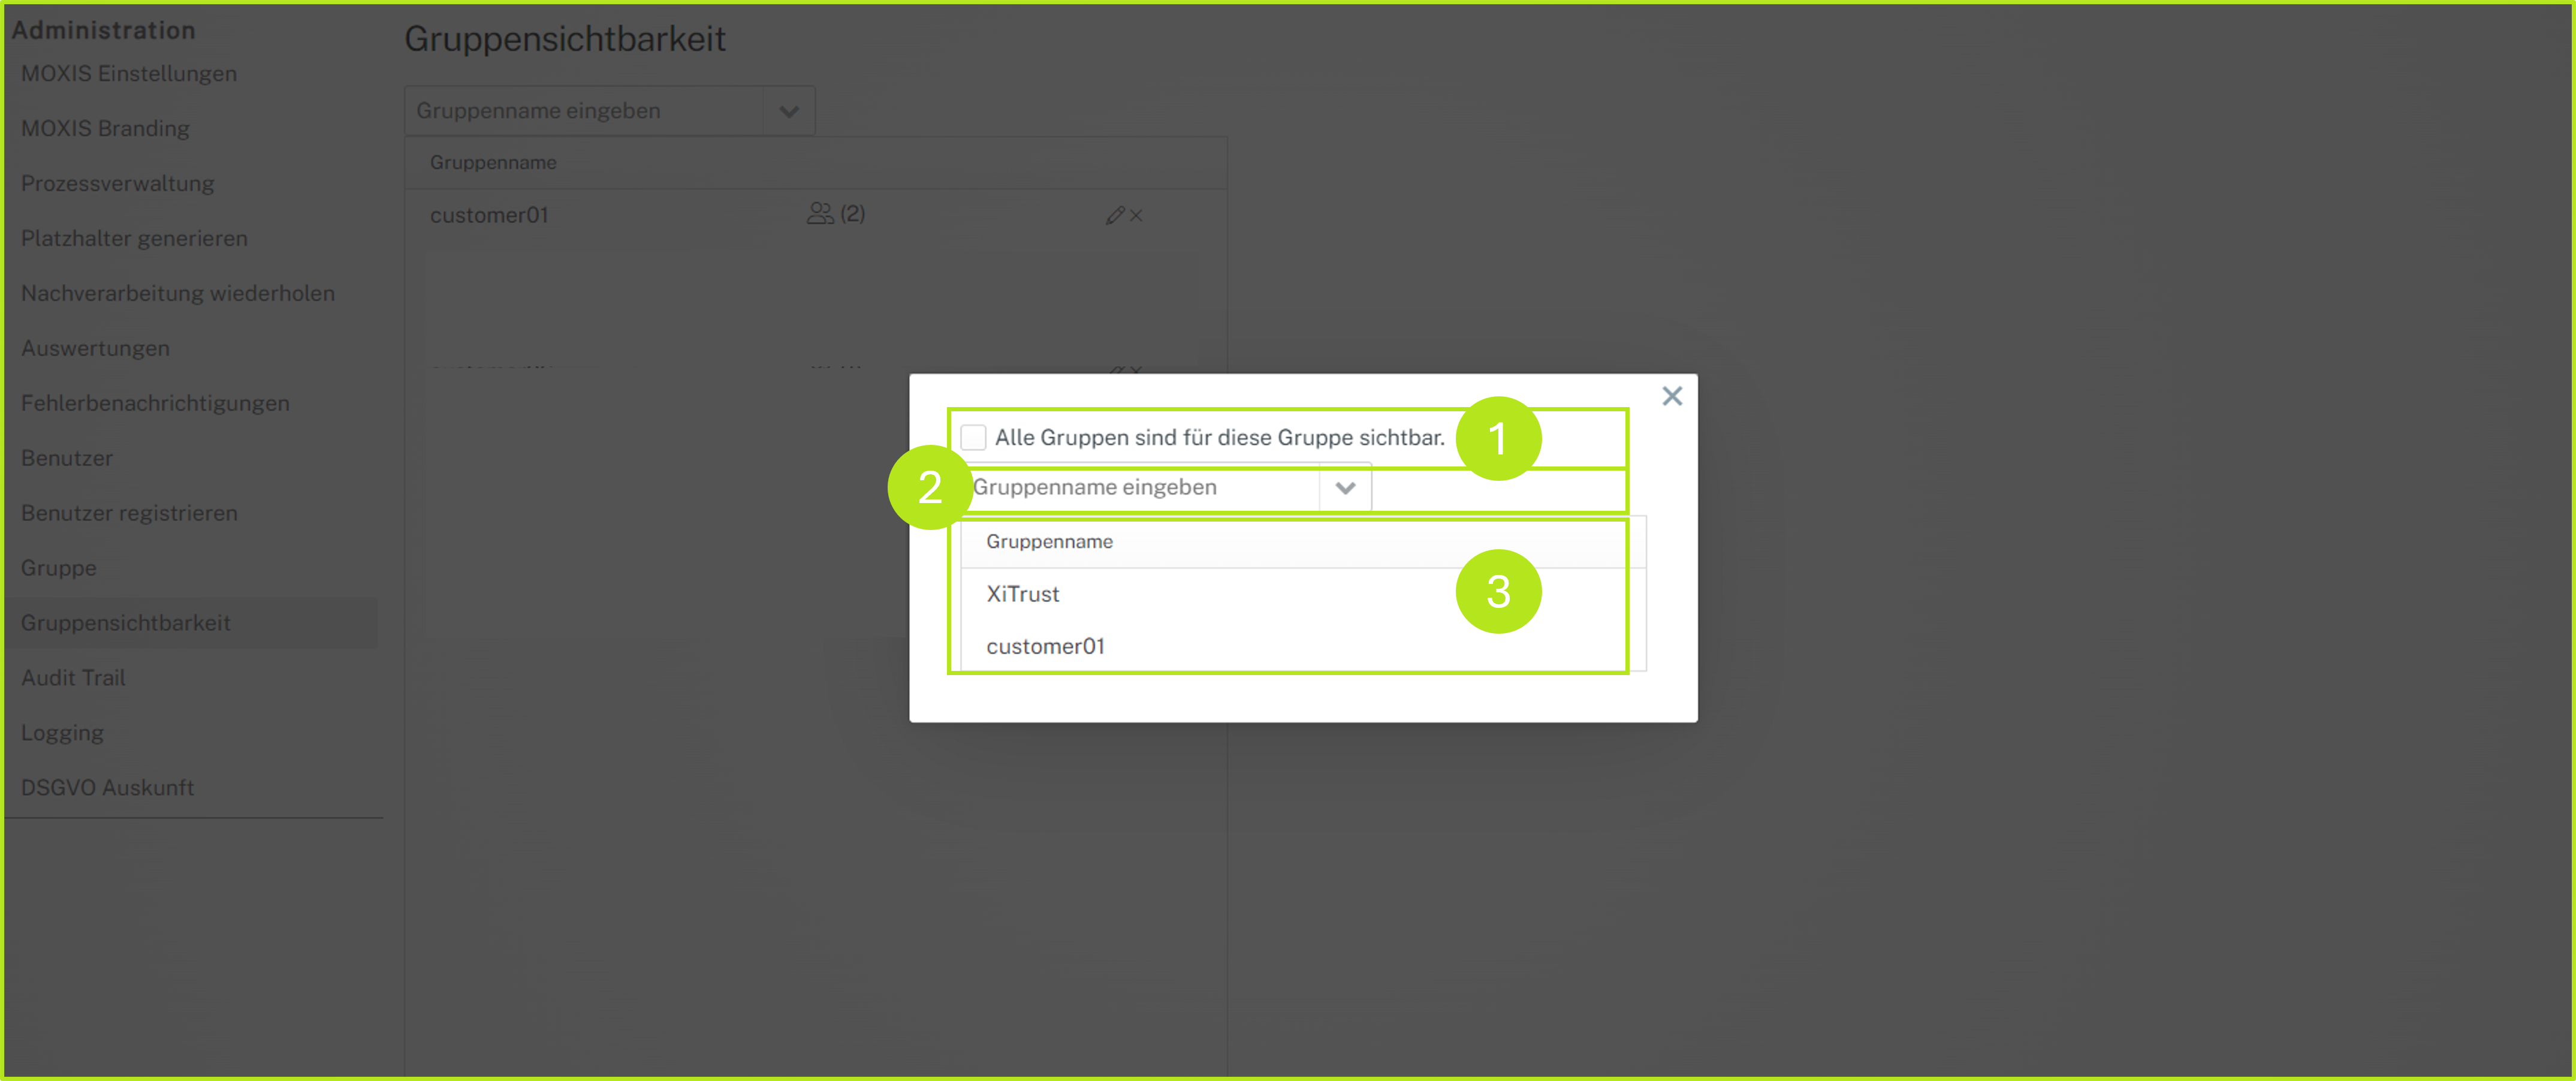
Figure 4: Configure groups to make them visible
In the group overview, you always have a complete overview of all configured groups (see figure 5) The user icons, next to which numbers are shown in brackets (see figure 5 [1]), indicate how many groups are summarised in a group visibility group As described above, you can edit these by clicking on the pencil icon or delete them by clicking on the x icon (see figure 5 [2]).
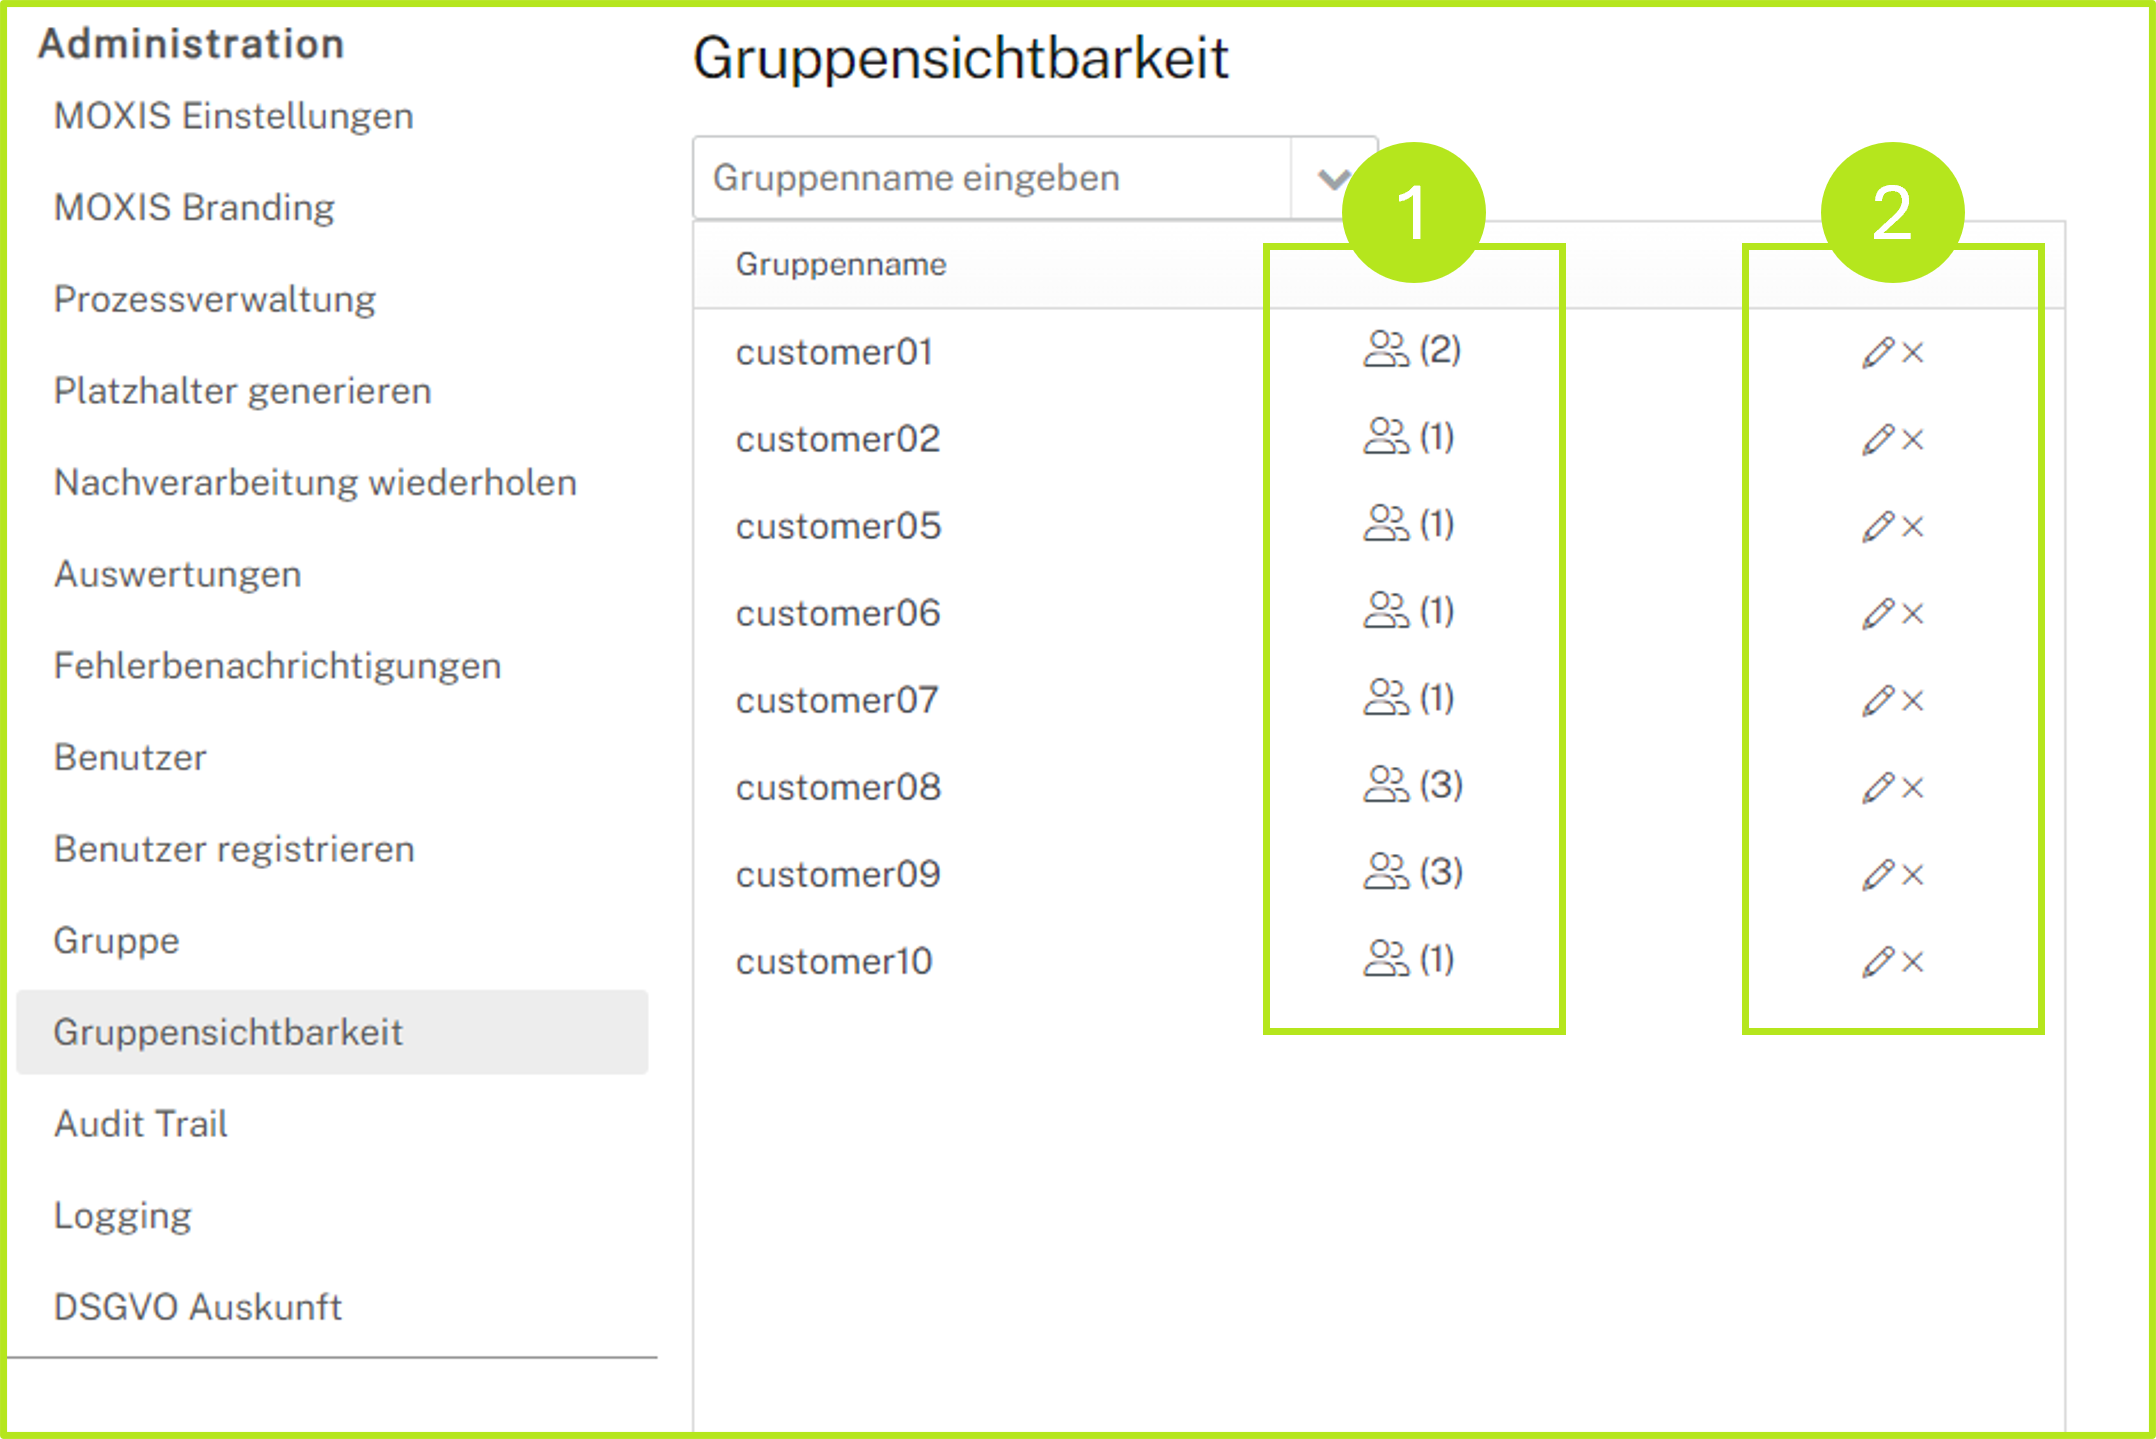
Figure 5: Overview of configured groups in MOXIS