
[v4.53] The signature process in MOXIS 4.53
Content
The signature process in MOXIS can be carried out in various ways. This article provides an overview of the basics of the standard signature process. Where necessary, links to further information on the topic are provided at points where signatures are important. The example in this article assumes that MOXIS is being opened by a user for the very first time.
1. Step-by-step instructions: Creating a signature request in MOXIS 4.53
1.1 Step 0 (optional): Complete your profile
When you start MOXIS for the first time, you will receive a notification that you need to complete your profile (see figure 1). This ensures that you can use MOXIS to its full extent.
XiTip
You will only receive this message if you have been granted the appropriate right by an administrator (qualified signatory).
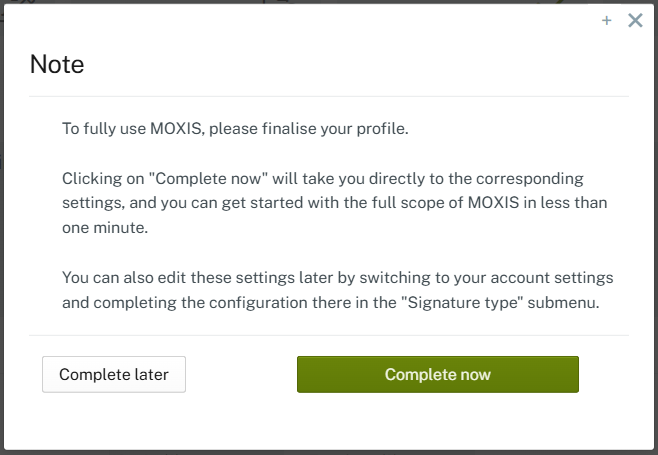
Figure 1: MOXIS note for qualified signatories after initial access
Please click on the [Complete now]-button if you wish to complete your details immediately. If you would prefer to do this later, please click on the [Complete later]-button. Please note: This message will be displayed each time you log in until you have completed your details or signature type.
1.2. Step 1: Create job
To create a new job, please click on [+Create job] in the header menu (see figure 2 [1]).
XiTip
While MOXIS Business and MOXIS Now only offer standardised options, MOXIS Enterprise allows you to customise the signature process. This saves time and resources. For further information, please contact your XiTrust contact person.
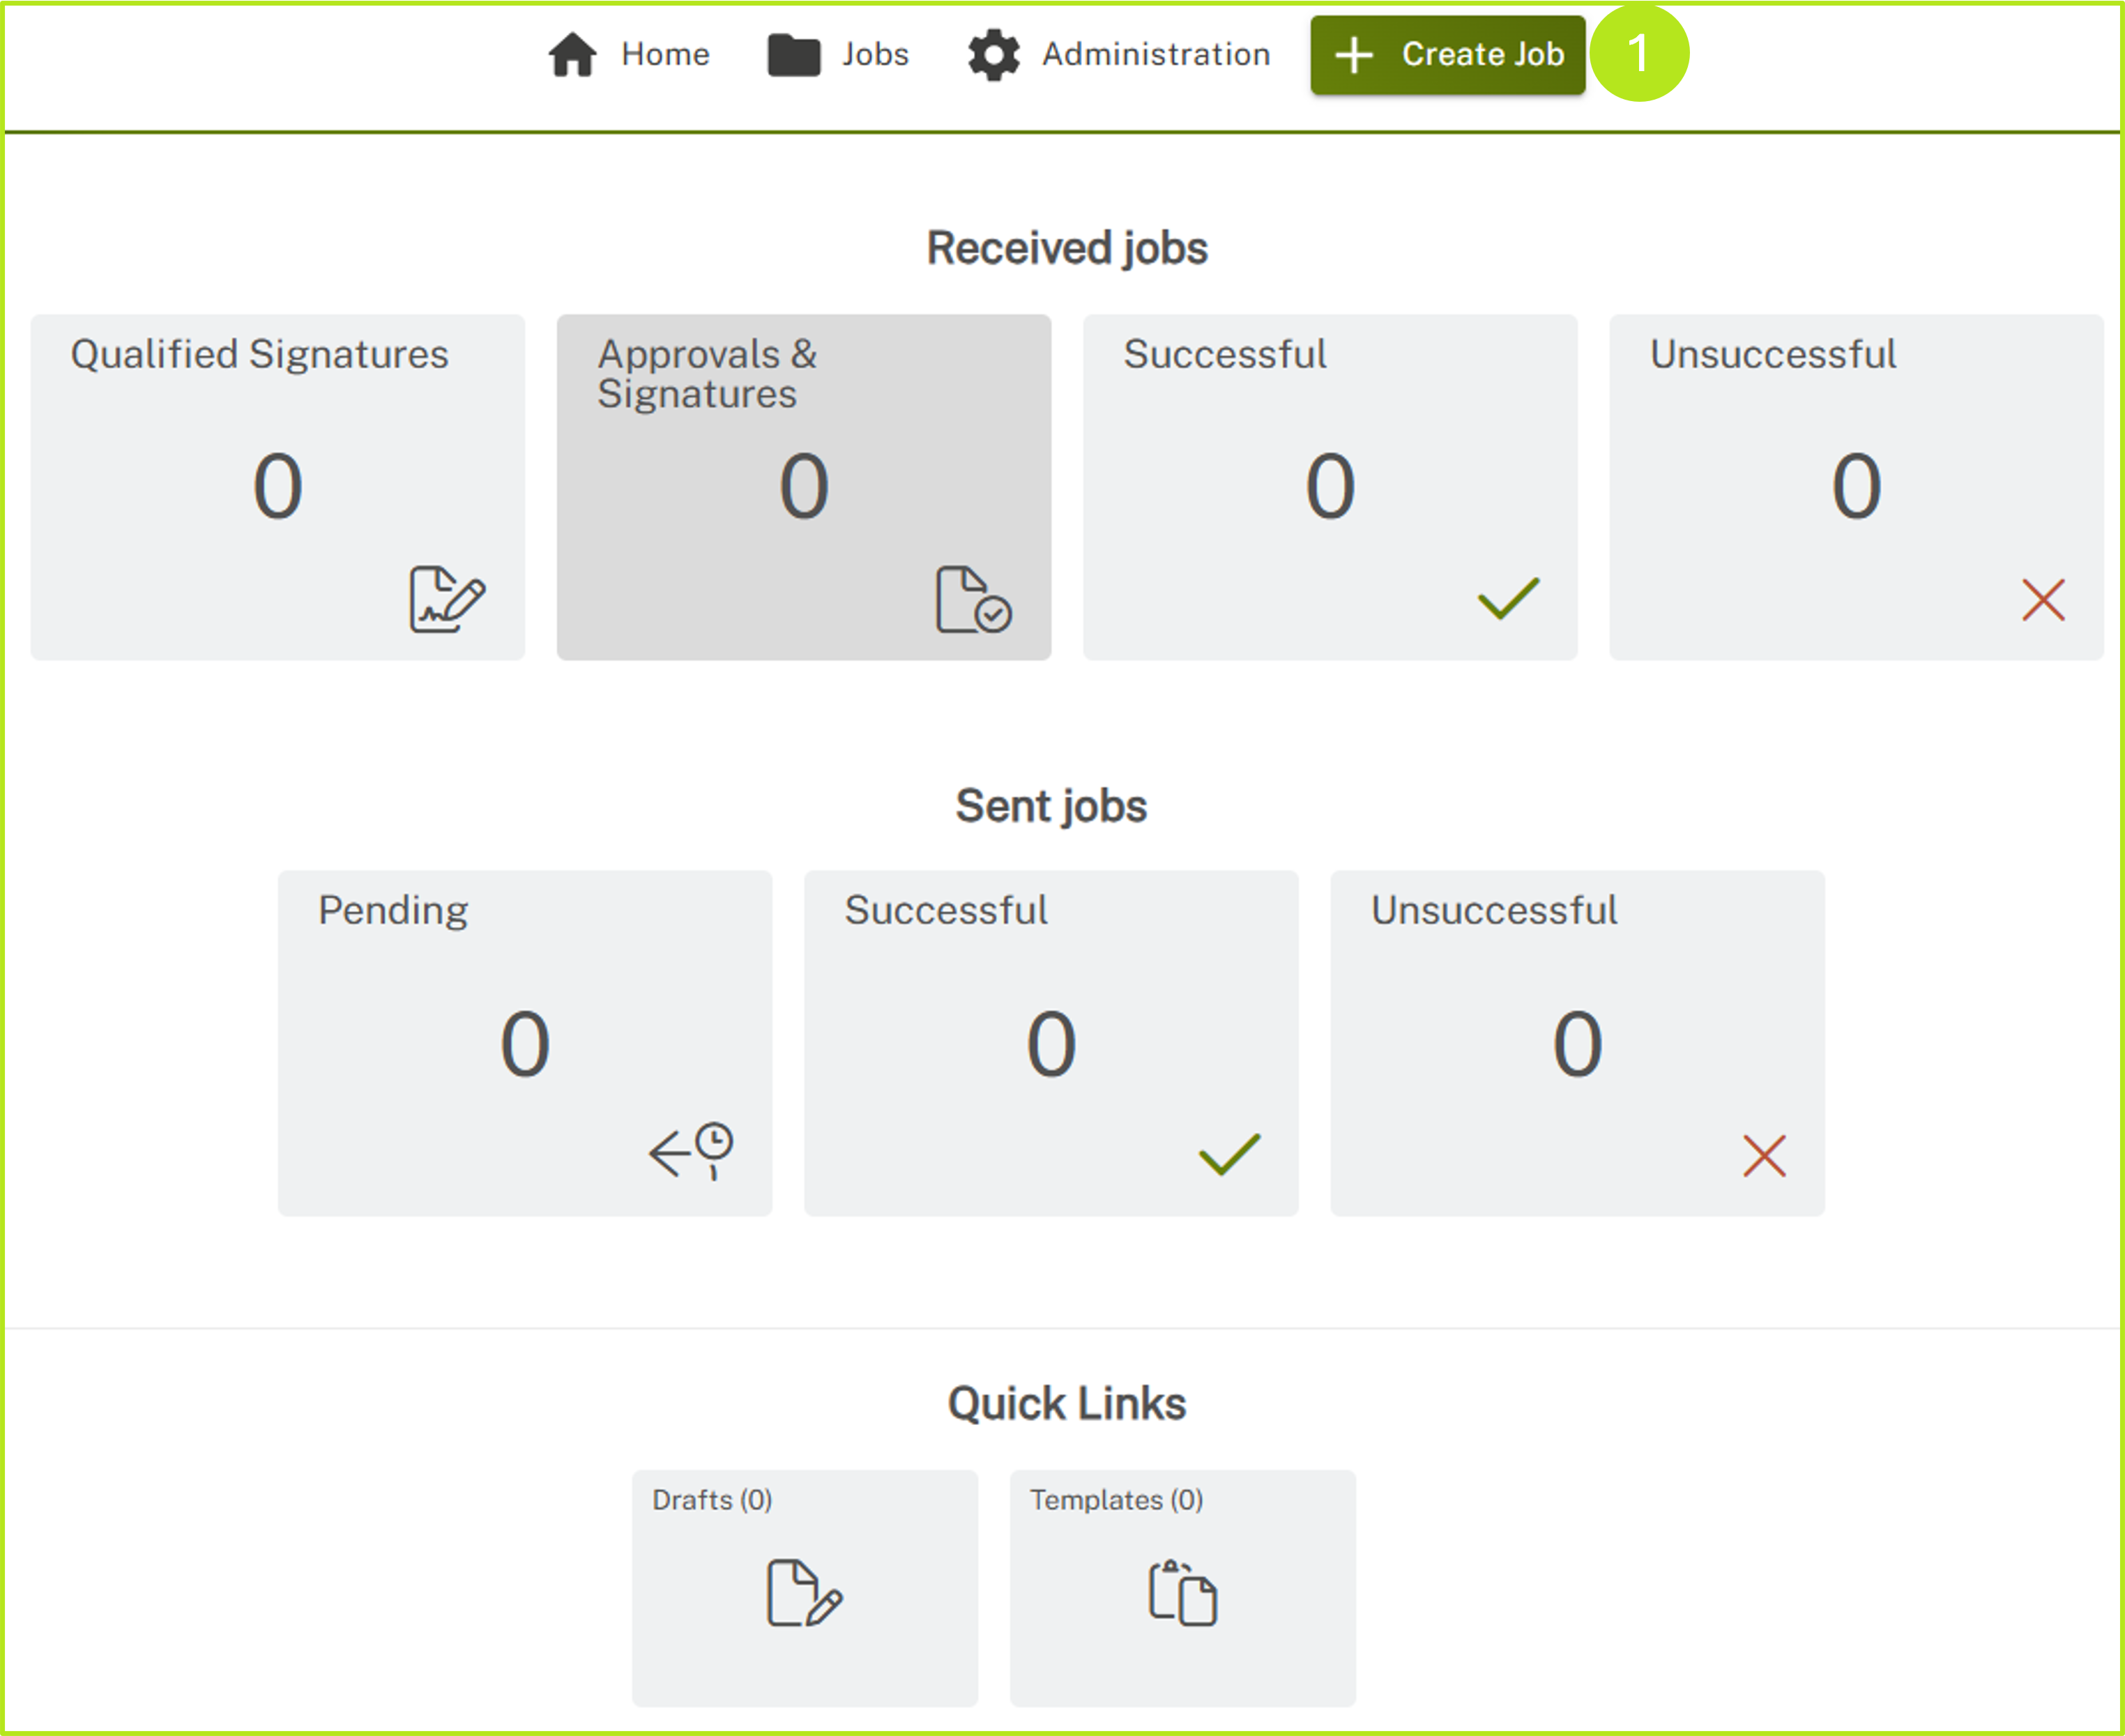
Figure 2: Create job
1.3 Step 2: Select process
In the drop-down menu that opens, select the process you want to use to sign and click on it (see figure 3 [1]). For more information on creating jobs, click here.
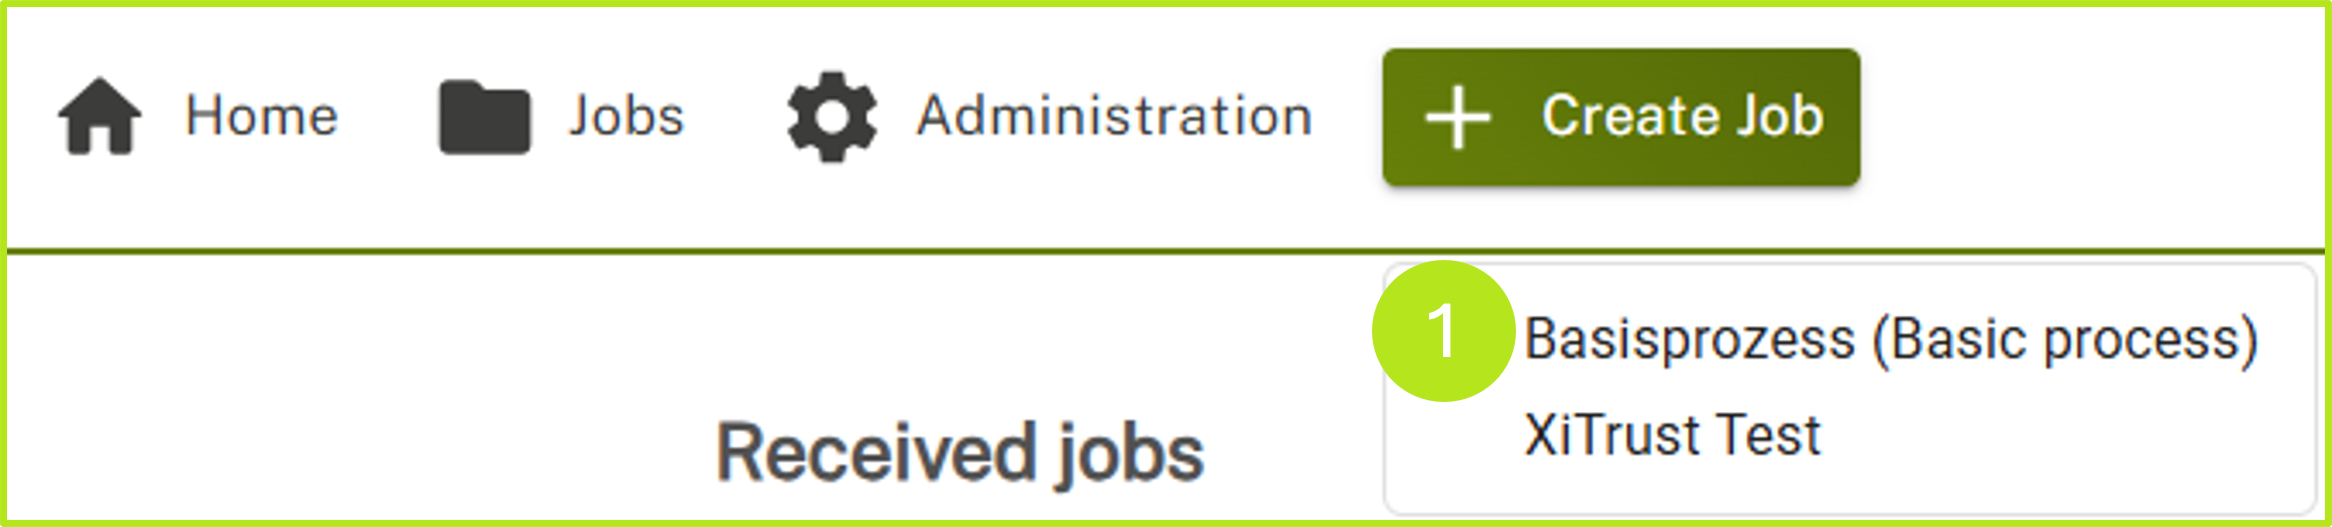
Figure 3: Select process
1.4 Step 3: Upload document for signing
Now select the document you want to sign and upload it by clicking on Browse (see figure 4 [1]) or simply drag and drop the document into the grey box.
XiTip
Please note: The files are subject to certain restrictions set by your administrator, which are displayed in the grey box (see figure 4 [2]). If you would like to make any changes, please contact your administrator.
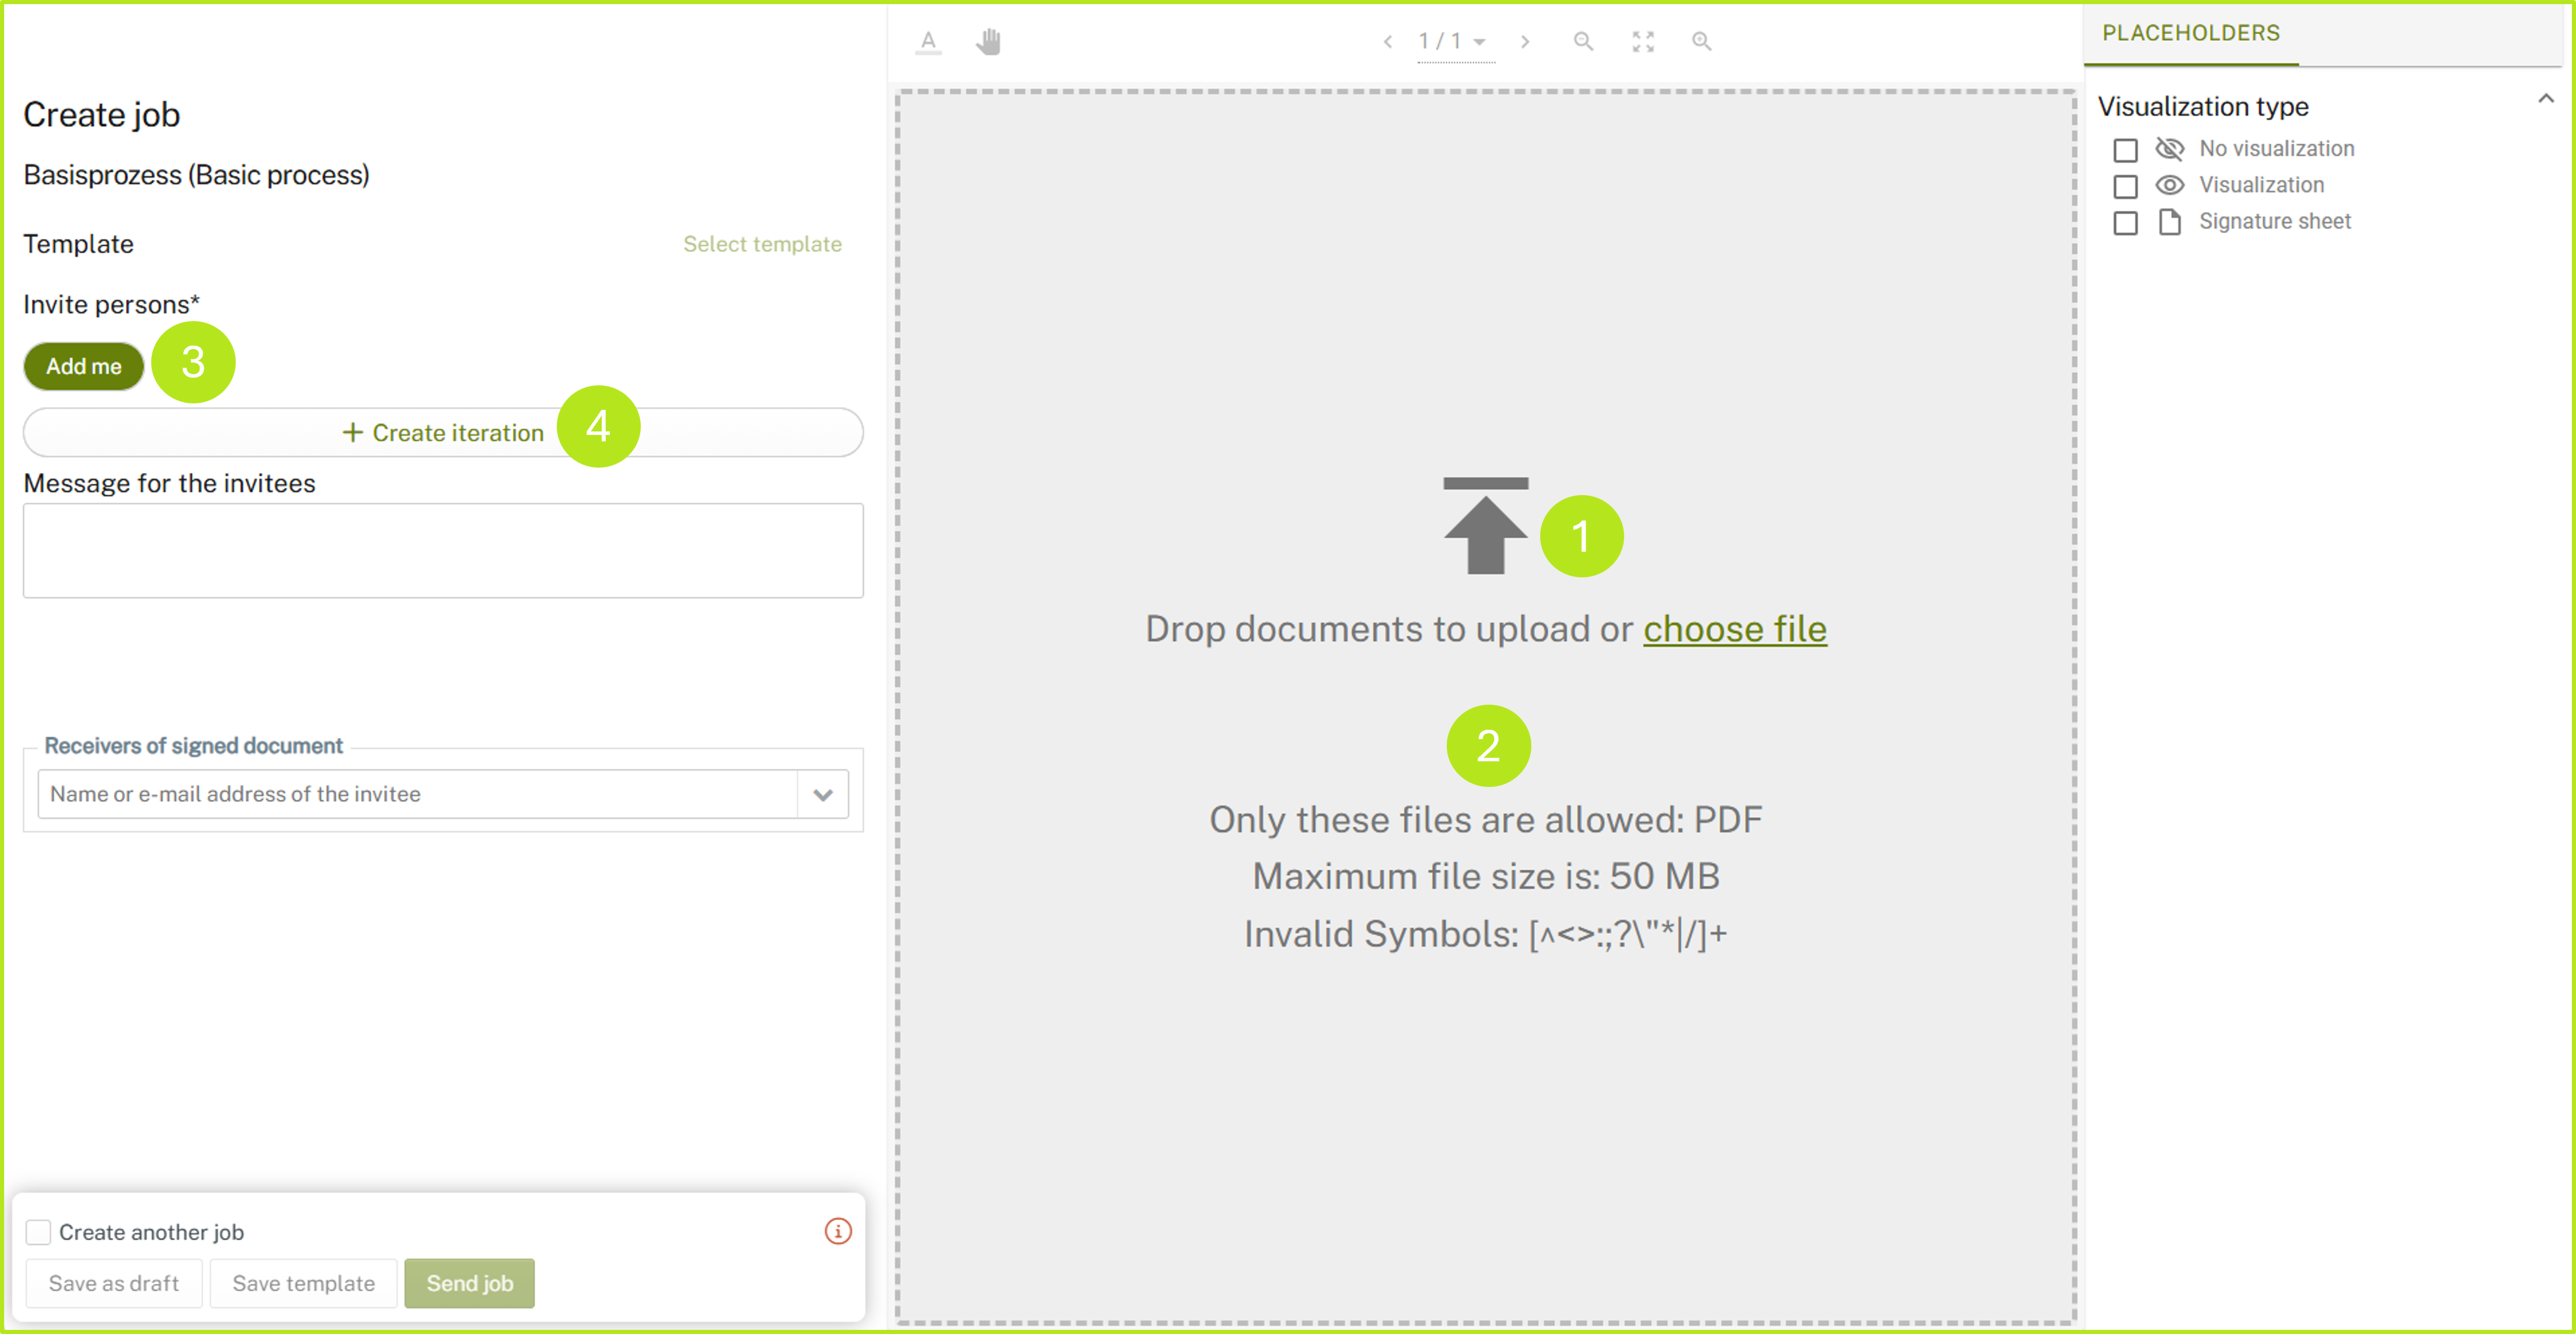
Figure 4: File-upload in MOXIS
1.5 Step 4: Iteration level, signature quality and signees
Now define an iteration level by clicking on the [+Create decision level]-button (see figures 4 [4] and 5 [1]), set the signature quality (see figure 5 [2]) and add a signee by clicking on the [TO:]-button (see figure 5 [3]).
XiTip
By clicking on the [Add me]-button (see figure 4 [3]), you can add yourself as a signee.
XiTip
Please note: In MOXIS, we distinguish between external and internal recipients. It is not possible to mix these two types of recipients for a job in one iteration level. However, you can create additional iteration levels at any time (see figure 5 [4]).
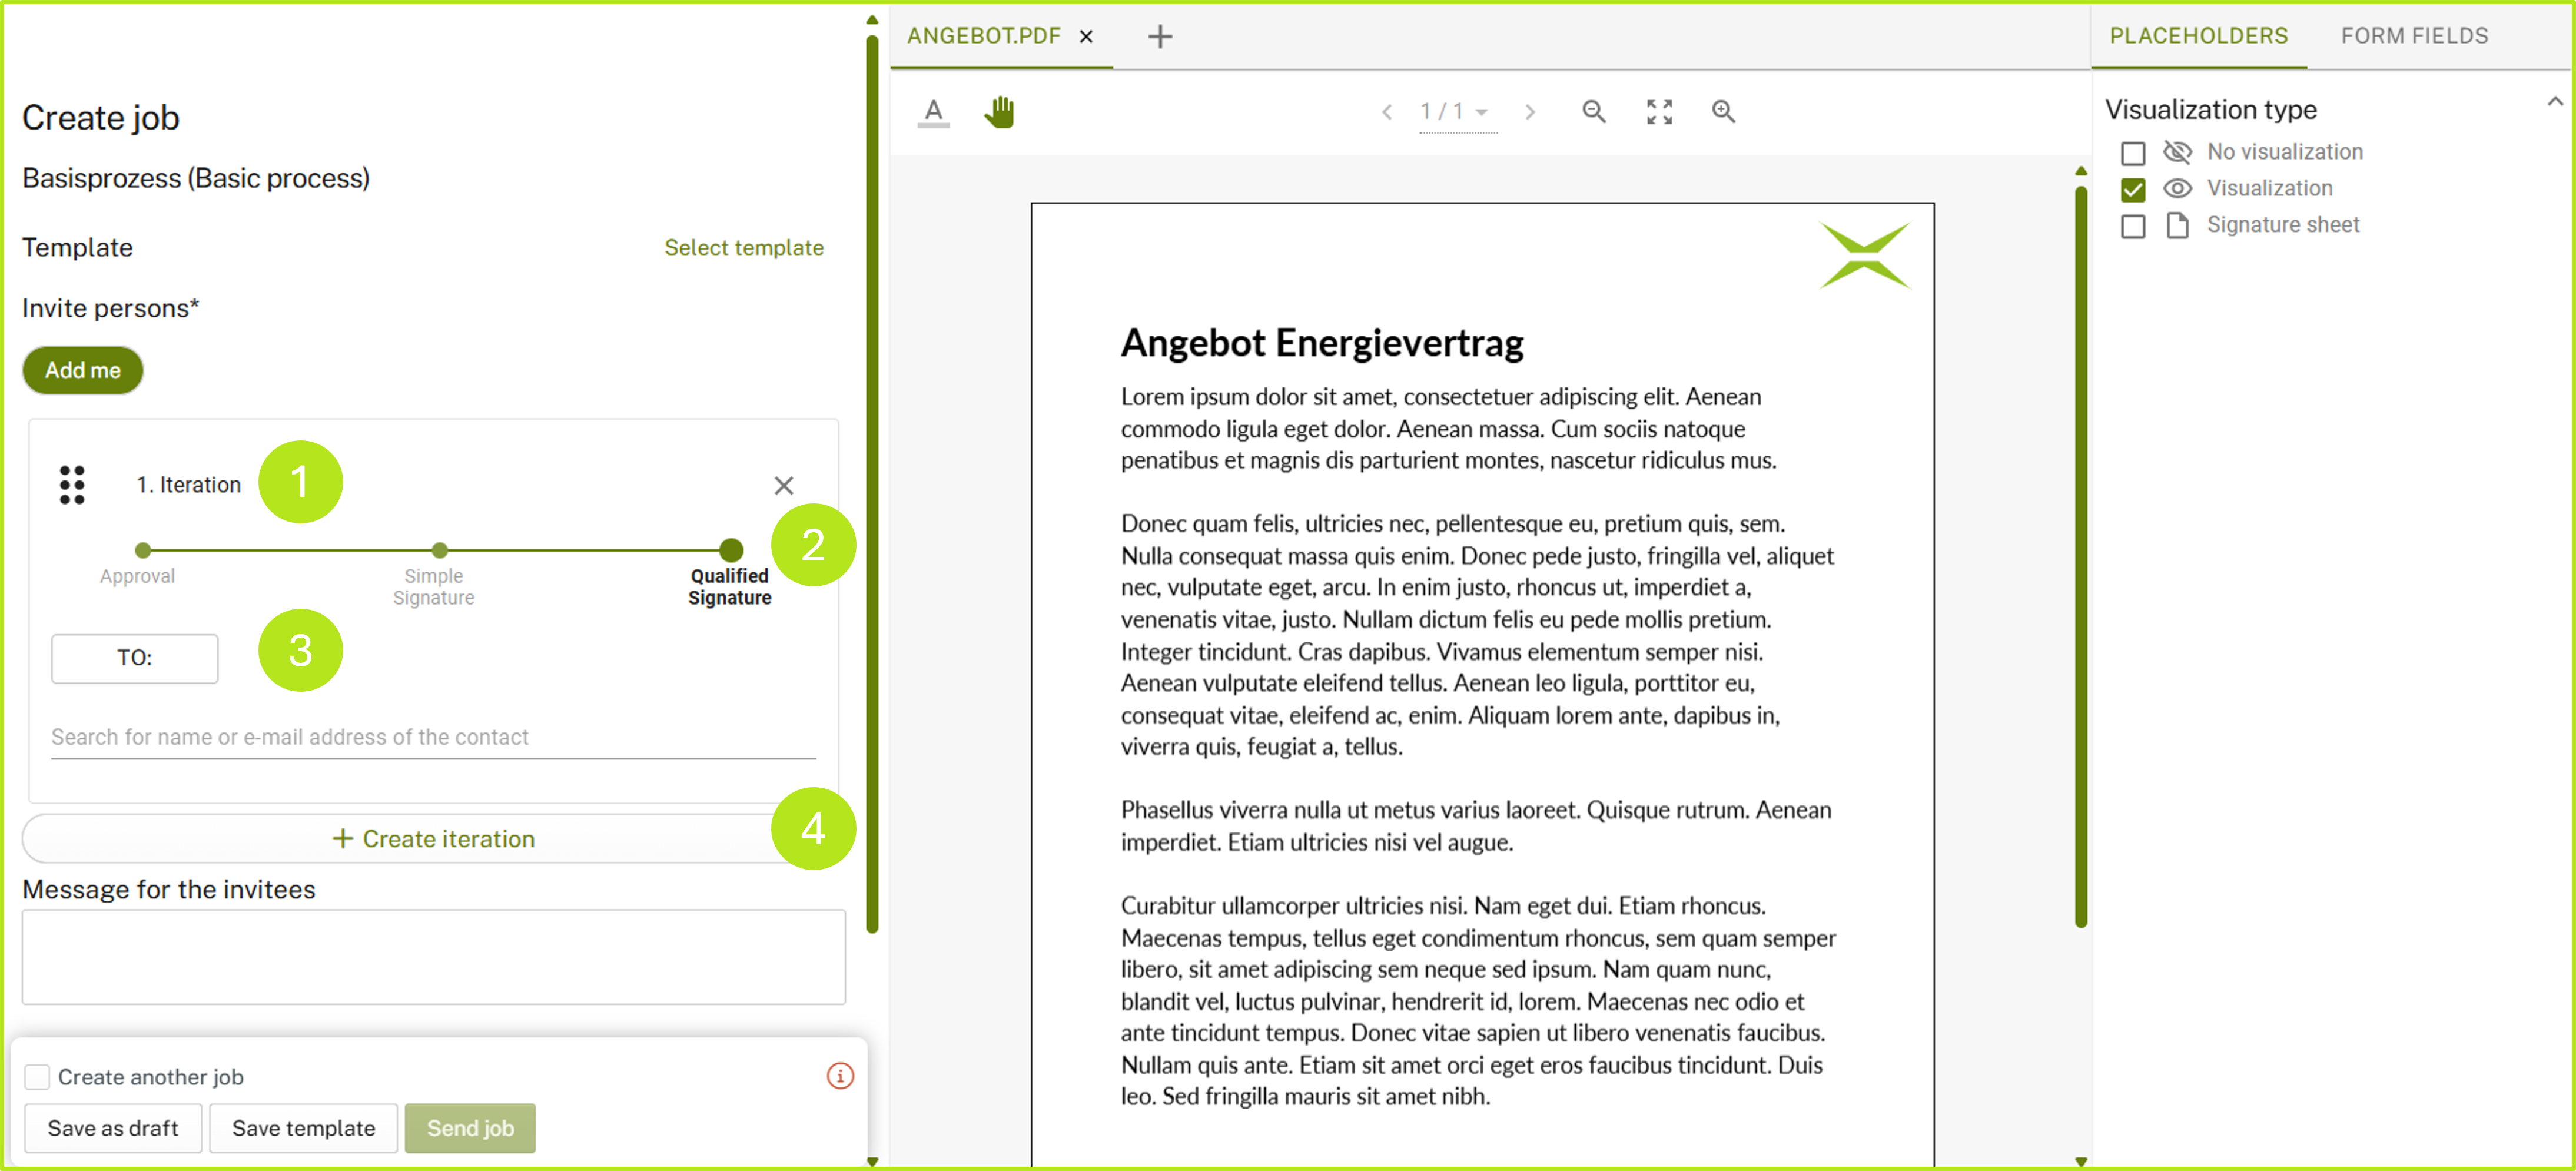
Figure 5: Defining the details in the signature process in MOXIS
1.6 Step 5: Assign signature placeholders
Once you have defined the parameters for the signature, you can insert a signature placeholder. To do this, drag and drop it from the placeholder field (see figure 6 [1]) onto the document and to the desired position (see figure 6 [2]) where you want the recipient to sign later.
XiTip
Apart from placeholders for the signature, you also have the option of expanding the document's range of functions with so-called form fields (see figure 7 [1]). A detailed description can be found here.
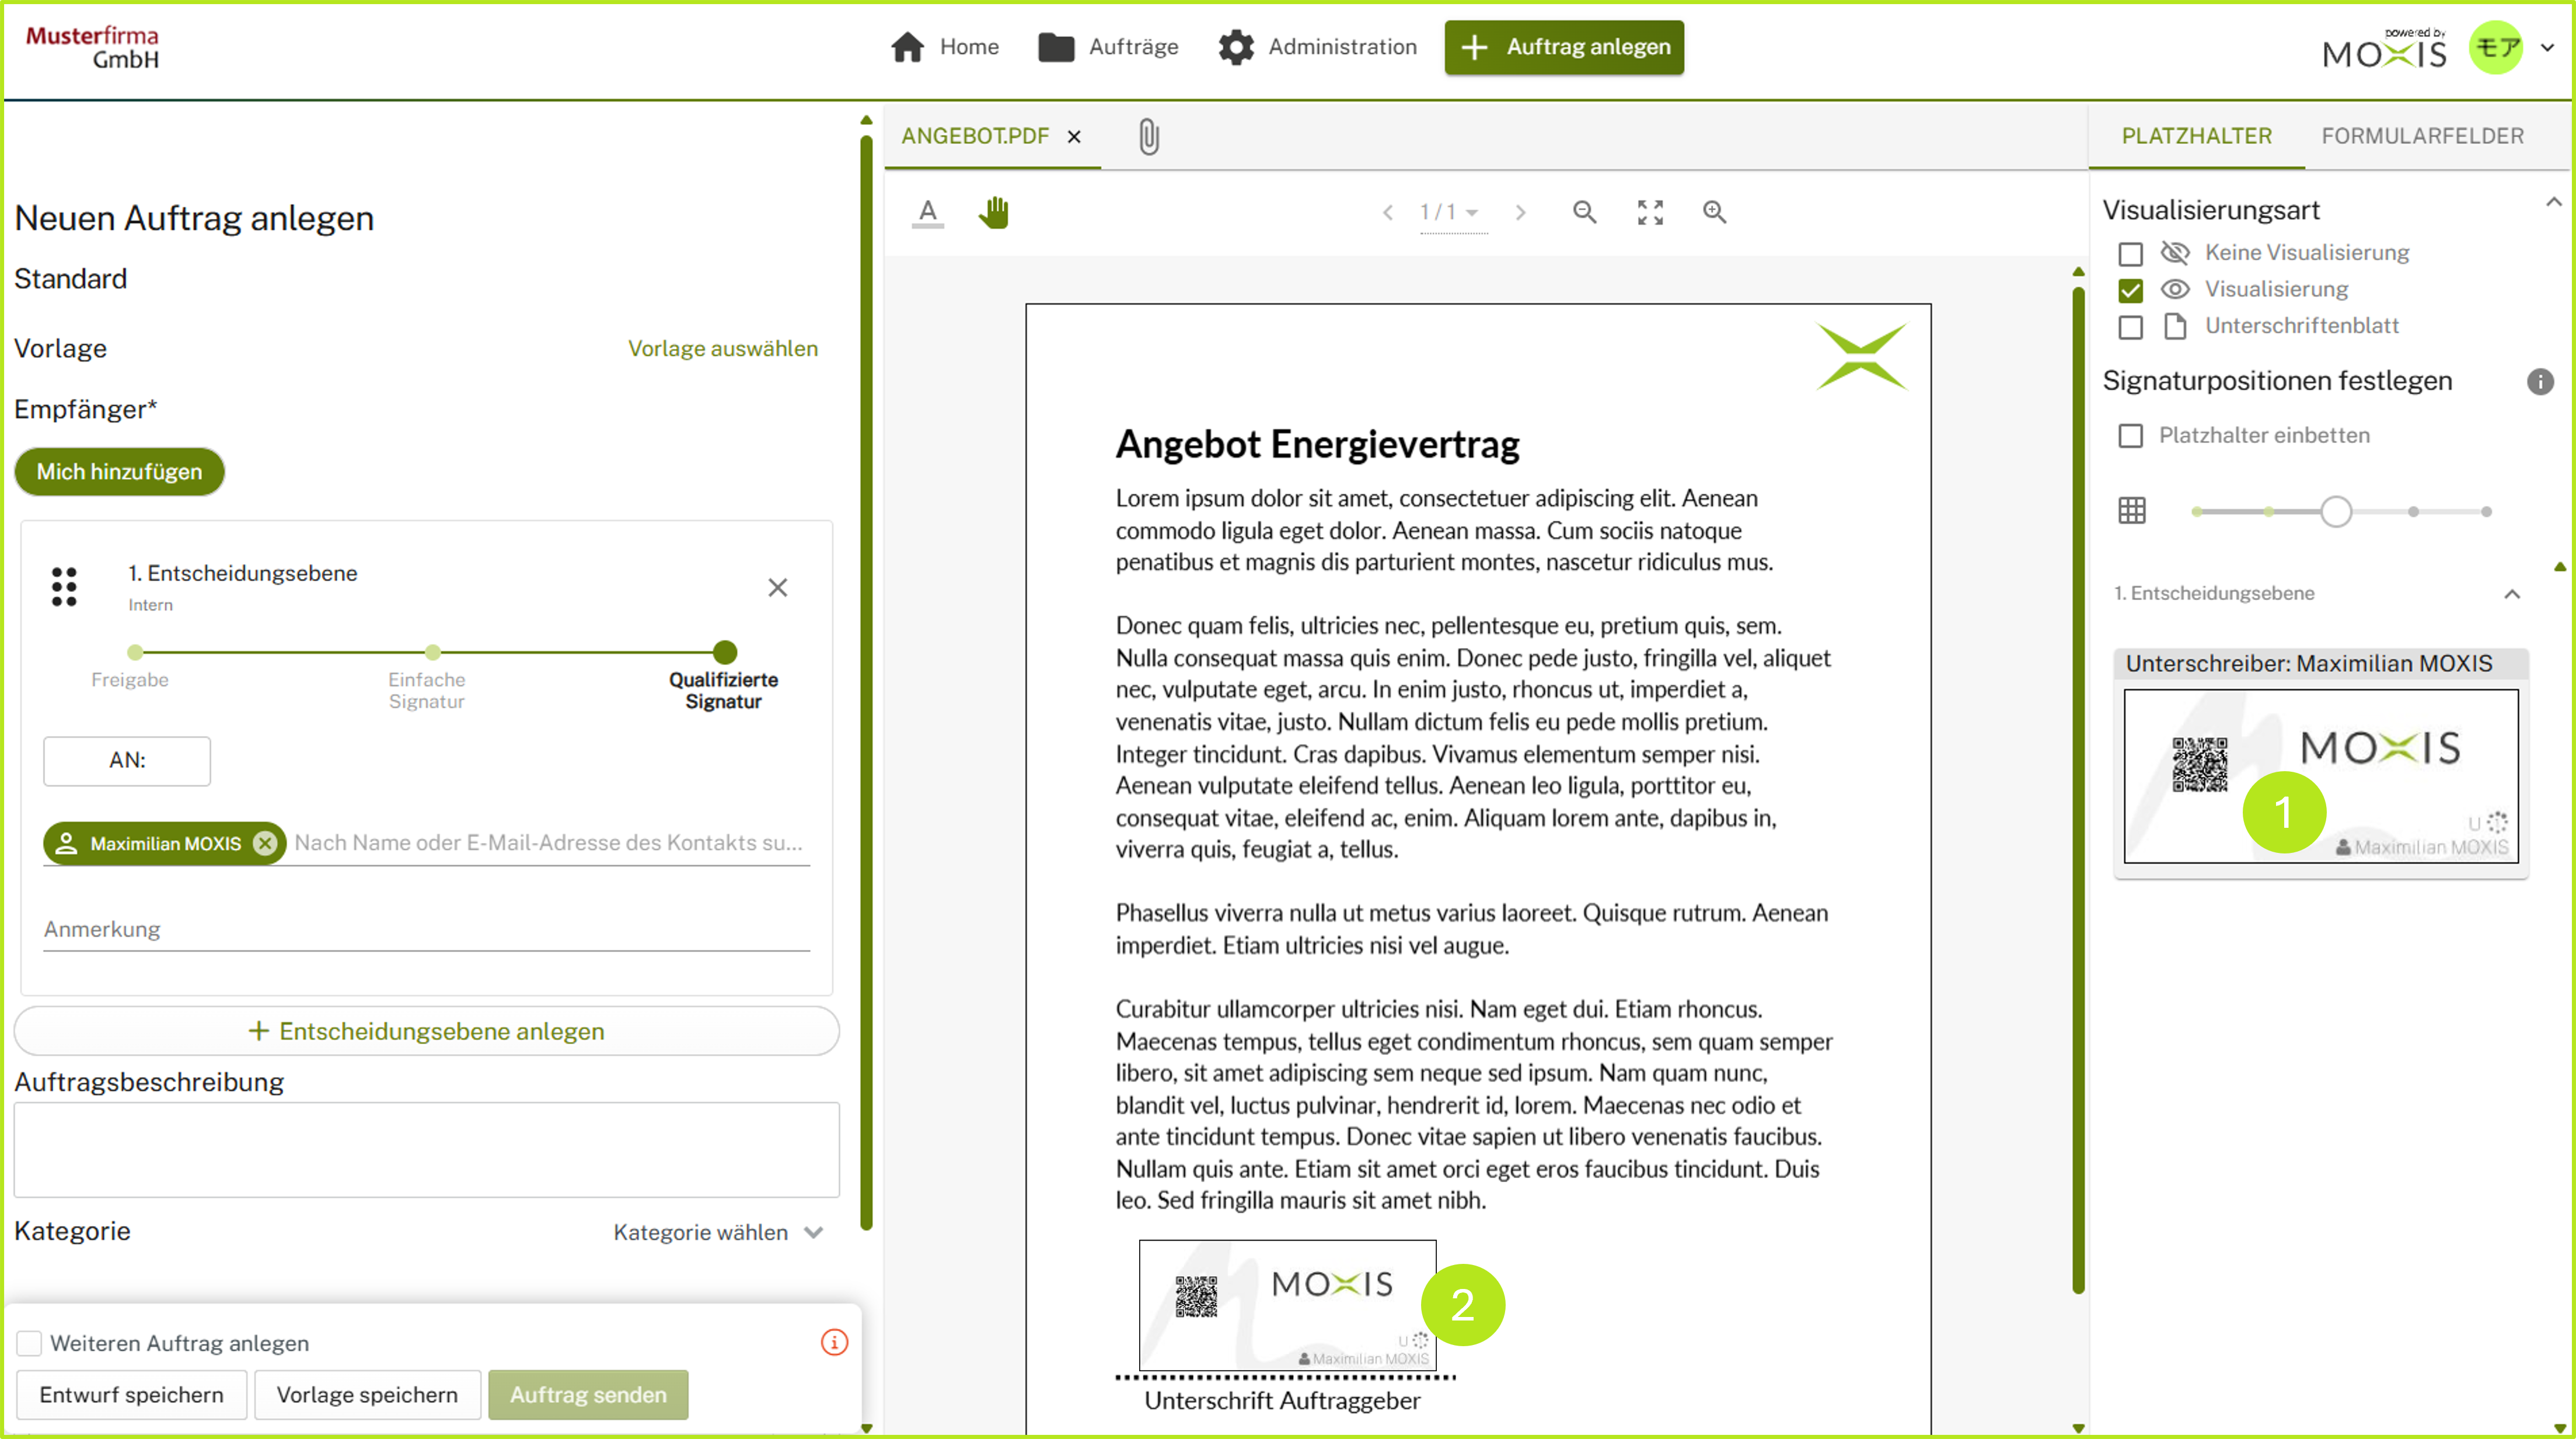
Figure 6: Placing a signature placeholder in MOXIS

Figure 7: Add form fields
1.7 Step 6: Sending the job
The document is now ready to be sent. To initiate the final step, please click on the [Send job]- button (see figure 7) in the lower left corner.
XiTip
Please note: As long as the job is incomplete, the [Send job]-button will be greyed out. However, once the order is ready for dispatch and contains all the necessary information, the button will turn green.
1.8 Step 7: The signature process
If you have selected yourself as the signee, a pop-up window will open (see figure 8). Here you can sign the order, remove the flag (see figure 8 [1]) or enter optional attributes (see Figure 8 [2]) - depending on your basic configuration.
XiTip
The option to define optional attributes depends on the configuration. The rest of the signing process also depends on which process, signature qualities, iteration levels, and type and number of recipients you have selected. Please note: Depending on your selection, the pop-up shown in Figure 7 may not appear in this form.
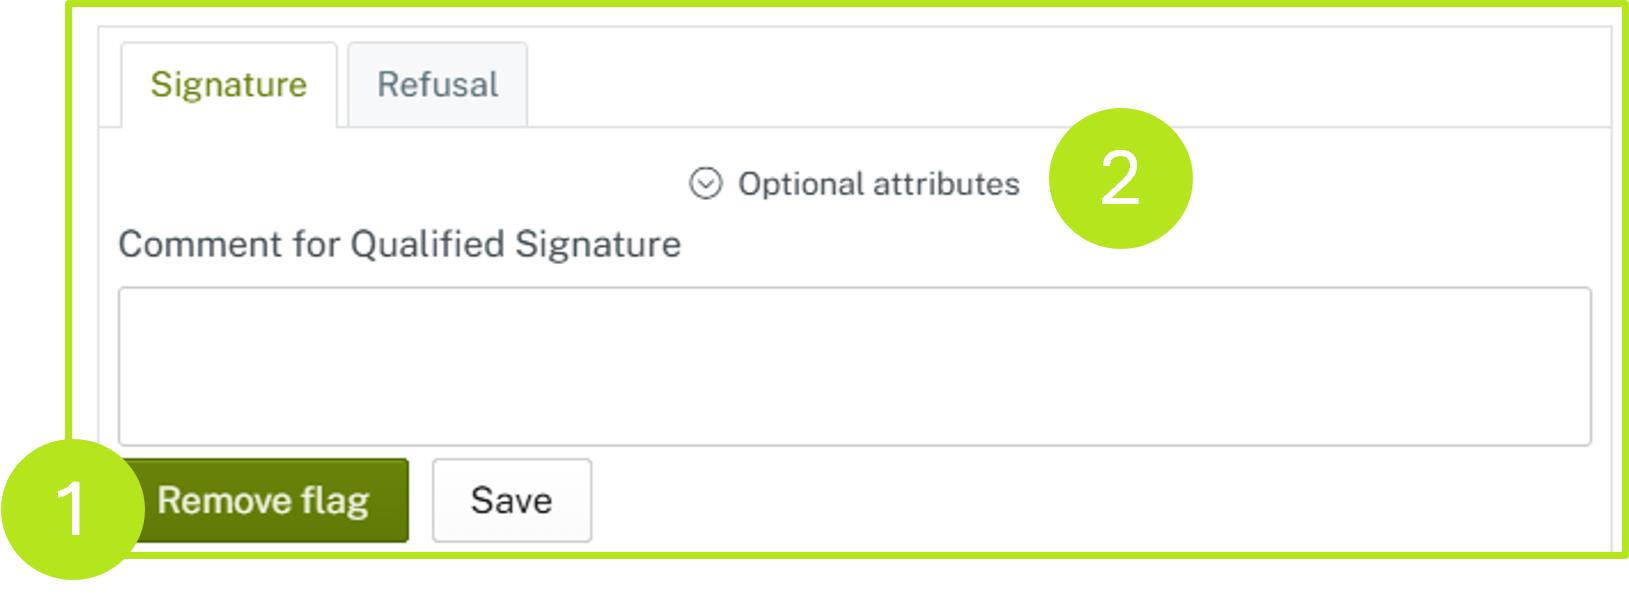
Abbildung 7: Auftrag zum Unterschreiben freigeben
Further information on this process and optional attributes can be found here.
Alternatively, you can release the order for signature individually or (if there are several) as a collective order via the detailed view or the order overview.
Congratulations! You have created and sent your first signature order!
2. The signature process in MOXIS for signees
Once orders have been released for signature, you can sign them. This can be done with a single order or in batches. The first steps are independent of which trust centre (A-Trust, D-Trust or Swisscom) you use in the background.
This also applies if you are using a mobile phone. However, there is a significant difference between the regular signature process and the signature process via mobile phone. This difference only affects the completion of the mobile signature process.
Further information on the general signature process can be found here. The follow-up articles A-Trust signature process, D-Trust signature process and Swisscom signature process provide information on the other processes that depend on the respective trust centre.
XiTip
If you have any further questions, please refer to the articles in the XiTrust documentation, contact our support team or your XiTrust contact person.