[v4.53] How to create jobs in MOXIS
Content
This article shows how to create jobs in MOXIS from version 4.53 onwards. You will also learn more about how attachments work.
1. Step-by-step instructions for creating a job
These instructions provide a quick overview of how to create a basic job in MOXIS. For more information on creating jobs, please click here.
1.1. Step 1: Create job
To create a new job, please click on [+Create job] in the job overview (see figure 1 [1]).
XiTip
While MOXIS Business and MOXIS Now only offer standardised options, MOXIS Enterprise allows you to customise the signature process. This saves time and resources. For further information, please contact your XiTrust contact person.
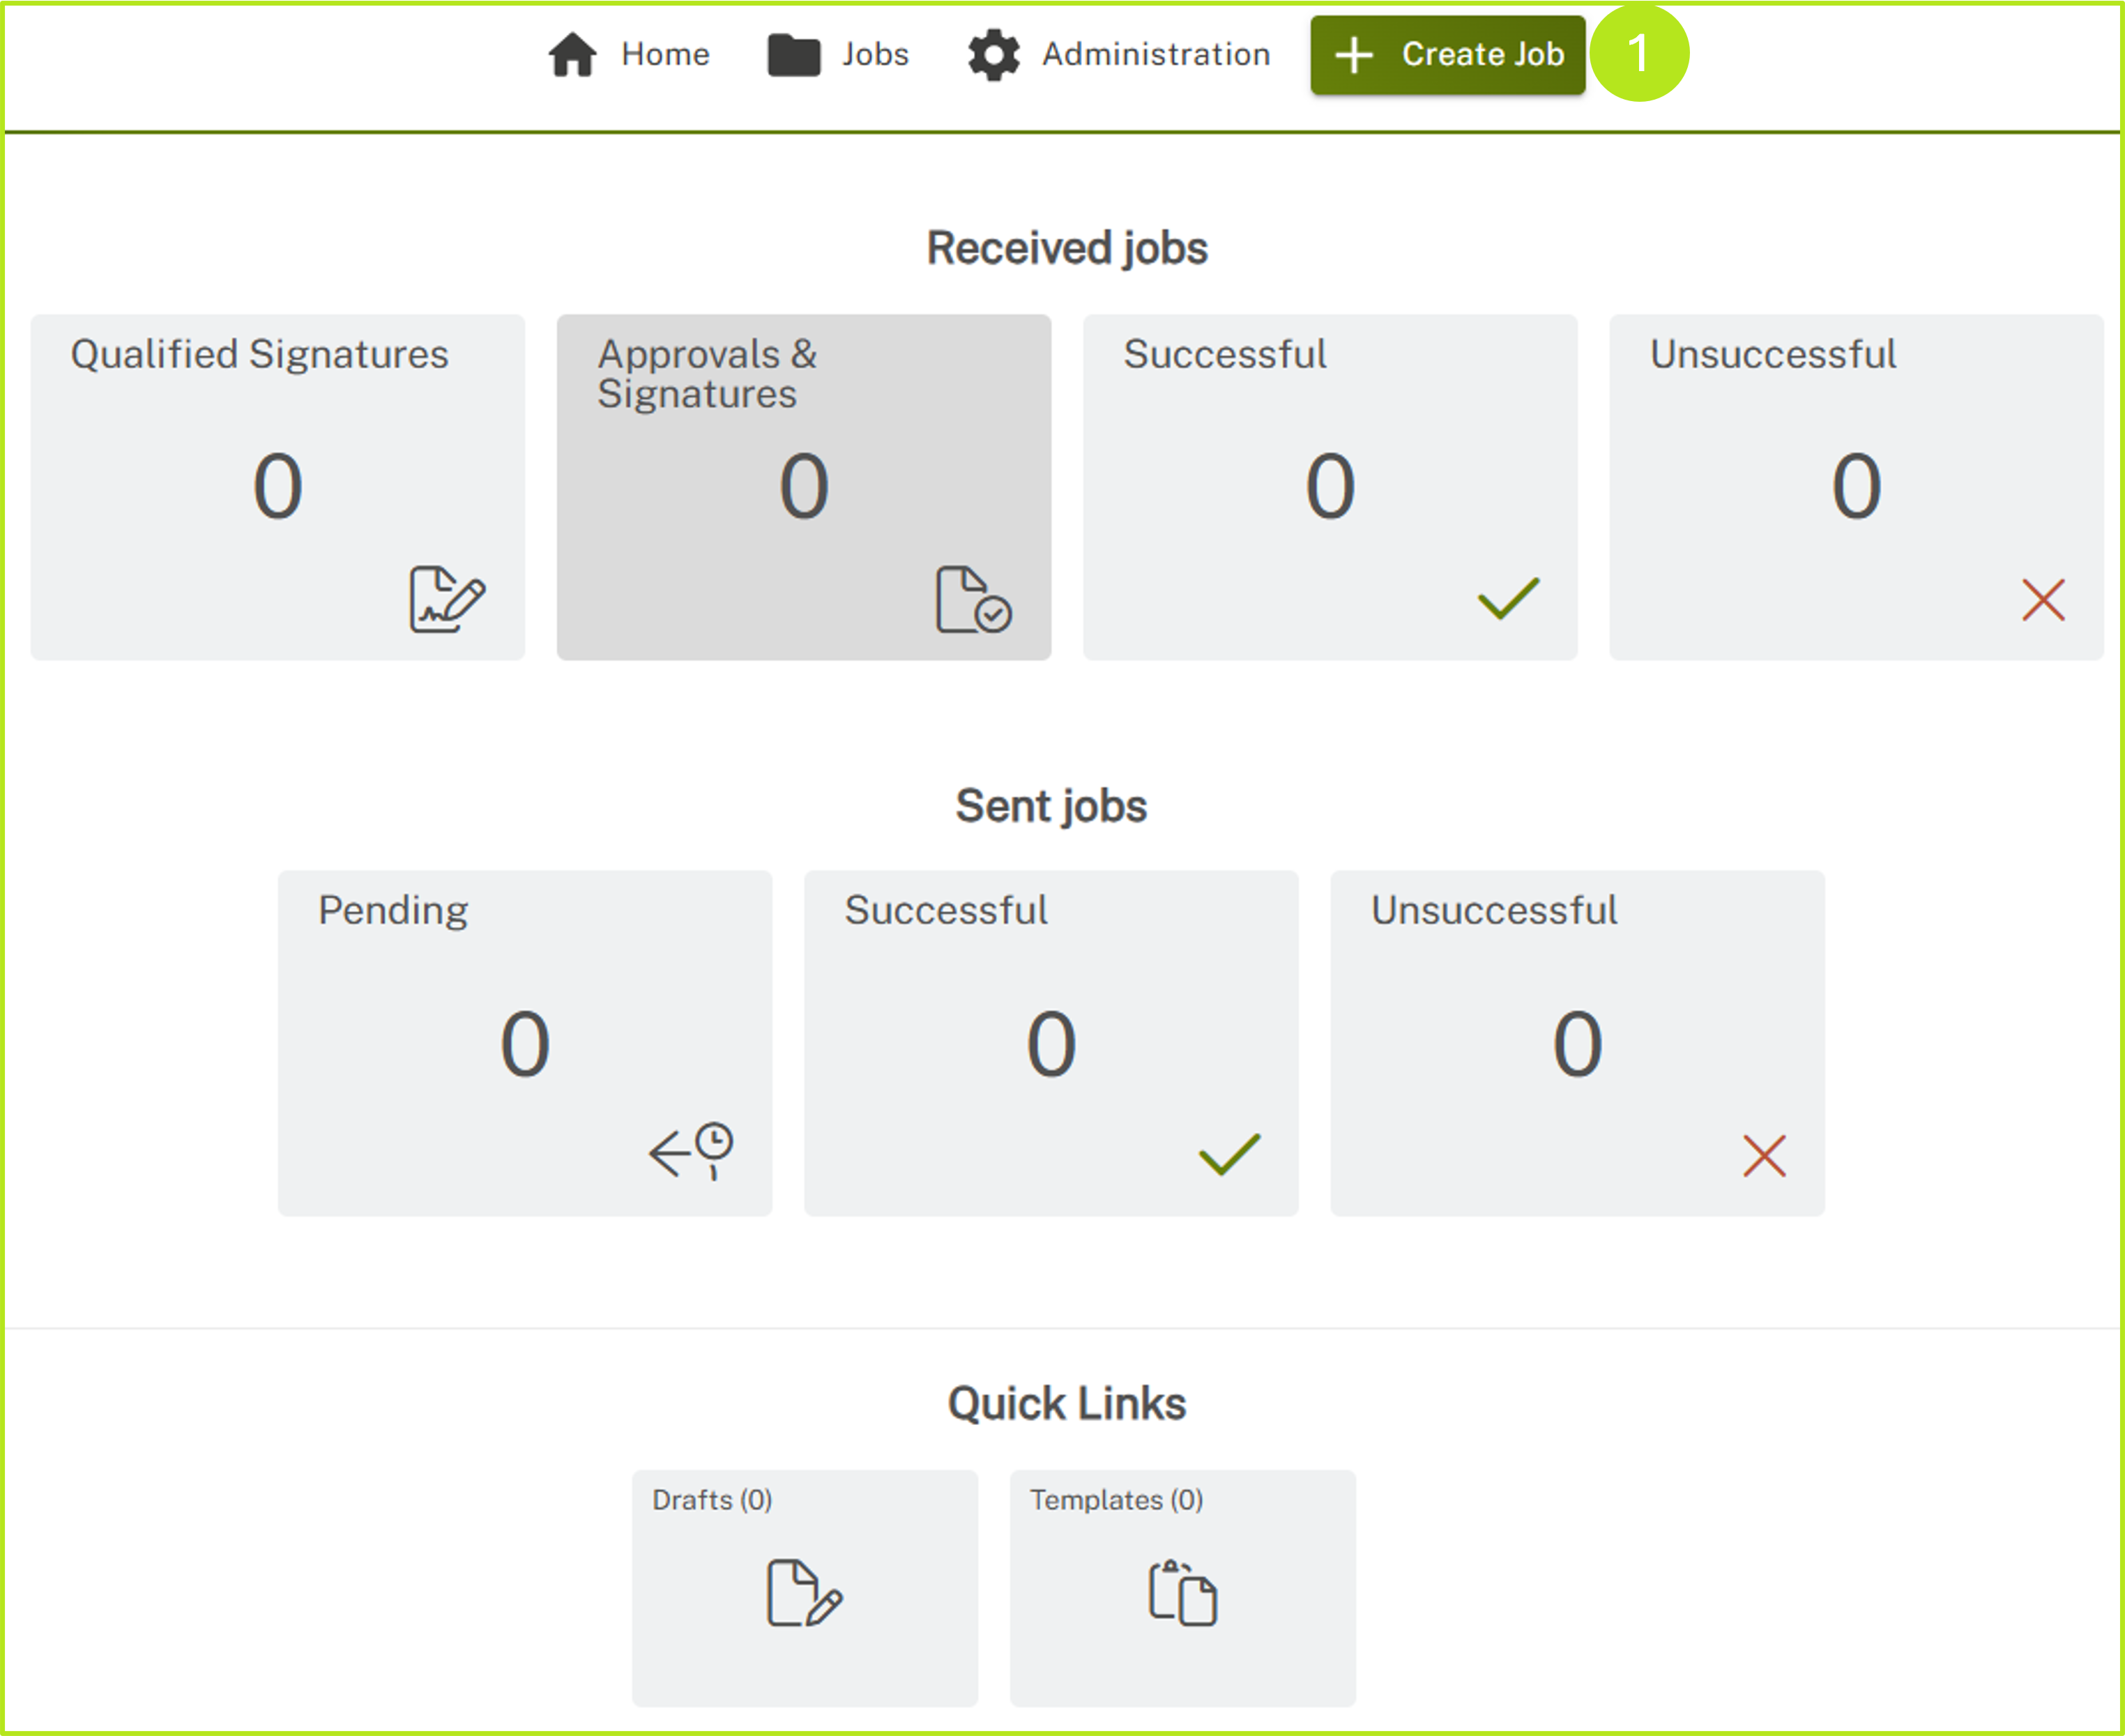
Figure 1: Create a job in MOXIS 4.53
1.2. Step 2: Select process
In the drop-down menu that opens now, select the process you want to use to sign and click on it (see figure 2 [1]). For more information on creating jobs, click here.

Figure 2: Select a process
1.3 Step 3: Upload a document for signing
Please select the document you wish to sign and upload it by clicking on Browse (see figure 3 [1]) or simply drag and drop the document into the grey field.
XiTip
Please note: The files are subject to certain restrictions set by your administrator, which are displayed in the grey box (see figure 3 [2]). If you would like to make any changes, please contact your administrator.
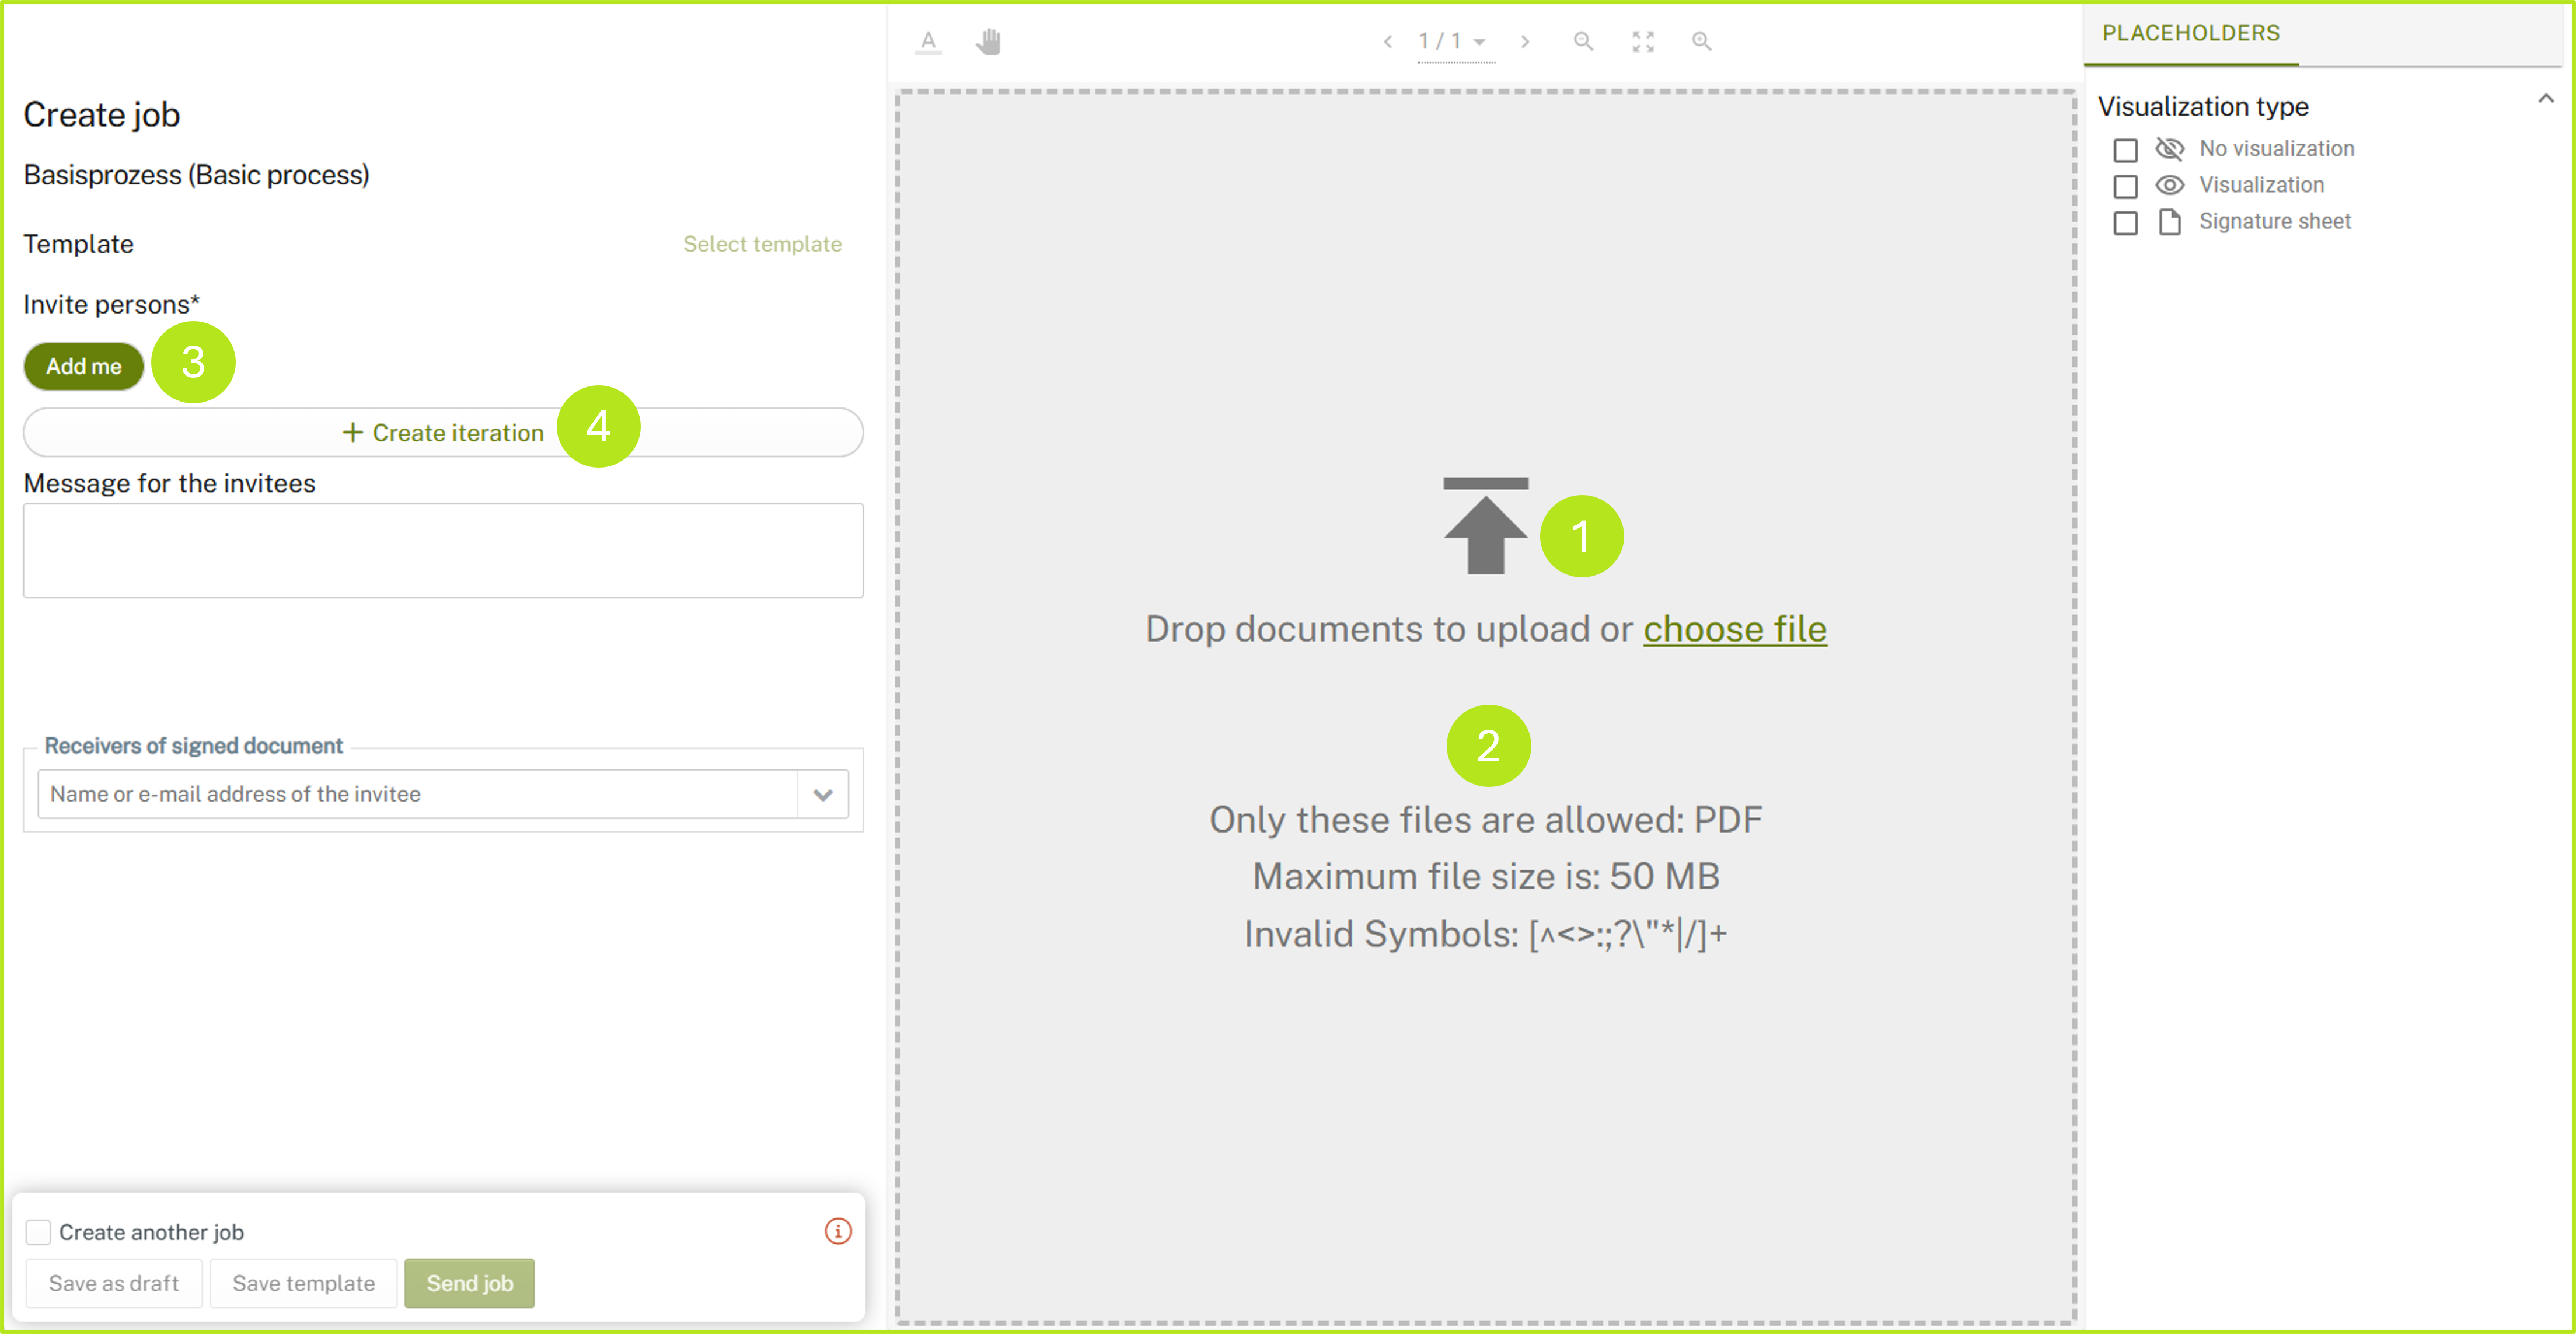
Figure 4: Upload documents in MOXIS
1.4 Step 4: Set additional signature parameters
Once you have uploaded a document, you can fill in additional fields (see figure 5). You can determine the signature qualities and the recipient(s). This can be changed later.
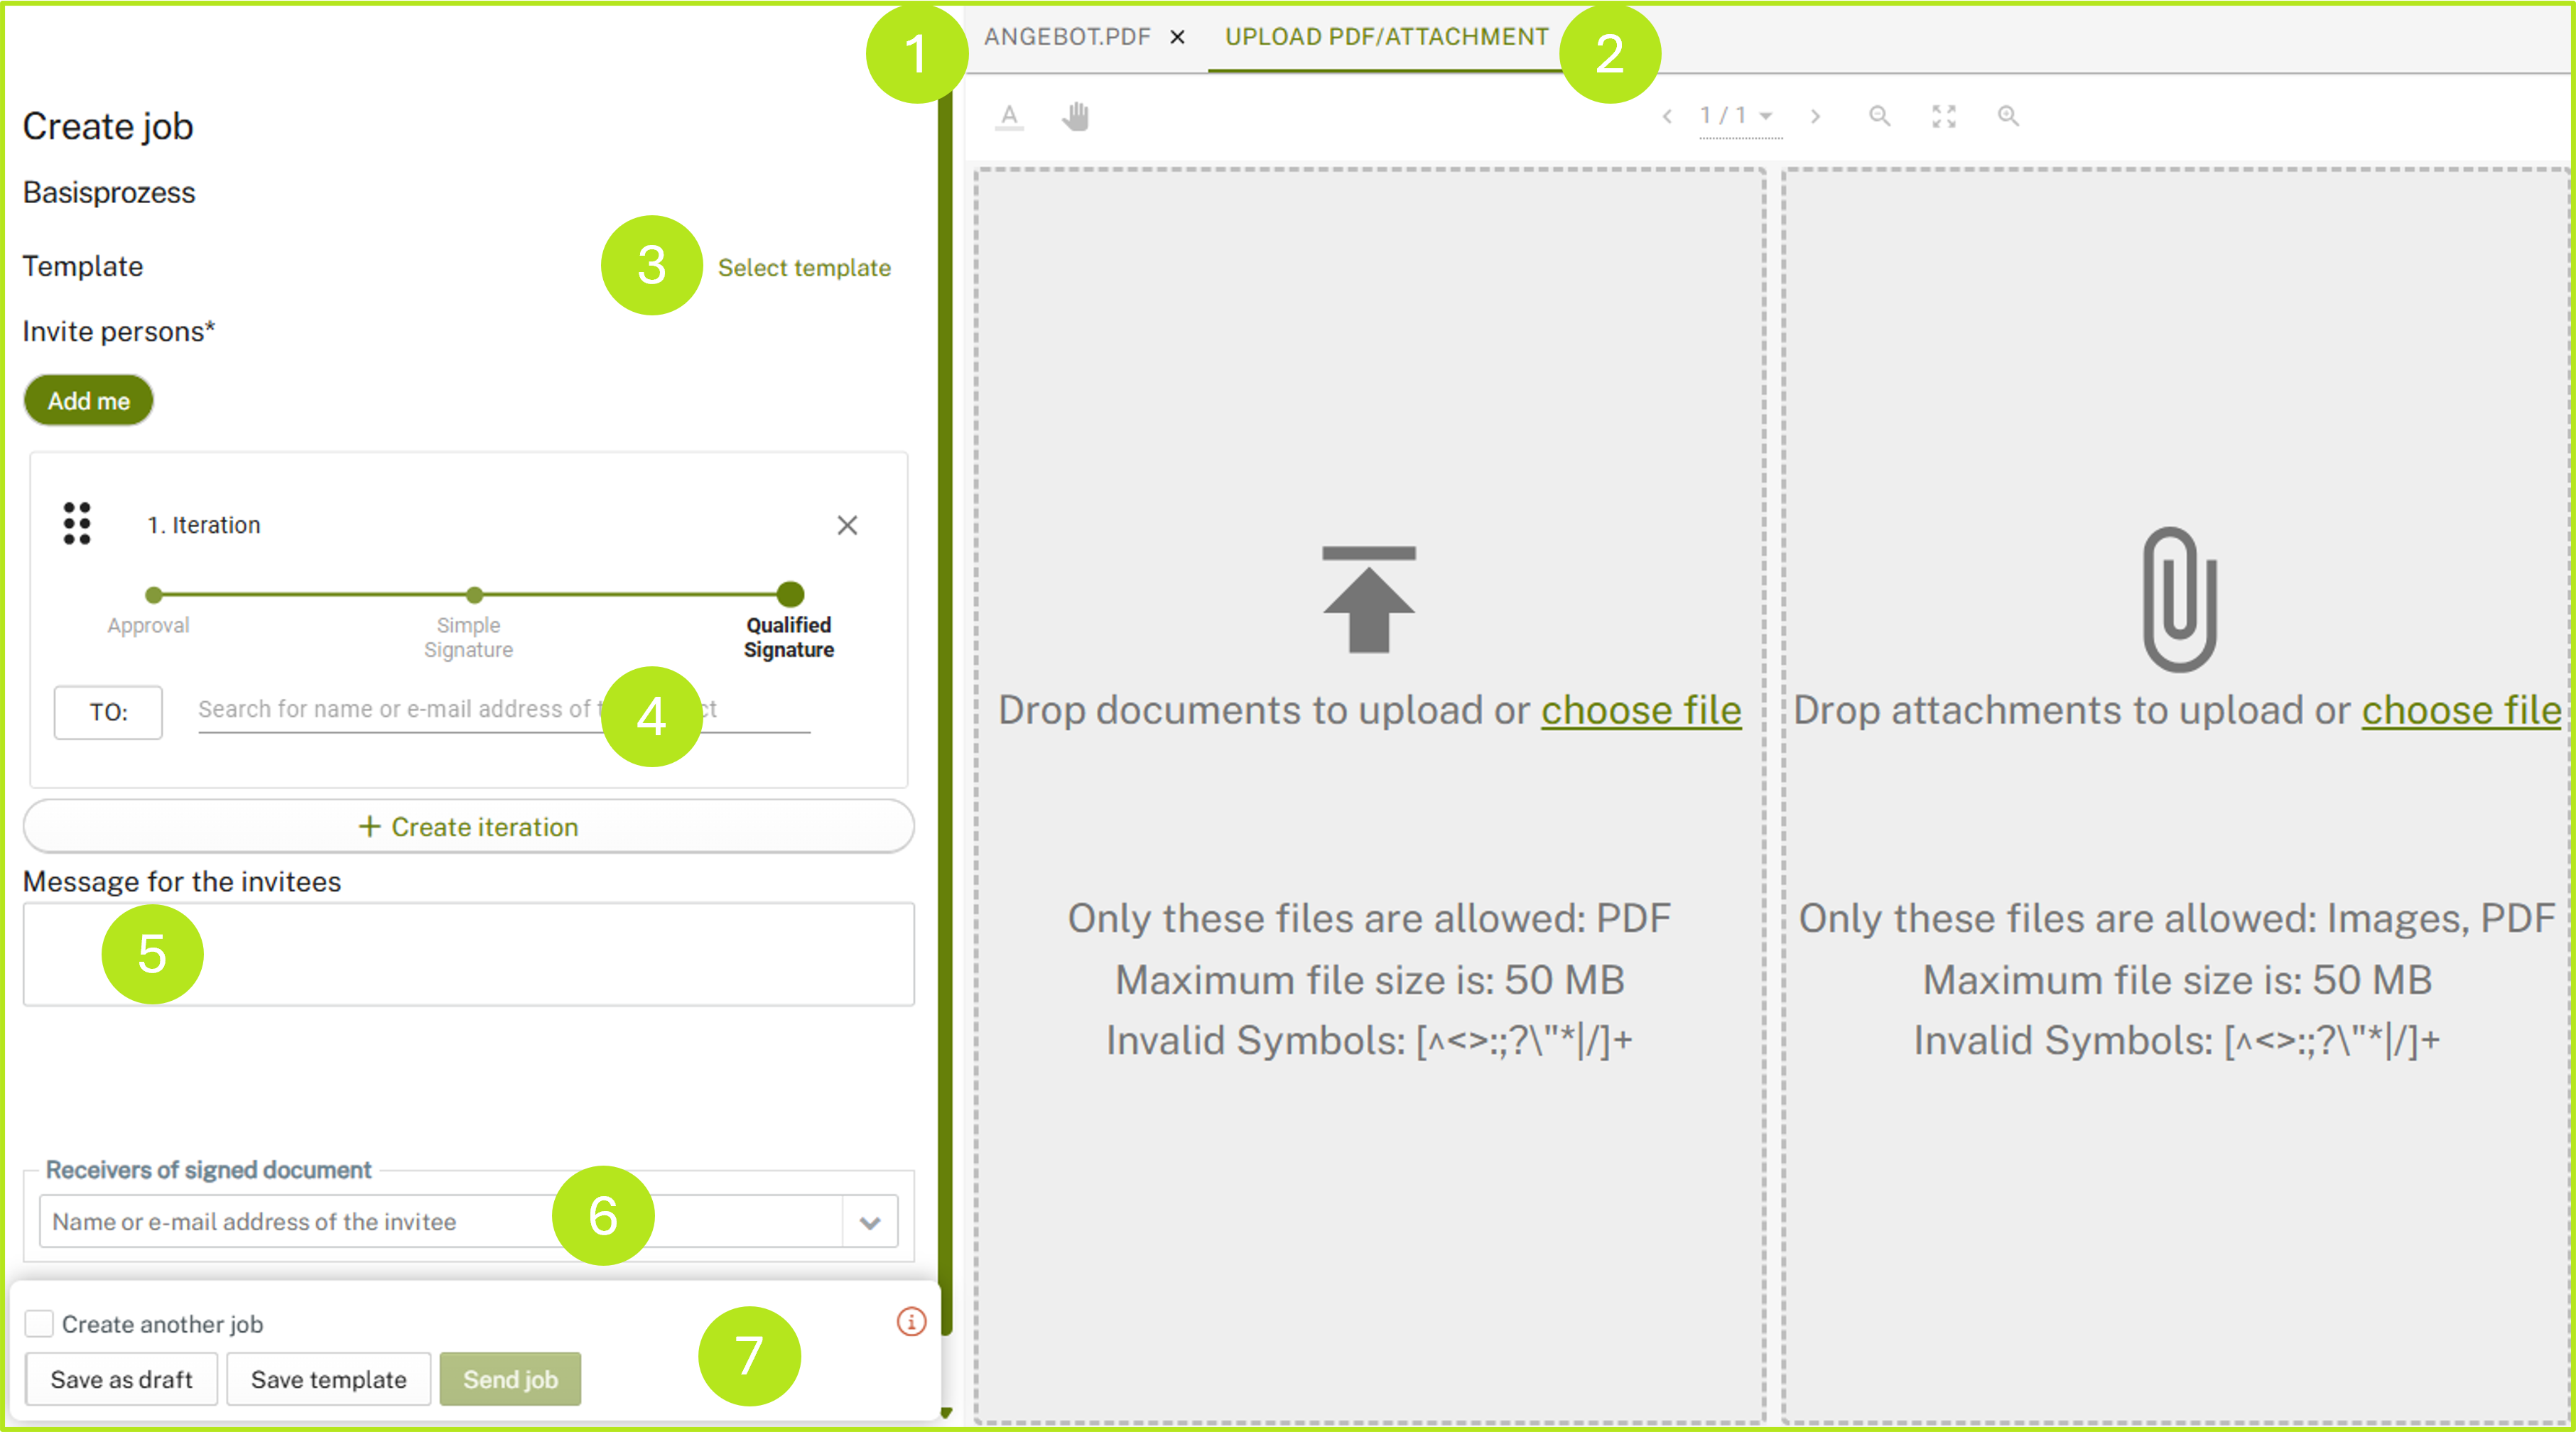
Figure 5: Create a job in MOXIS 4.53
The following job details can/must* be entered:
Main document*: The PDF document that is to be signed or approved (see figure 5 [1]).
Attachments: Up to ten attachments can be uploaded (see figure 5 [2]). Attachments are used to provide information for job recipients and are not co-signed in the case of a standard configuration. If the ‘PDF container option’ is configured during the signature process, the ‘entire package’ (consisting of the main document and attachments) is signed. In this case, the attachments are part of the main document. Depending on the configuration, attachments can be restricted to certain file types.
XiTip
Since MOXIS 4.53, external signatories in MOXIS Guest can upload attachments after or during the signing process. Further information about this feature can be found here. Please note: The uploading of attachments by signatories is currently (as of 04/25) restricted to external signatories in MOXIS Guest.
Select template:
If a template has been defined, it can be selected here (see figure 5 [3]).Recipients*:
The recipients of the order must be listed here. Depending on the configuration, the search can be performed using first and last names or email addresses. Both registered MOXIS users and external signatories (optional) can be invited. Click on the [TO:]-button to open the address book and add recipients directly from there. (Optionally, a description of the job can be added, but this depends on your configuration).Message for invitees:
You can leave messages for invitees in the responding fields (see figure 5 [5]).
XiTip
Please note: Since MOXIS 4.53, it is possible to leave a remark on each iteration level not only in MOXIS Enterprise, but also in the MOXIS Business Cloud.
Category: The order can optionally be assigned to a category (see figure 5 [6]).
Expiry date*: The expiry date determines how long all signatories and approvers involved in the order have to complete it (see figure 5 [7]).
Receivers of the document:
Enter additional recipients of the document who will receive the order after it has been signed (see figure 5 [8]).
XiTip
If you leave the job form while creating a job and switch to another page (Home, Jobs, etc.), a pop-up window will appear (see figure 6). This informs you that your changes have not been saved. Click on the [Stay on page]-button to continue editing the order. Click on the [Save draft]-button to save a draft and you will then be redirected to the overview page. If you want to discard the draft, please click on the [Leave page]-button.
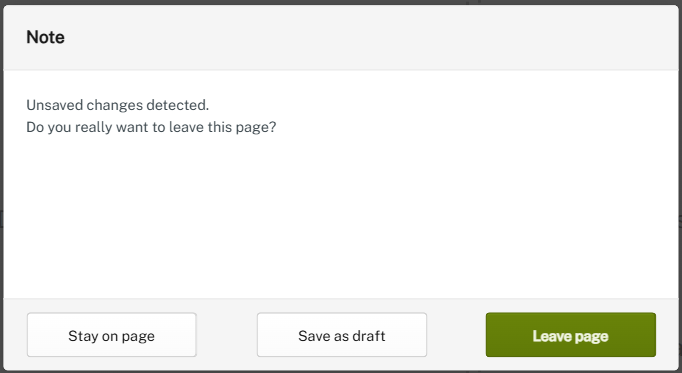
Figure 6: Note on unsaved changes
1.5 Step 5: Complete job
Complete the order by clicking on the [Send order]-button (see figure 5) However, you can also save the order as a draft or template by clicking on the corresponding [Save draft]- or [Save template]- button.
2. Behavior of attachments in MOXIS
2.1. Fotos
If you add a photo as an attachment, a preview is displayed so that you can check that you have selected the correct file. To do this, open the tab with the corresponding file name. Scroll bars make it easier to check large files (see figure 7).
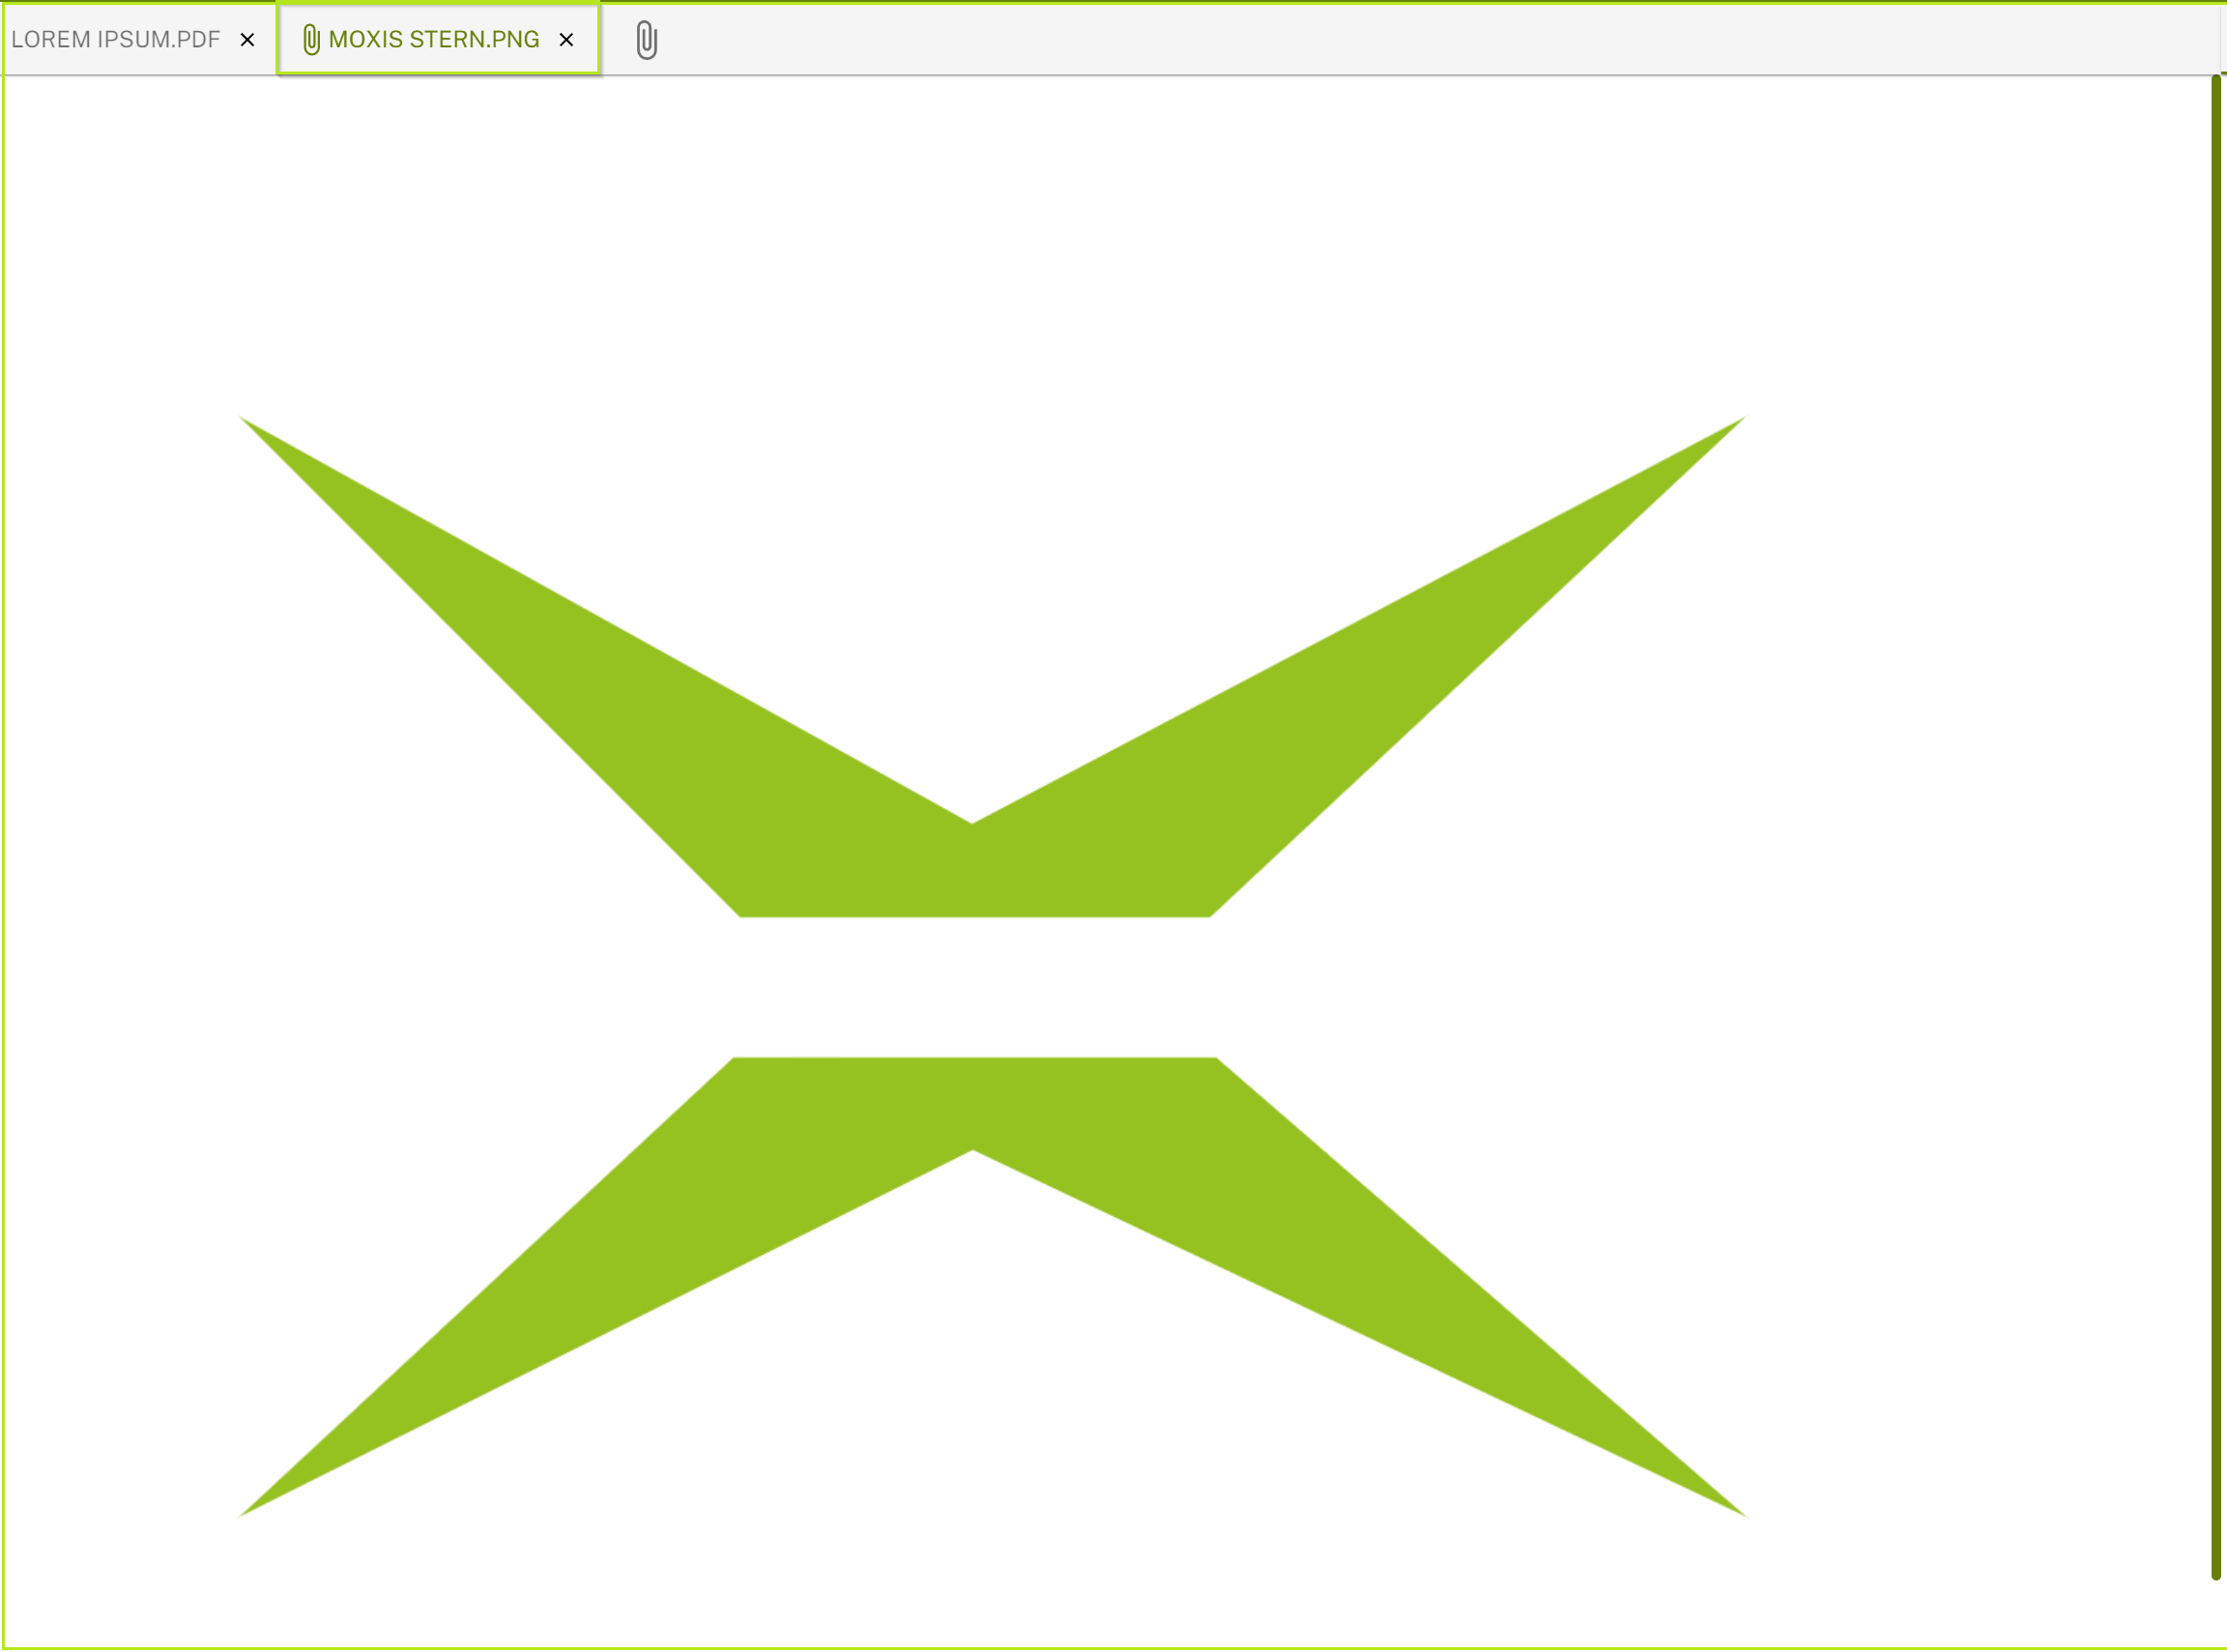
Figure 7: Large attachments with scroll bar on the right for review
2.2. File types
Please note that certain file types (e.g. txt) are not displayed in the preview. If the upload of such files was successful, this will be indicated accordingly (see figure 8).
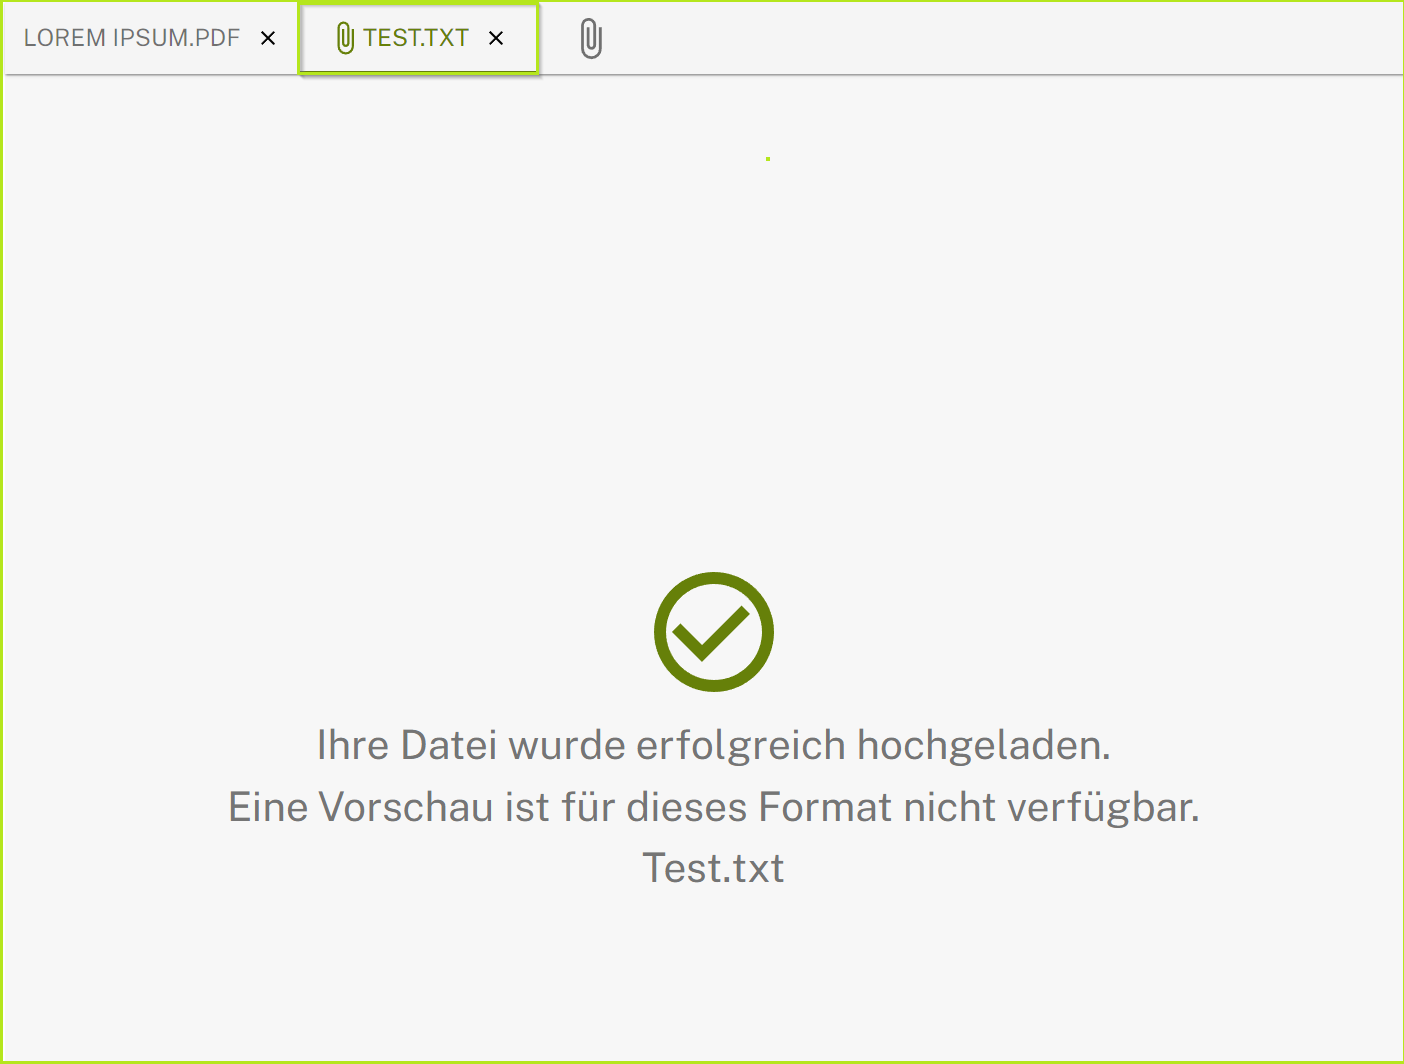
Figure 8: Preview not available (.txt-file)
2.3. Error messages for unauthorised file formats
If you upload a file whose format is not permitted or which exceeds the permitted file size, you will receive a corresponding error message (see figures 9 and 10).
XiTip
The permitted formats and file sizes are displayed in the job mask (see figure 4). They depend on the configuration of your MOXIS instance. This means that they can be adjusted by your administrator.

Figure 9: Error message for invalid file format

Figure 10: Error message when maximum size is exceeded
