
[v4.50] Assignment of integrated form fields
Content
MOXIS offers the possibility to process PDF files with integrated form fields. This article will show you how to make the most of this feature.
1. Step-by-step guide: Assigning integrated form fields
Step 1: Upload a PDF with integrated form fields to MOXIS.
XiTip
You (or the person creating the document) can pre-populate form fields in advance. Please note: pre-populated form fields can no longer be edited by other people in the decision-making levels. The entered value is retained through all decision levels.
Please note: The recipients you add in MOXIS (see figure 1 [1]) are displayed in the form field editing bar (see figure 1 [3]) in the same decision levels (see figure 1 [2]).
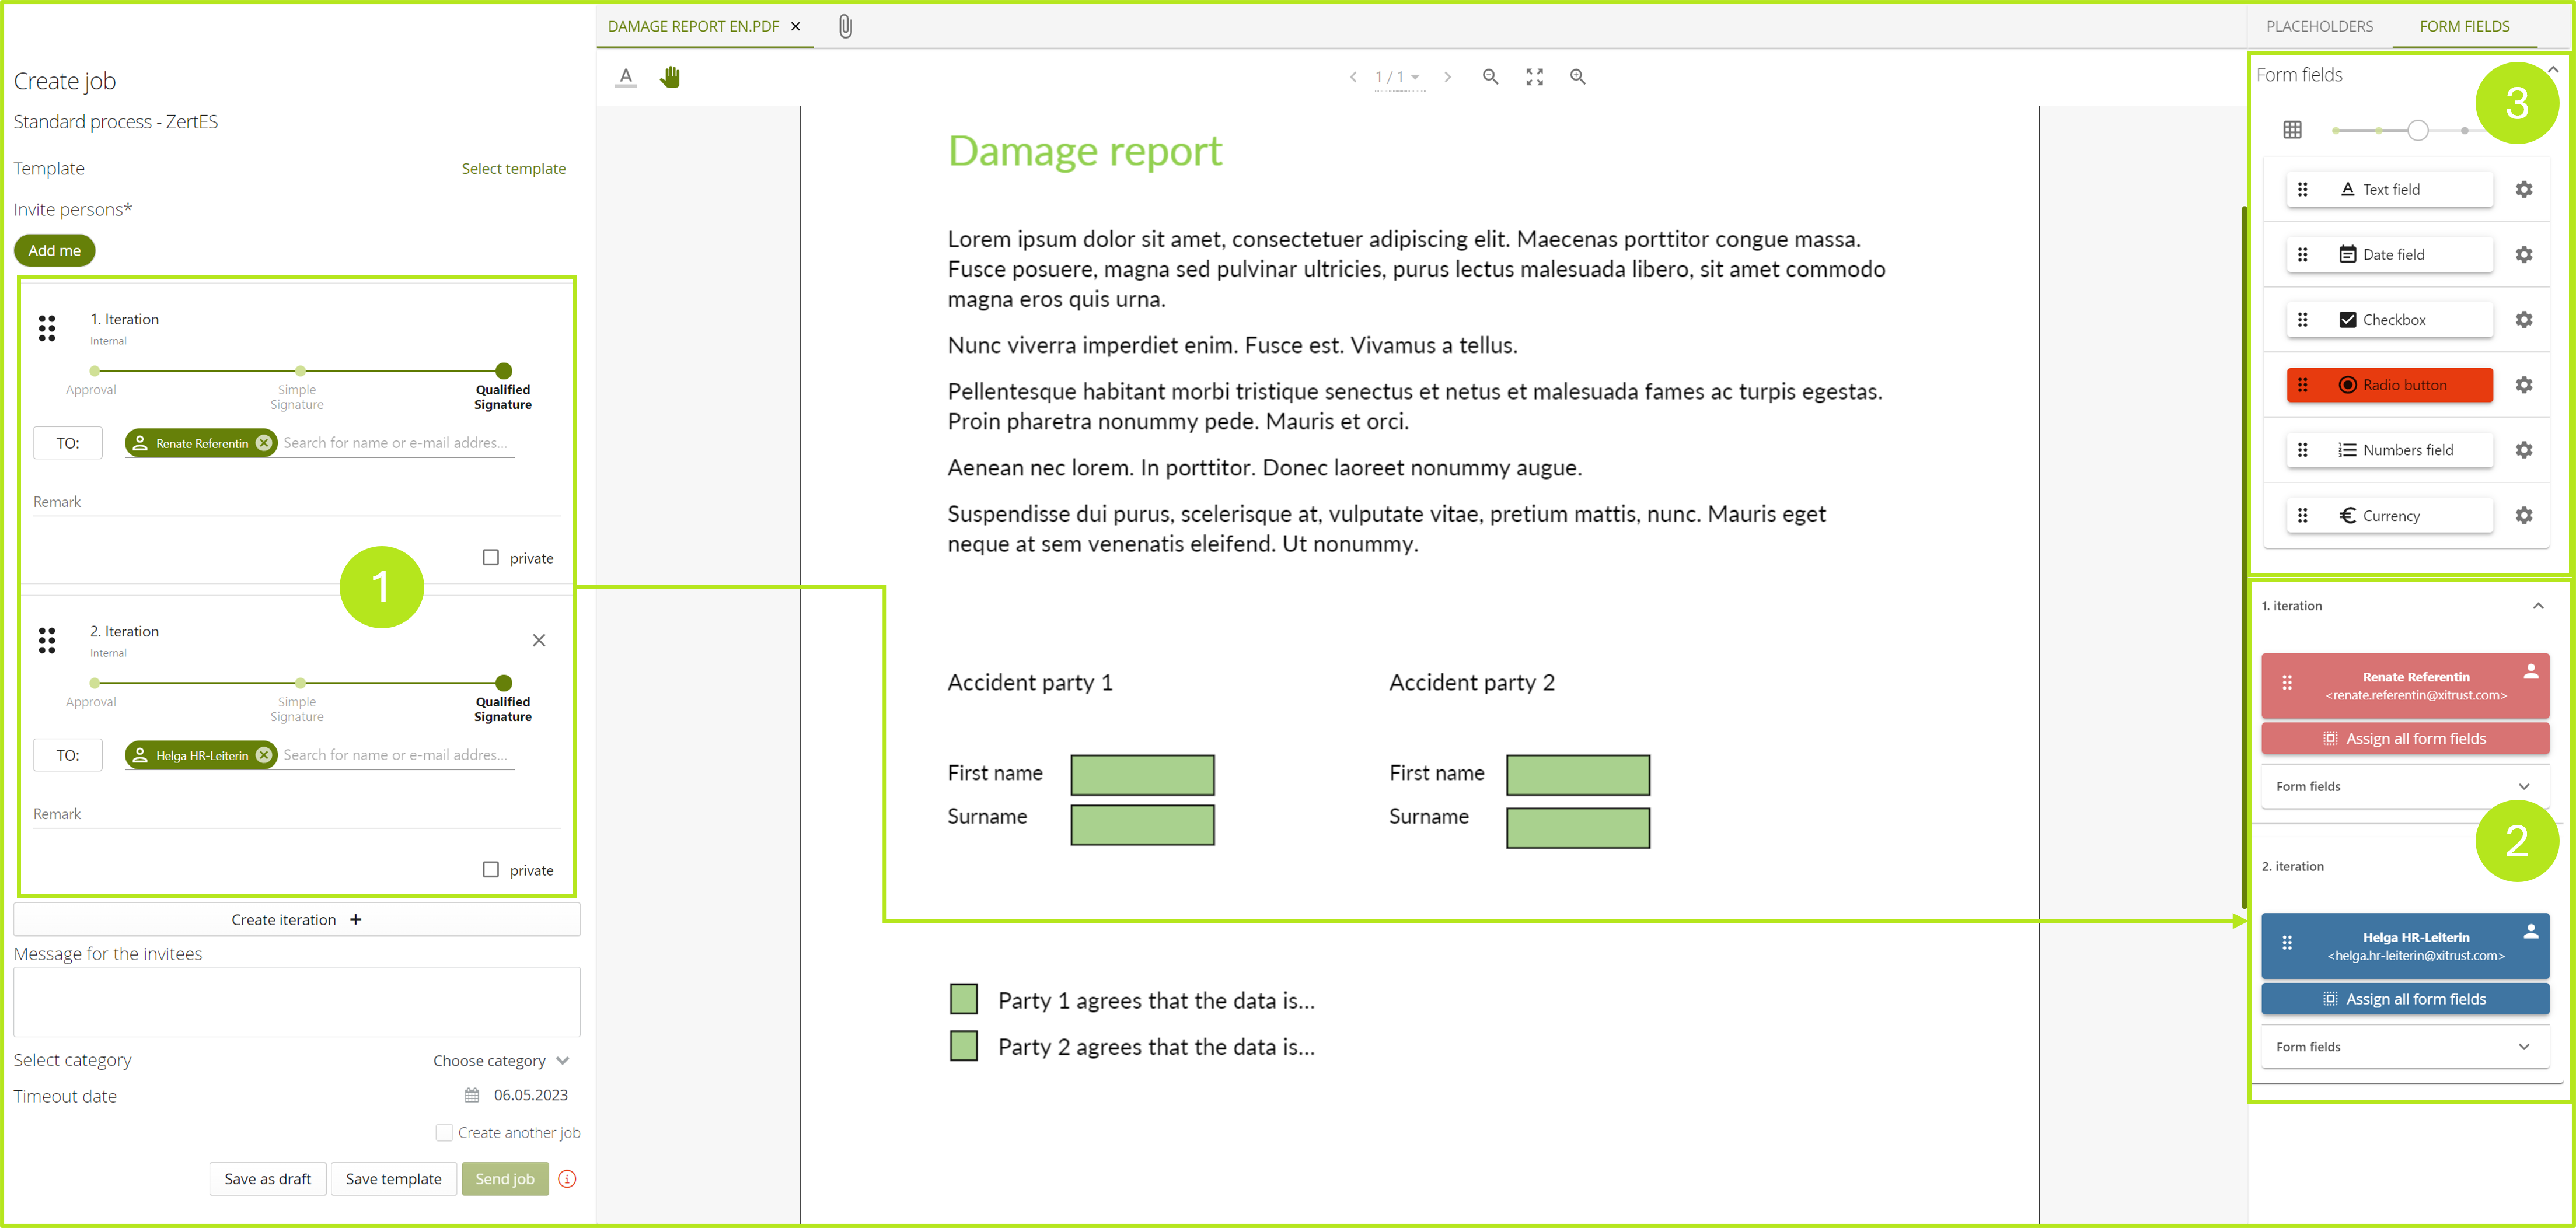
Figure 1: Recipients in MOXIS displayed in the form field editing bar
Step 2: To assign a field, hold down the user field (see Figure 2 [1]) and drag it onto the form field (see Figure 2 [2]). This is how you specify that only this person may complete this field.
XiTip
To change the assignment, simply drag the corresponding user field to the desired other form field. This overwrites the original assignment. To delete a field assignment, click on the X that appears in the field as soon as you have assigned a field.
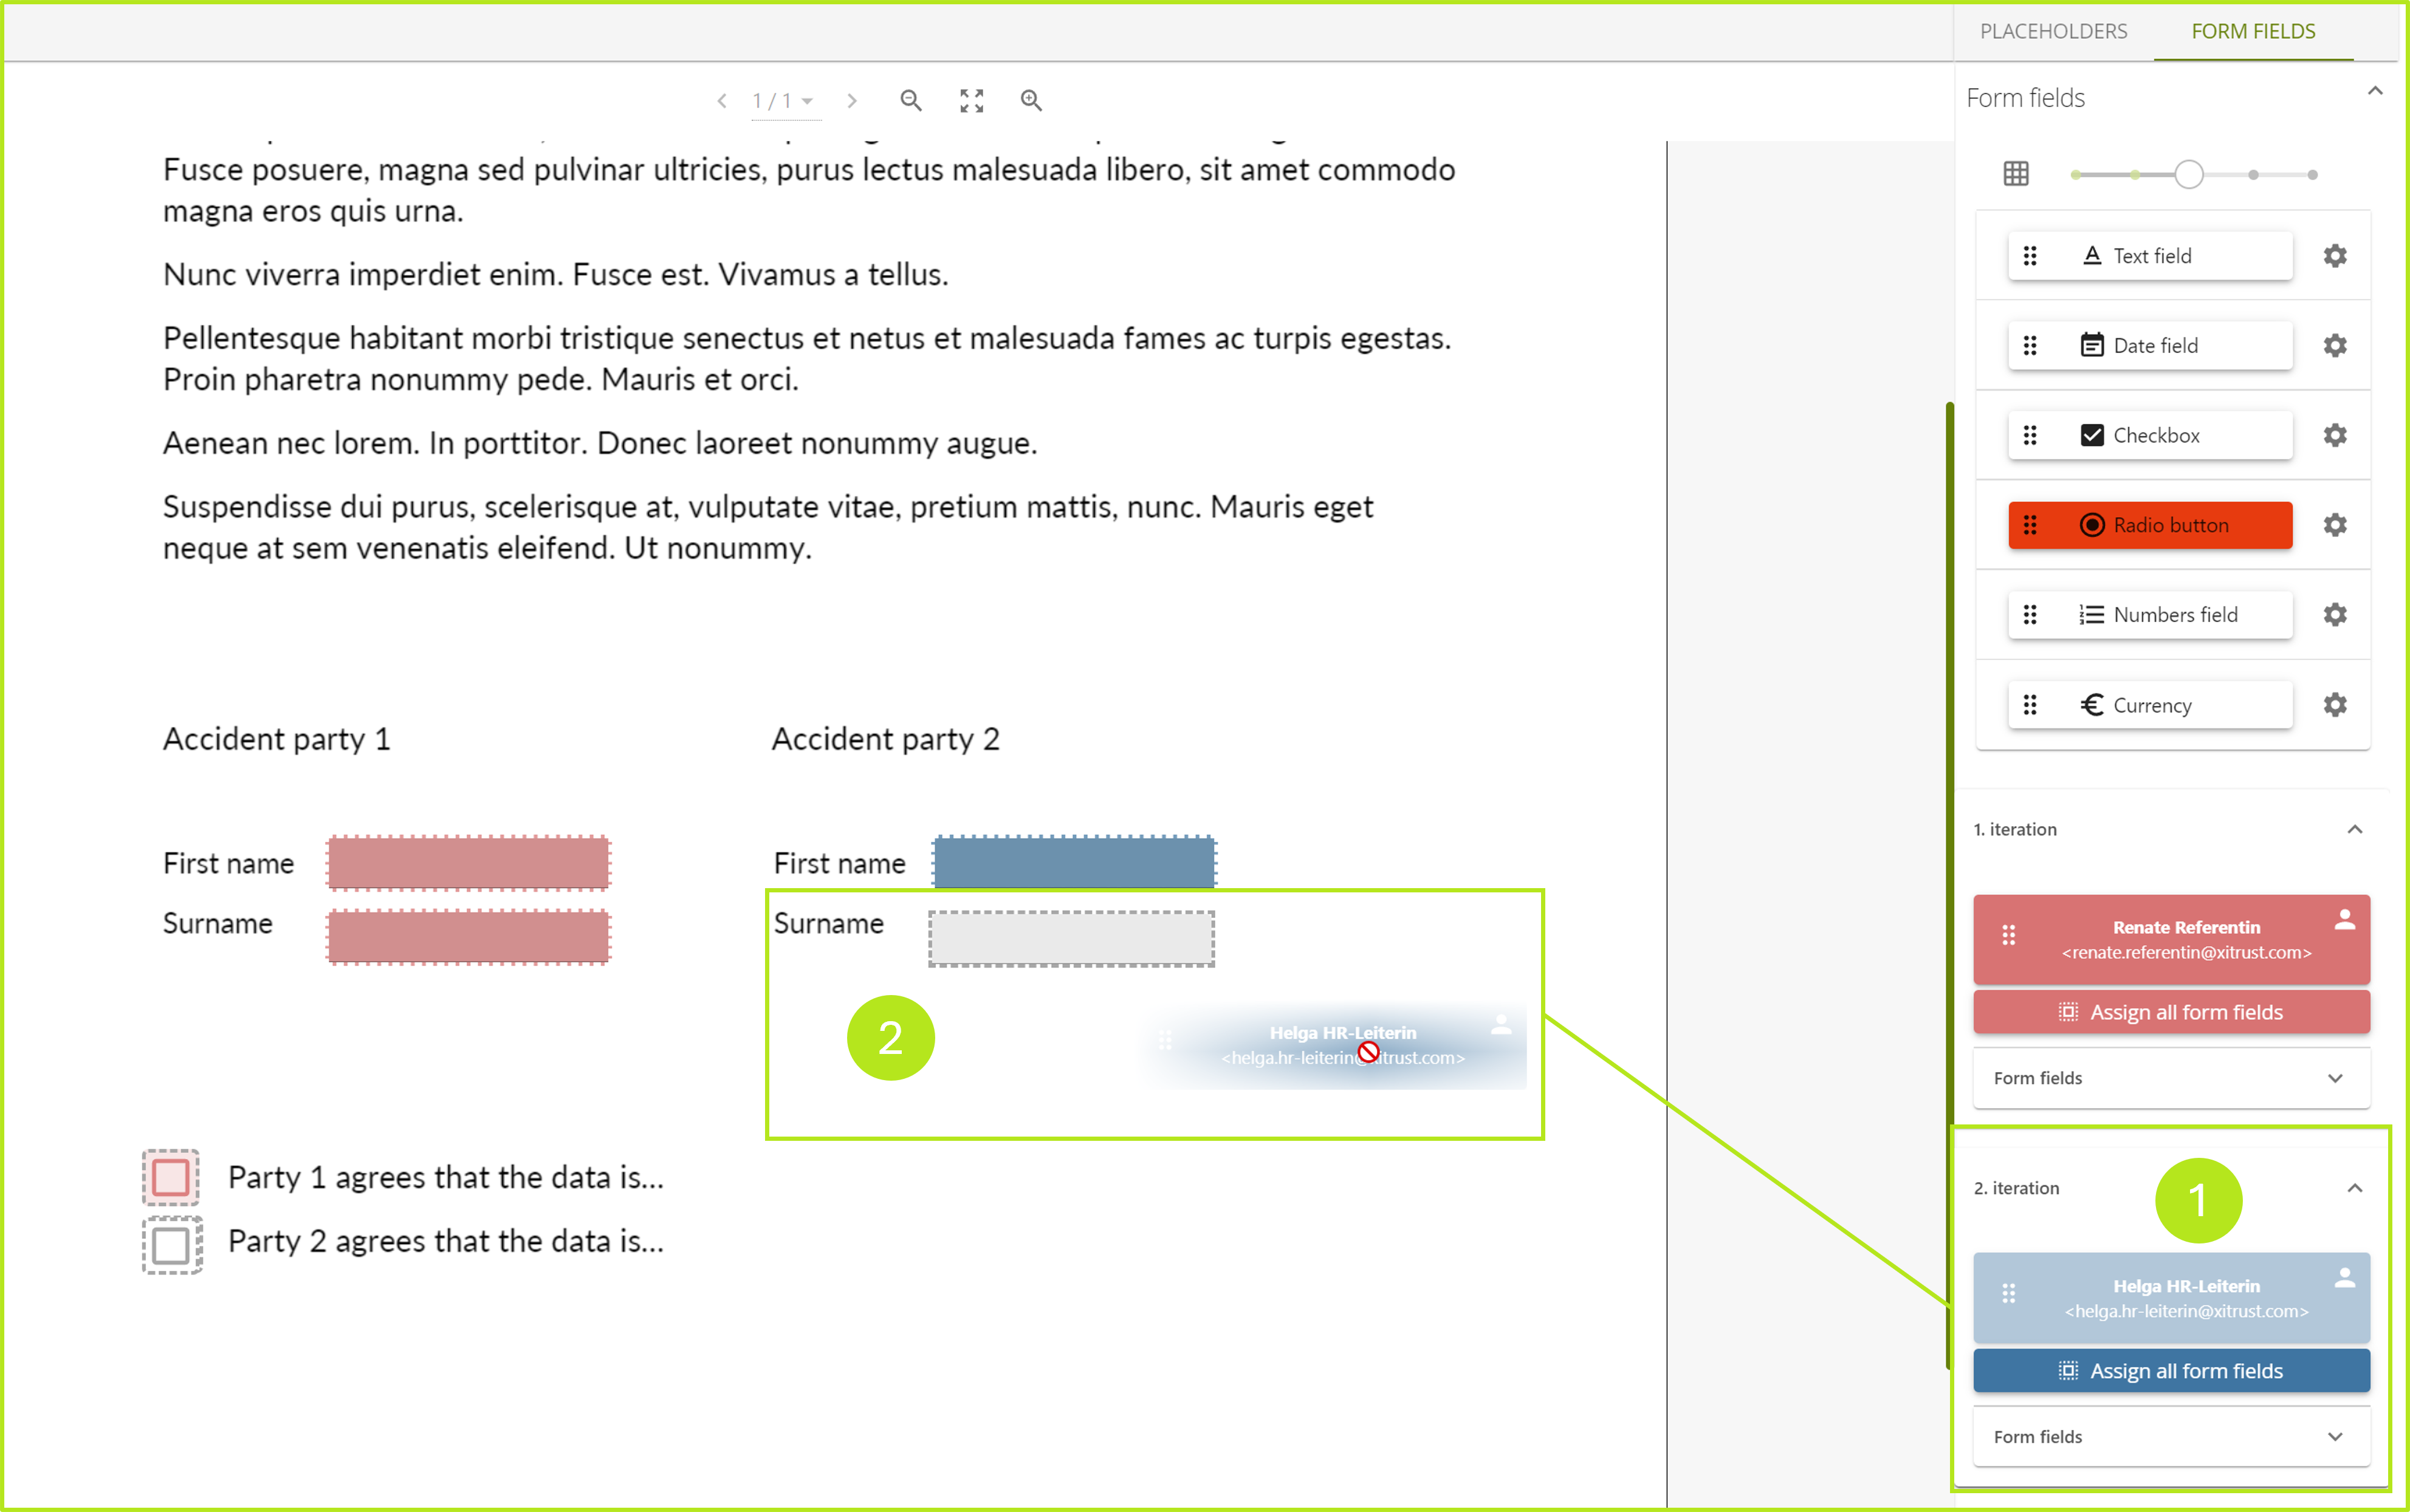
Figure 2: Assignment of form fields in MOXIS
Step 3: After sending the document, only the person to whom the respective form fields have been assigned can edit them. This ensures that only the person who has sovereignty over this field is allowed to edit it.
1.1 Optimal use of the ‘Assign all form fields’ option
Form fields can be assigned individually, but also collectively to a person. This guide will show you how to do this.
XiTipp
Please note: Signature fields cannot be assigned using this function. They must be set manually, just like placeholders.
To assign the form fields of a previously uploaded PDF to a signer, click the [Assign all form fields]-button (see figure 3) below the respective user. This ensures that all form fields of a document are assigned to one person.
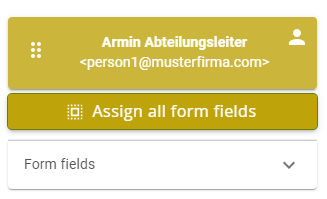
Figure 3: Assign all form fields-button in MOXIS
1.1.1 Further use cases of the ‘Assign all form fields’ function
In addition to the obvious application possibilities, the function offers a range of further application possibilities, which we would like to present to you in this chapter.
Use case 1: Assigning a certain number of form fields
A certain number of form fields in a document have already been manually assigned to a person (see Figure 4 [1]). The remaining free fields should all be assigned to the same person.
Solution: After the first fields have been manually assigned, click on the [Assign all form fields] button (see Figure 4 [2]) of the other person to whom the remaining fields should be assigned. As soon as you have assigned the other person, a note will appear (see Figure 5). If you click on the [Assign empty fields] button (see Figure 5 [1]) in this info box, you confirm that you want to assign all empty fields to this person.
XiTip
Please note: Signature fields are excluded from this function. For legal reasons, these must always
be assigned manually.
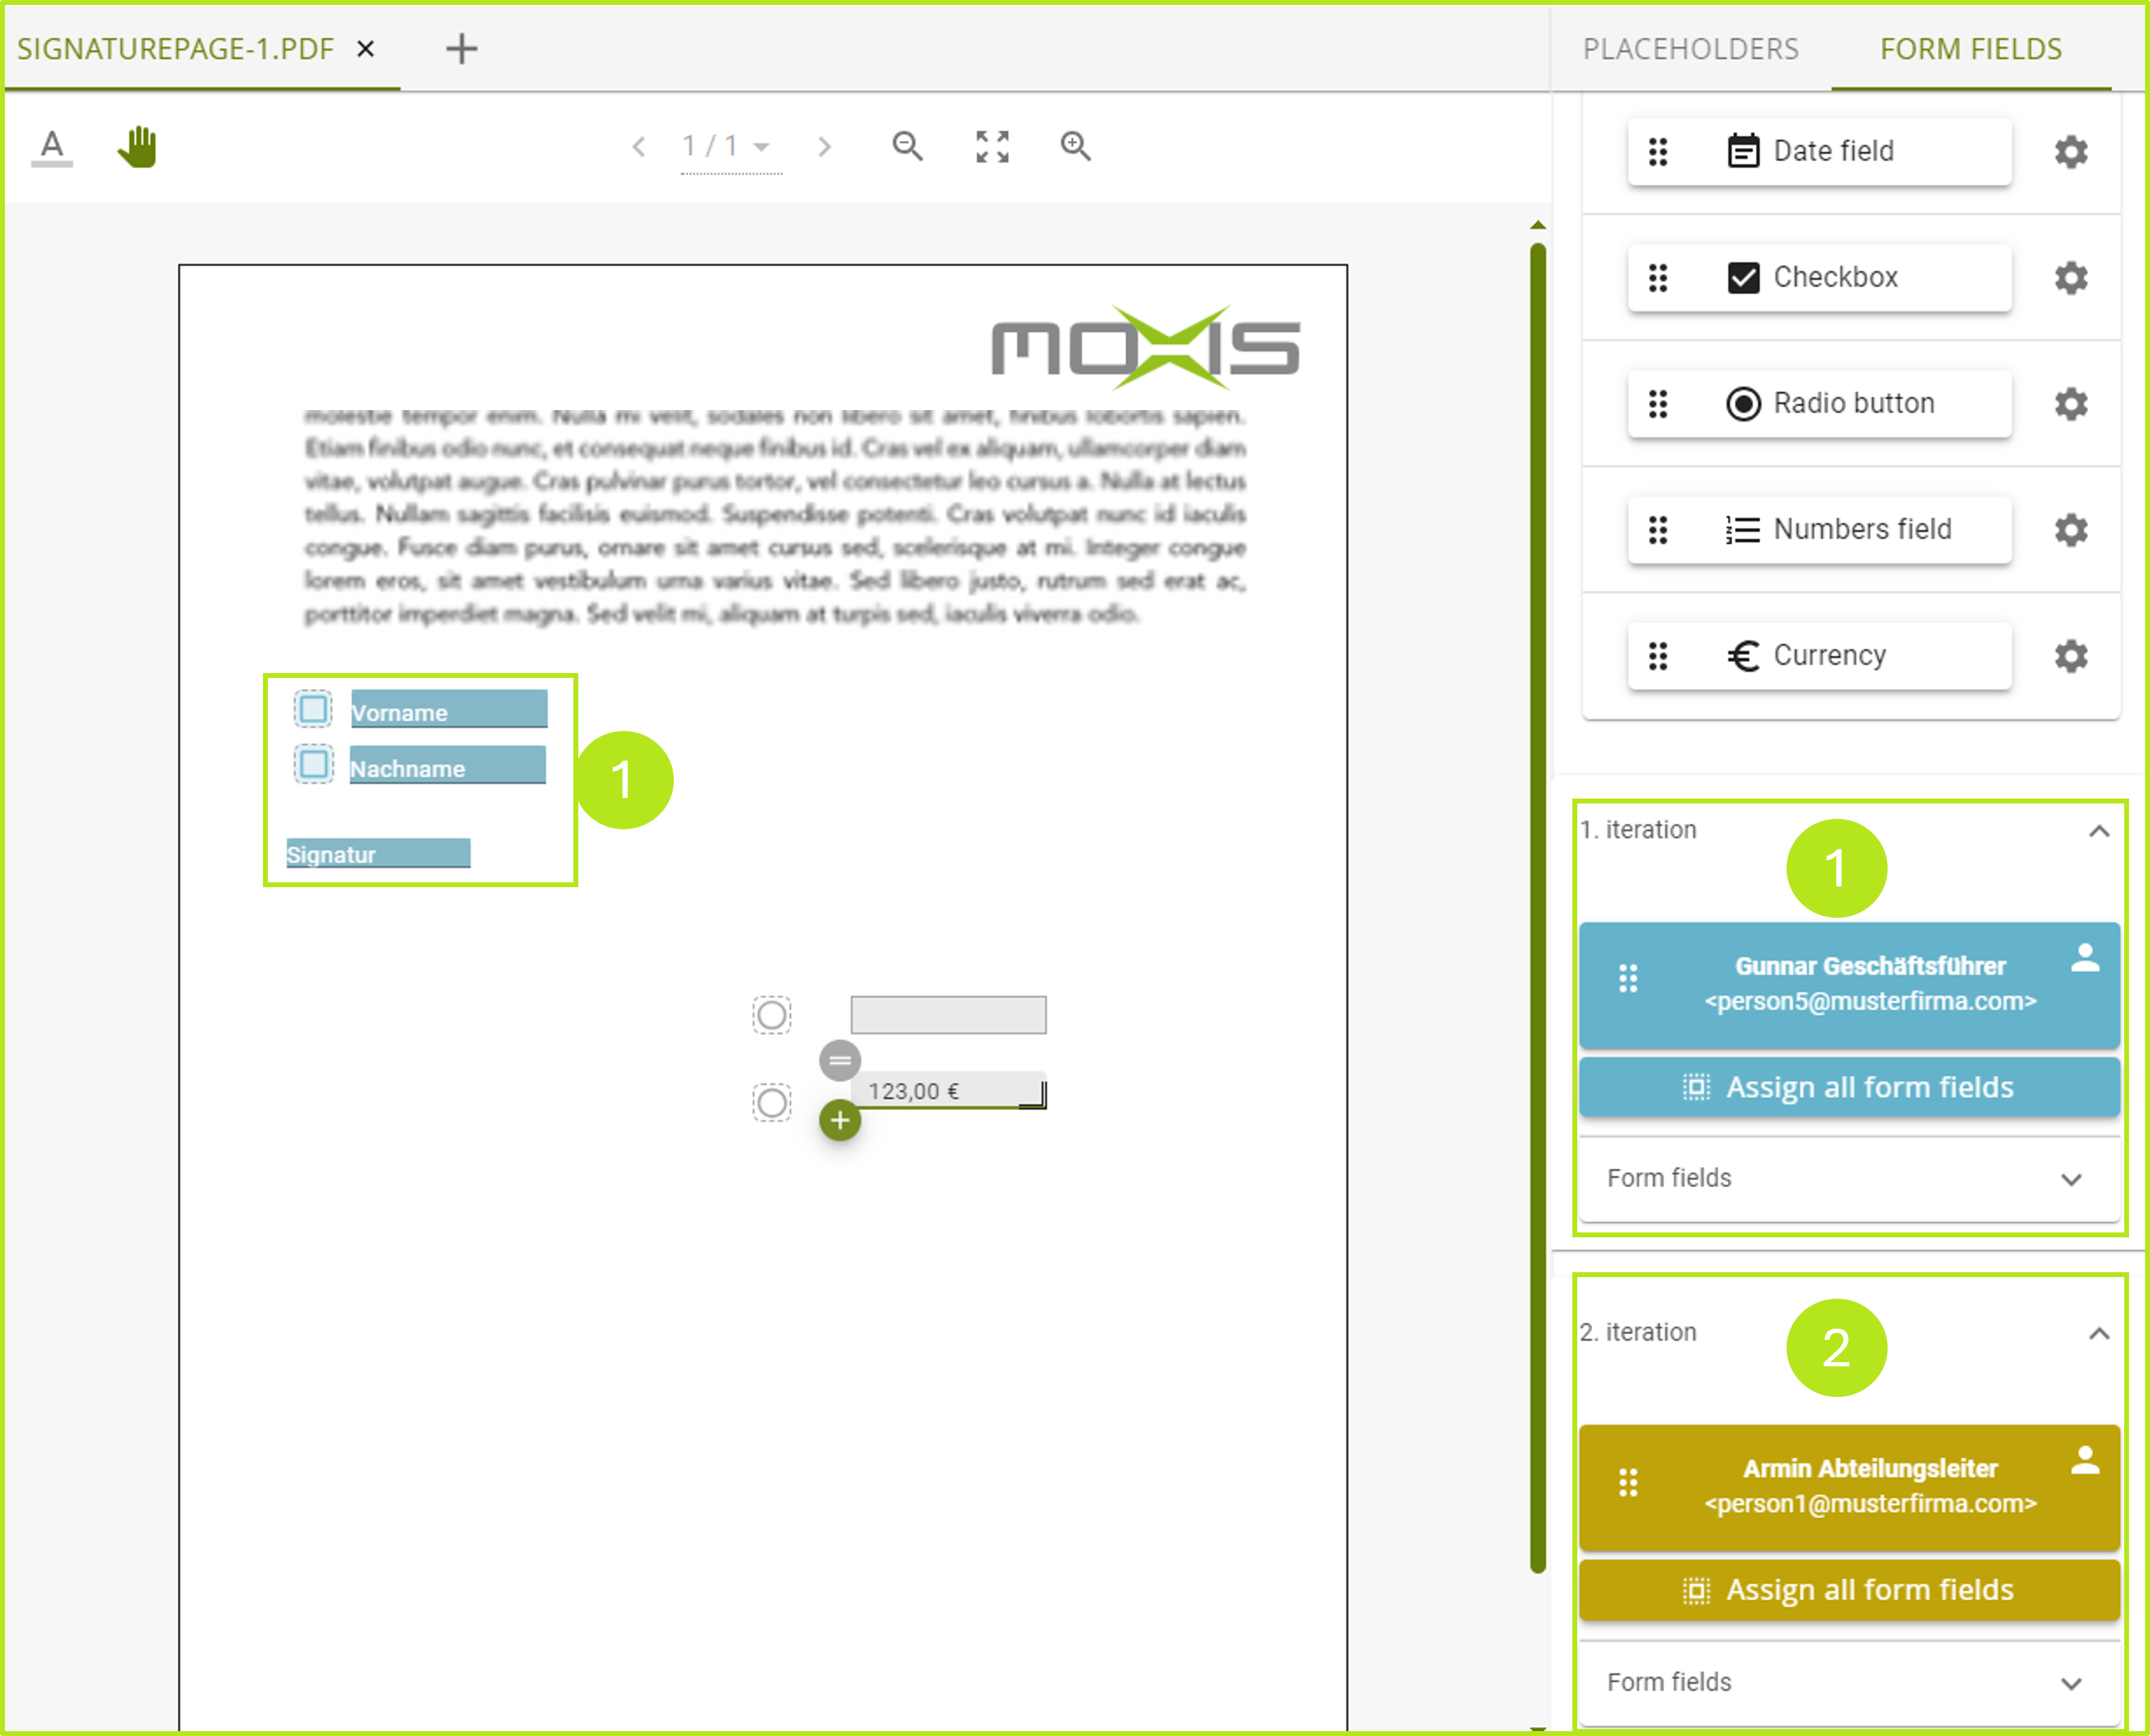
Figure 4: Assigning a certain number of form fields in MOXIS
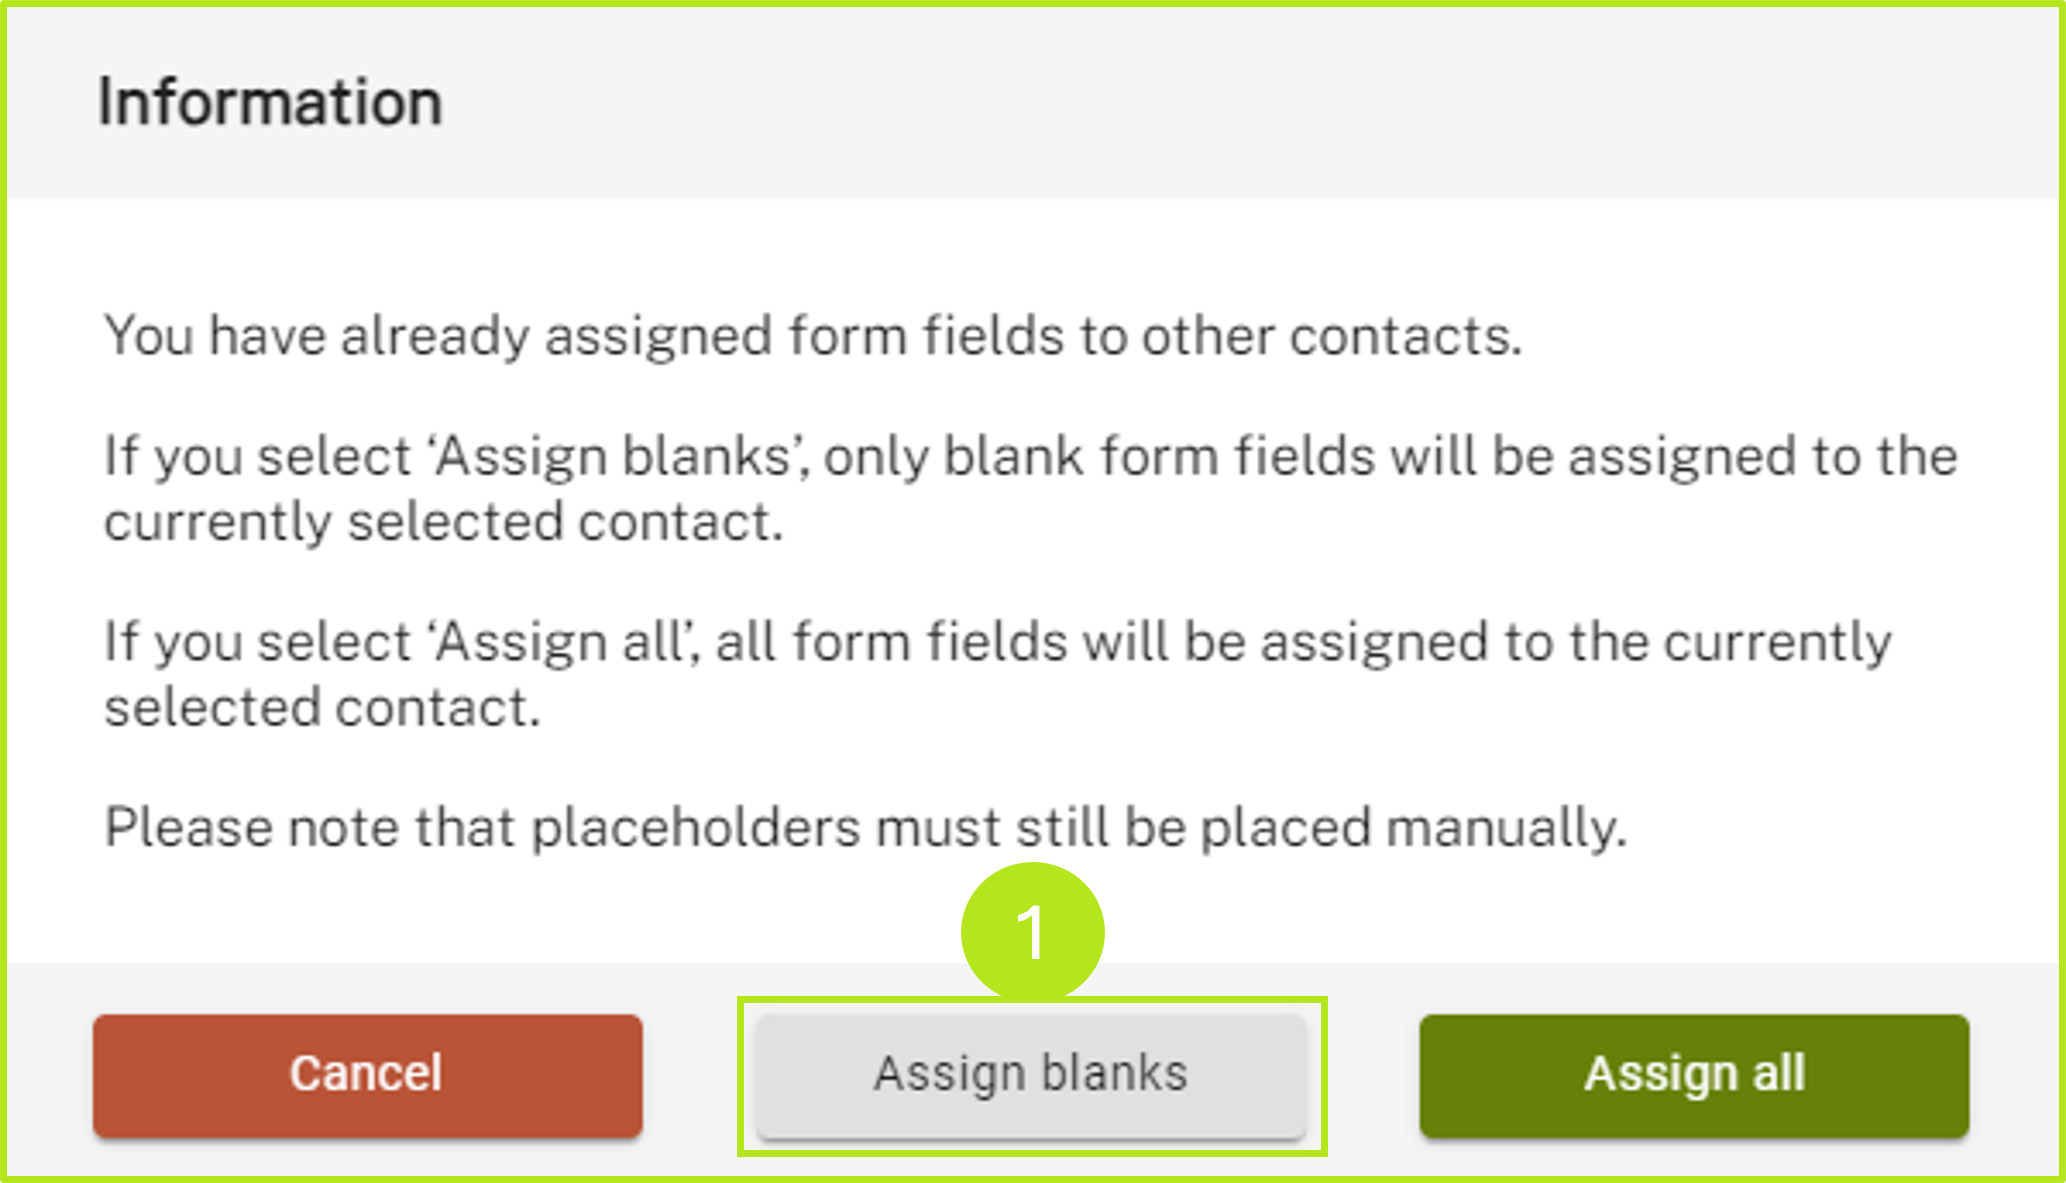
Figure 5: Assigning empty fields in MOXIS to a specific user