
[v4.50] Determine signature position
Content
Once the recipients and the order of the iteration levels have been defined, a signature position must be determined. You can find all the information about this here.
1. Determining the signature position
All configuration and placement options regarding the signature position can be found in the Placeholder menu on the right-hand side (see figure 1).
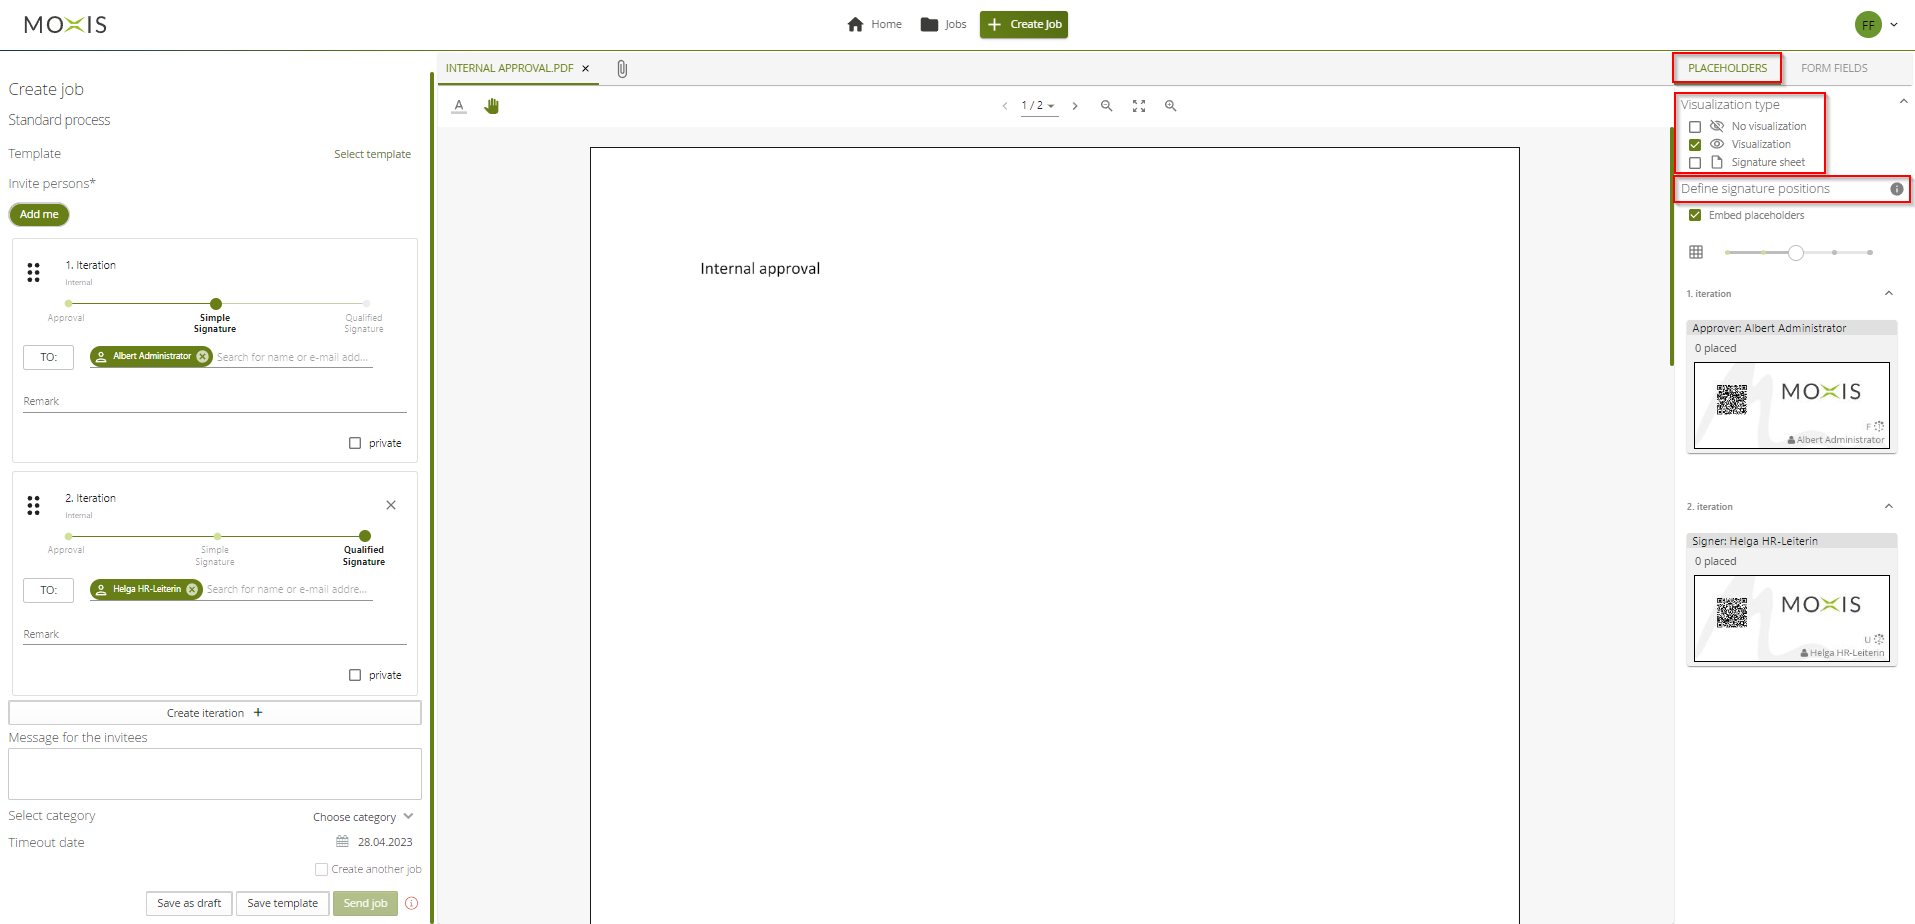
Figure 1: Placeholder menu
You can
(1) choose between three different visualisation types
(2) define the signature positions and
(3) placeholder size adjustment
1.1. Types of Visualisation
There are three different visualisation options available.
No visualisation
Visualisation
Signature sheet
To activate, please tick the appropriate visualisation type (see figure 1).
No visualisation: In this case, no visualisation in the conventional sense is applied. If you select this option, no further steps are necessary. Since no visualisation in the form of a signature is attached to the document, it is signed ‘invisibly’. The signature is still verifiable and legally valid. This is because what counts with the electronic signature is the technical process in the background and not the representation of the signature on the sheet.
Visualisation: visualisations are attached to signature positions using placeholders. This requires that recipients at the respective levels of iterations have already been added.
Signature sheet: With this option, an additional sheet is automatically attached to the document, on which the signature visualisations are placed.
XiTip
Please note: The signature sheet is not displayed during the creation of the order. It is only visible after successful signing of the order (see figure 2). Up to ten signature visualisations can be placed on one sheet. If there are more than ten, an additional signature sheet is attached to the order.
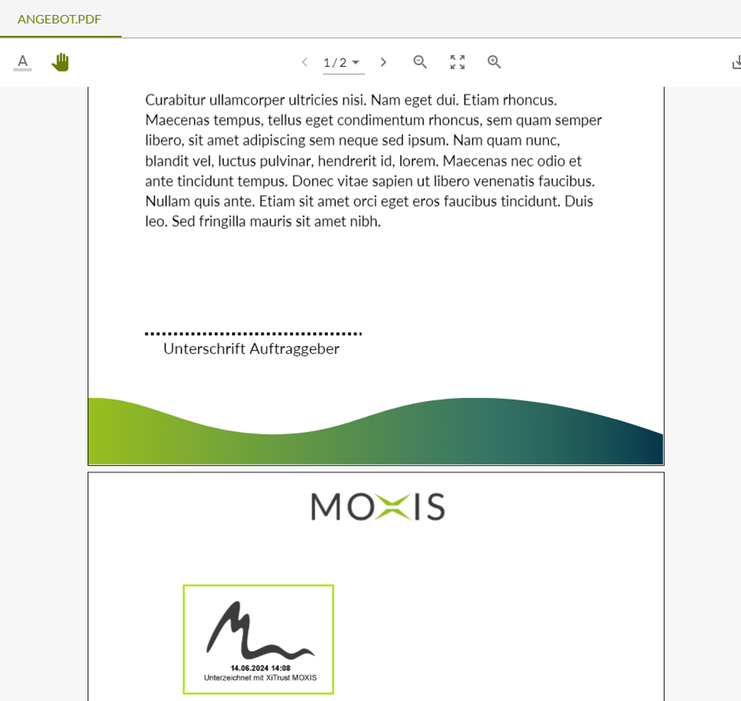
Figure 2: Signature page with visualisation of the signature. The space actually reserved for the signature remains empty.
1.2. Instructions: Defining signature positions
In general, the position of placeholders is determined using drag-and-drop. You can access further information by clicking on the info icon next to the Define signature positions item. You also have the option of embedding placeholders in a PDF. To do this, you must tick the box next to Embed placeholders (see Figure 3).
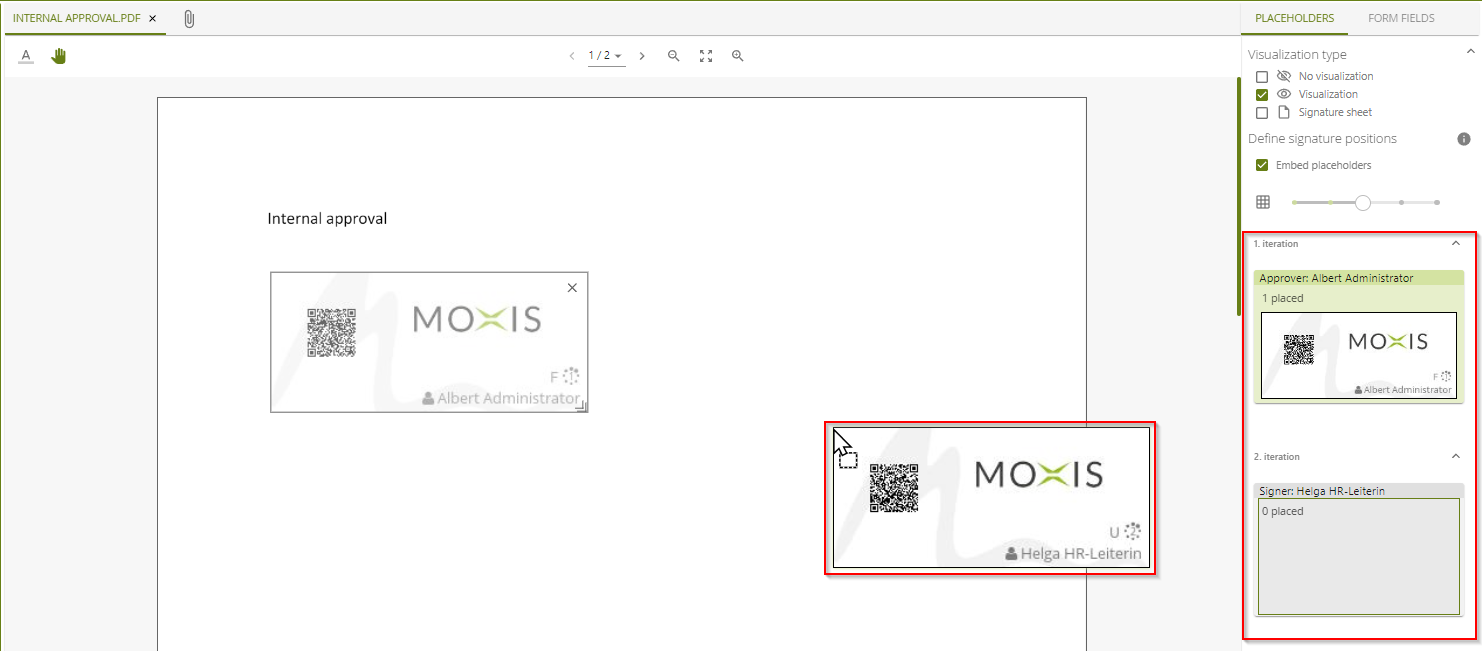
Figure 3: Embedding placeholders
If a document with an embedded placeholder is uploaded to MOXIS, the system recognises it and the insertion page is filled accordingly. A placeholder can also be inserted before downloading the PDF (see Figure 3). To place a placeholder, simply drag it from the respective iteration level onto the sheet (see figure 3).
To help you optimise the positioning of the placeholder's visual representation, you can display a grid in the document if required (see figure 4).
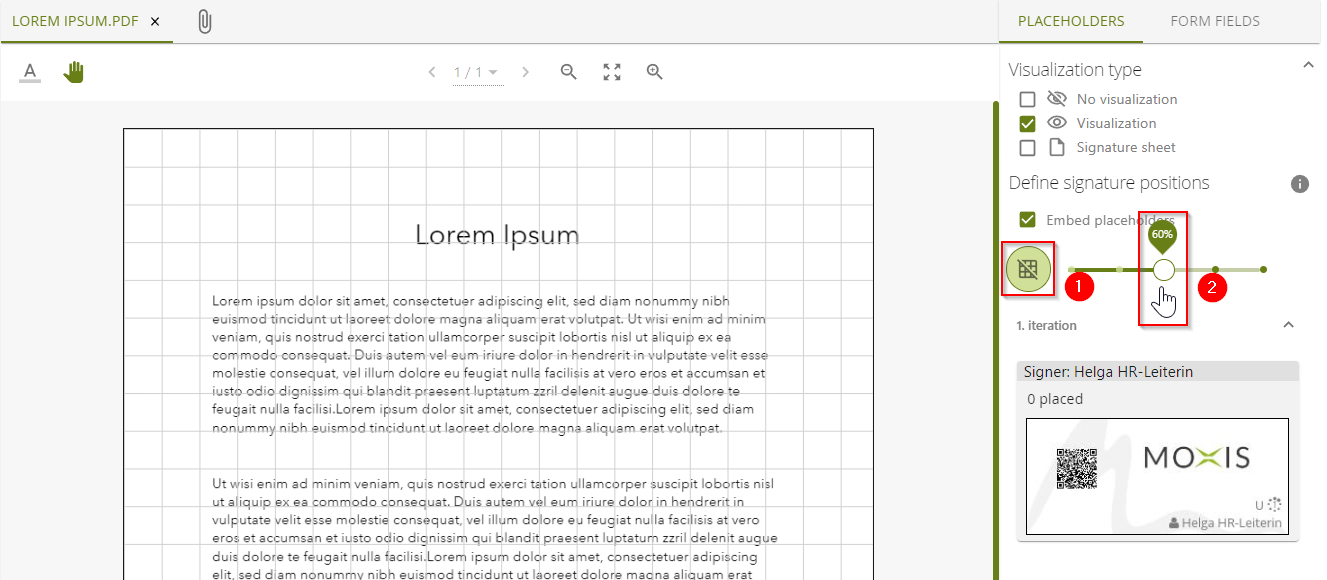
Figure 4: Gridlines in a signature job to help position visualisations of the signatures.
To display the grid lines, proceed as follows
Step 1: Click on the grid symbol icon. This is usually not highlighted in colour.
Step 2: After you have clicked on it, it is highlighted in green. From now on, you can define the granularity of the grid lines.
Step 3: To set the zoom level of the grid lines, click on the slider and drag it to the left or right to reduce or enlarge the grid.
1.3. Adjusting the size of placeholders
The size of a placeholder that has been placed in the document can be changed individually. To do this, click on the edge symbol (see Figure 5) in the bottom right corner of the placeholder. You can now adjust the size by holding and dragging. The selected size will then be automatically applied to all other placeholders that you insert afterwards. Placeholders that were already in the document before the size adjustment will retain their original size and may need to be adjusted.
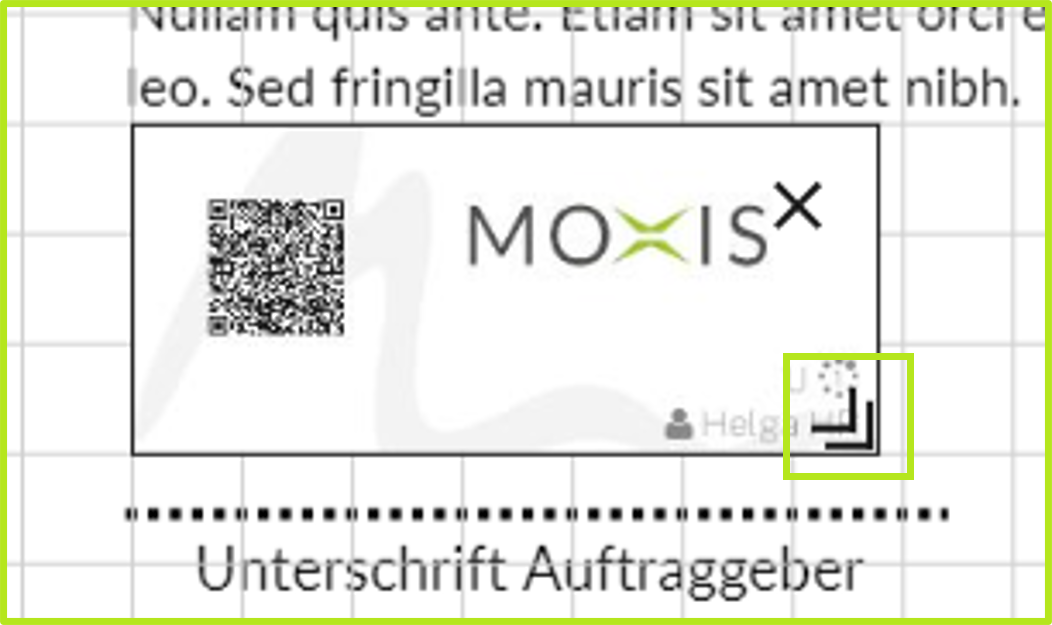
Figure 5: Resizing a placeholder by clicking and dragging an edge symbol