
[v4.50] Creating templates in MOXIS 4.50
Contents
If you have to release a lot of similar jobs for signature, it makes sense to work with templates. This saves you time when creating jobs. This article introduces you to the topic.
1. General information about templates
Templates are only displayed in the process in which they were created and can now be used to create further jobs. The following data is stored in a template:
Iteration levels (including signature quality and recipients)
Signature position (position and size of the placeholder)
Order description
Category
Expiration date
Please note: The template can be applied to any document. Therefore, the desired document must be uploaded before applying the template. This is because the document itself is not saved when a template is created.
There are two ways to create templates: you can create them during the job creation or you can generate a template from an existing job.
2. Step-by-step guide to creating a template in MOXIS 4.50
Step 1: To create a template when placing a job, start with placing a job and upload a document (see figure 1 [2]). Next, only fill in the fields that you need for the template (see figure 1 [1]). It is not necessary to fill in all the blank fields. As soon as you have filled in all necessary fields, click on the [Save template]-button (see figure 1 [3]) to save your template.
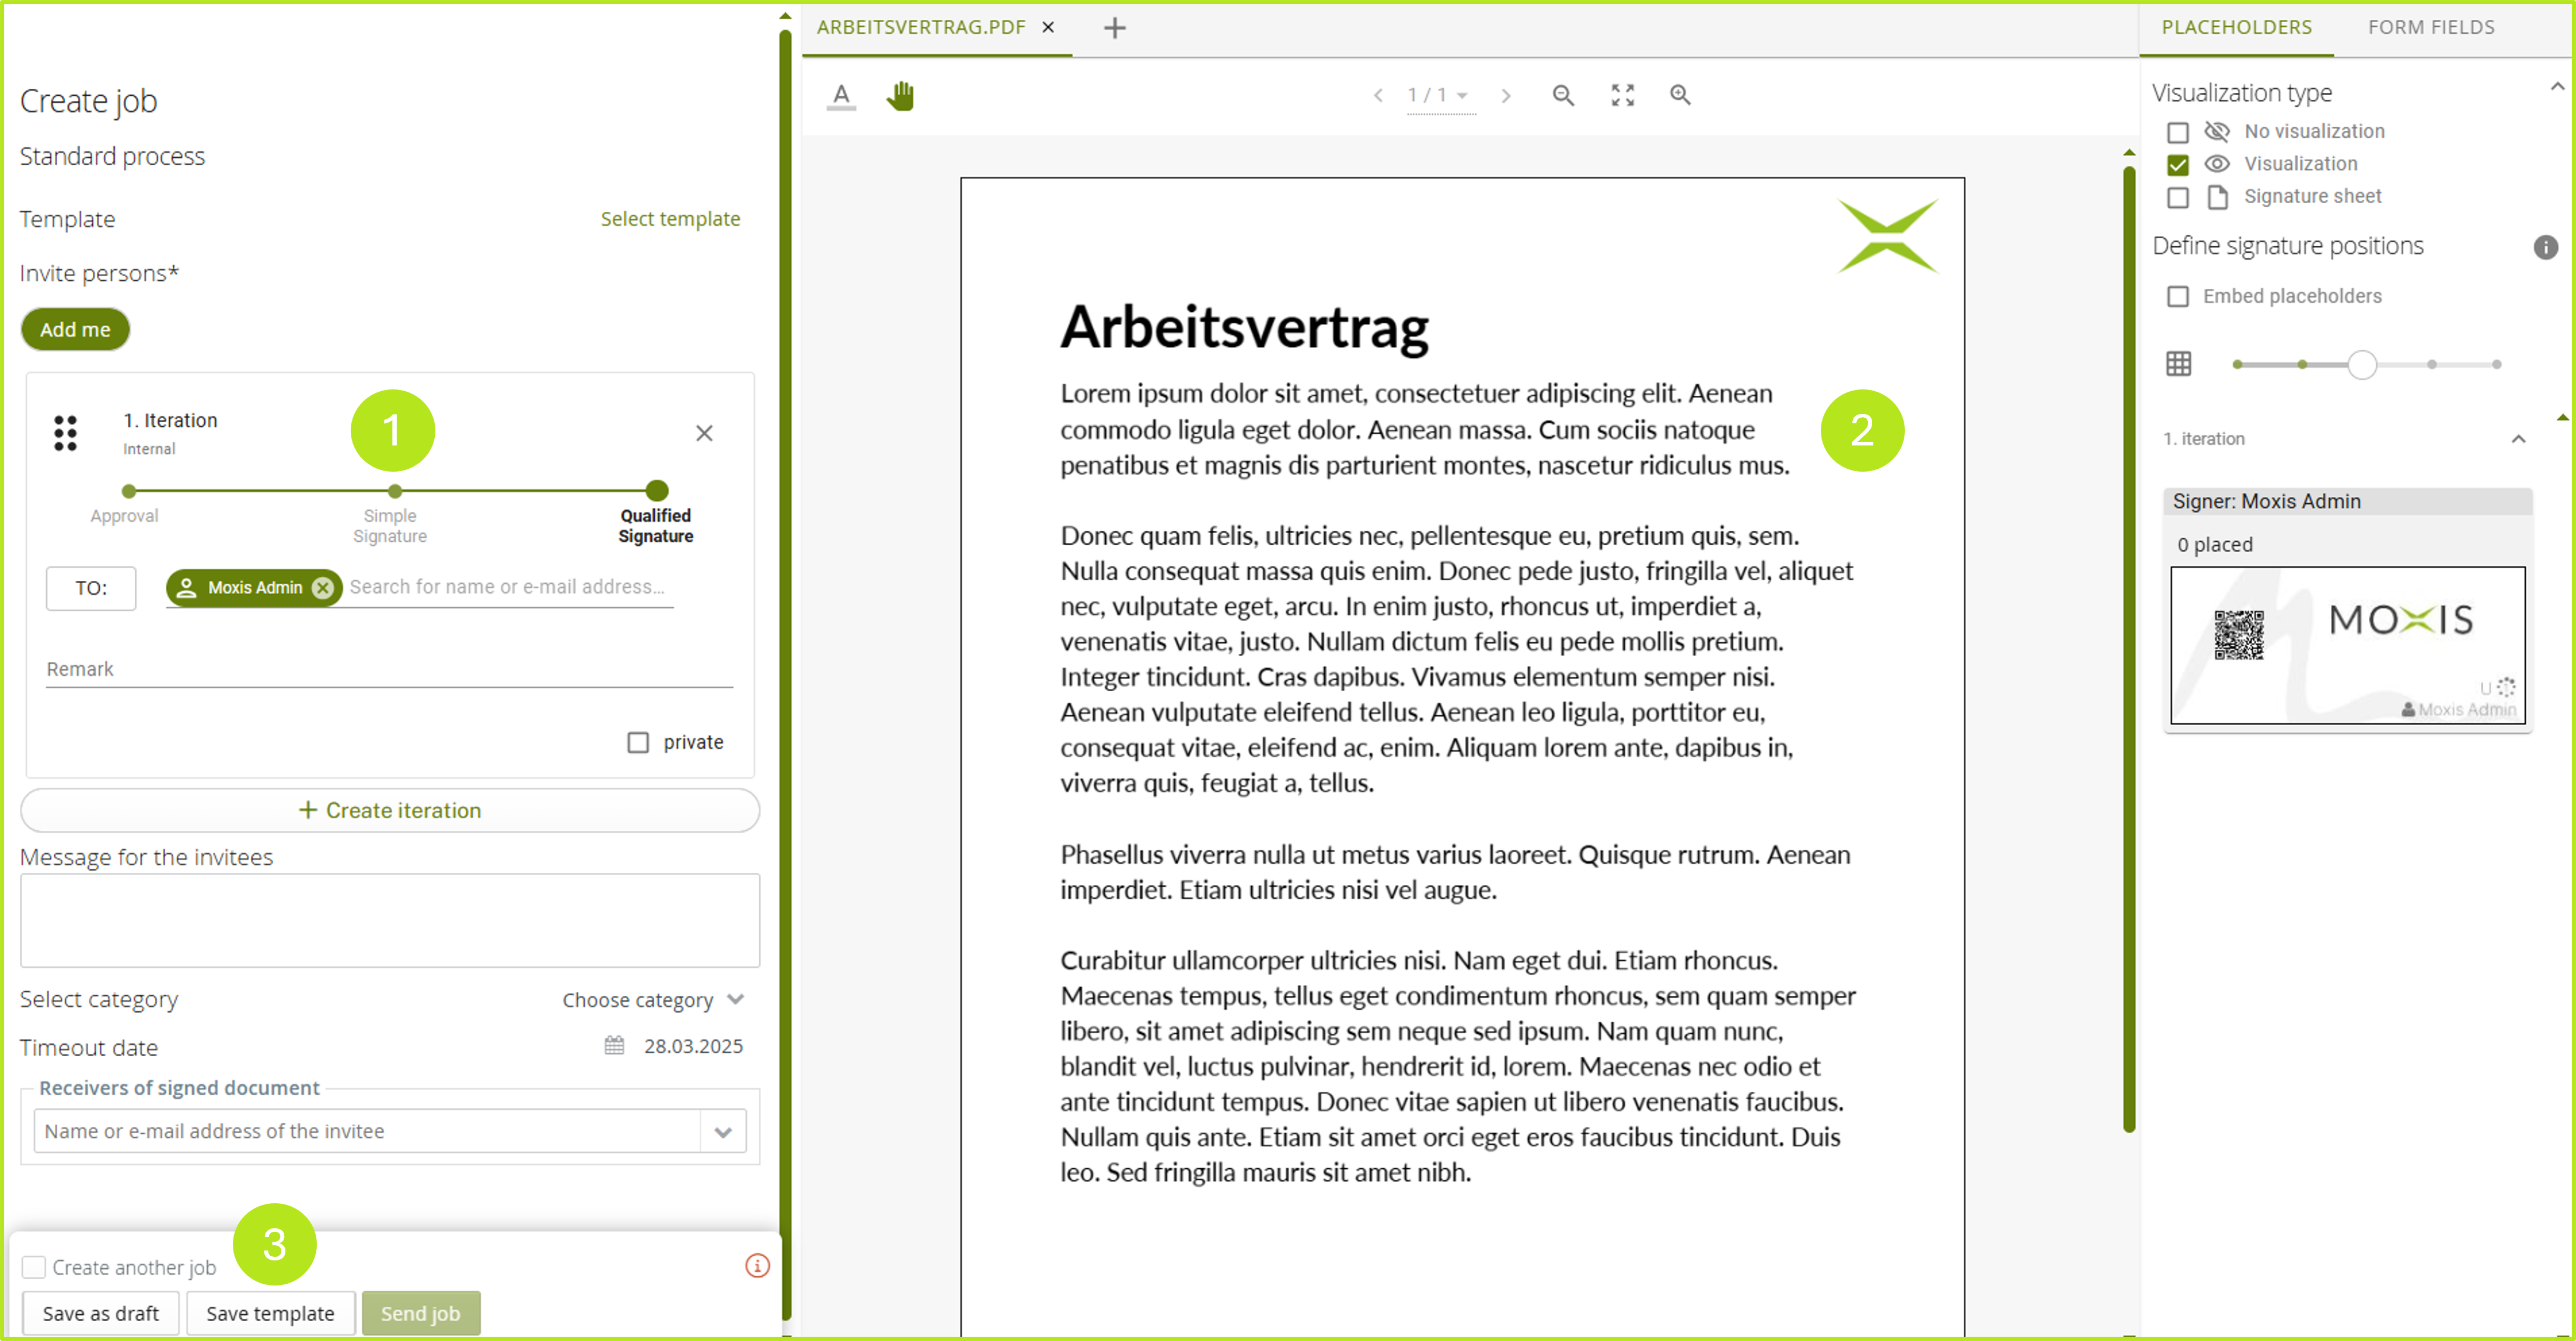
Figure 1: Create a template in MOXIS
Step 2: Name the template in the following dialogue box and then click on the [Save template]-button again (see Figure 2).
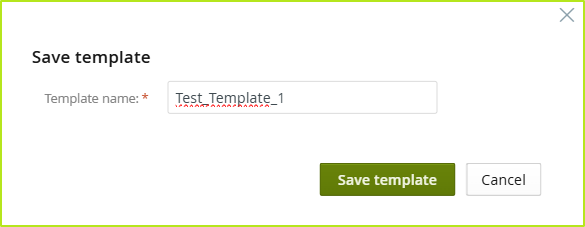
Abbildung 2: Saving a template in MOXIS
Step 3: The template is now stored in the Manage Templates section of the Settings and can be accessed at any time via the settings (see figure 3).
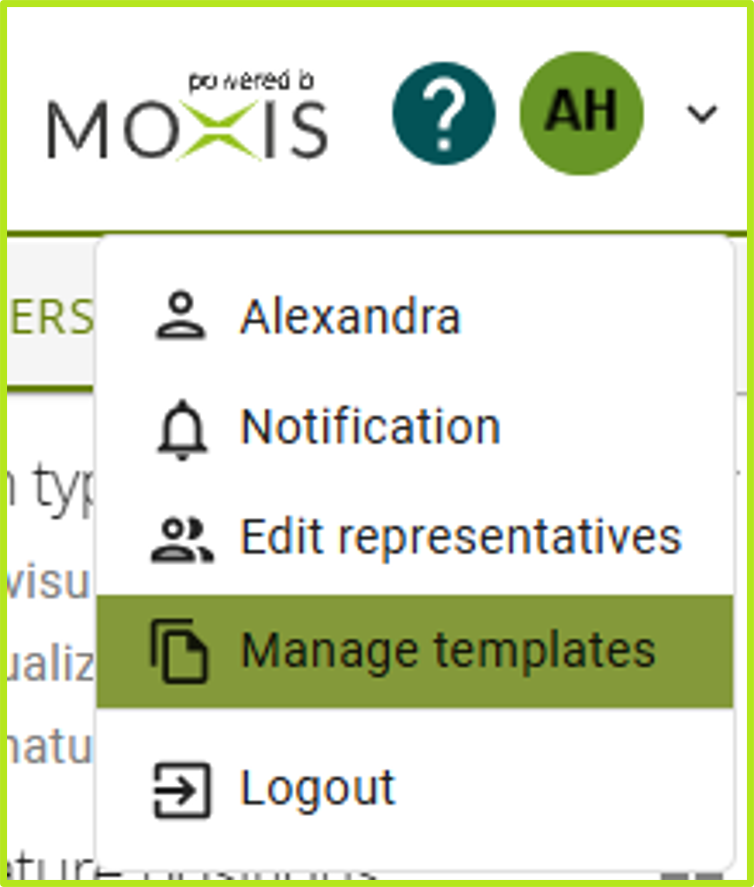
Figure 3: Access the template management
In the so opened window, you have access to your created templates in the Own templates tab (see figure 4 [1]). For our example, we created the template Test_Template_1 (see figure 4 [2]) which we can access and edit in this section.

Figure 4: Manage (own) templates
2. Creating templates from an existing job
To convert an existing job into a template, simply open the detailed view of the order and click on Create template (see figure 5 [1]). You will then be prompted to name and save the template, as described in the last chapter.
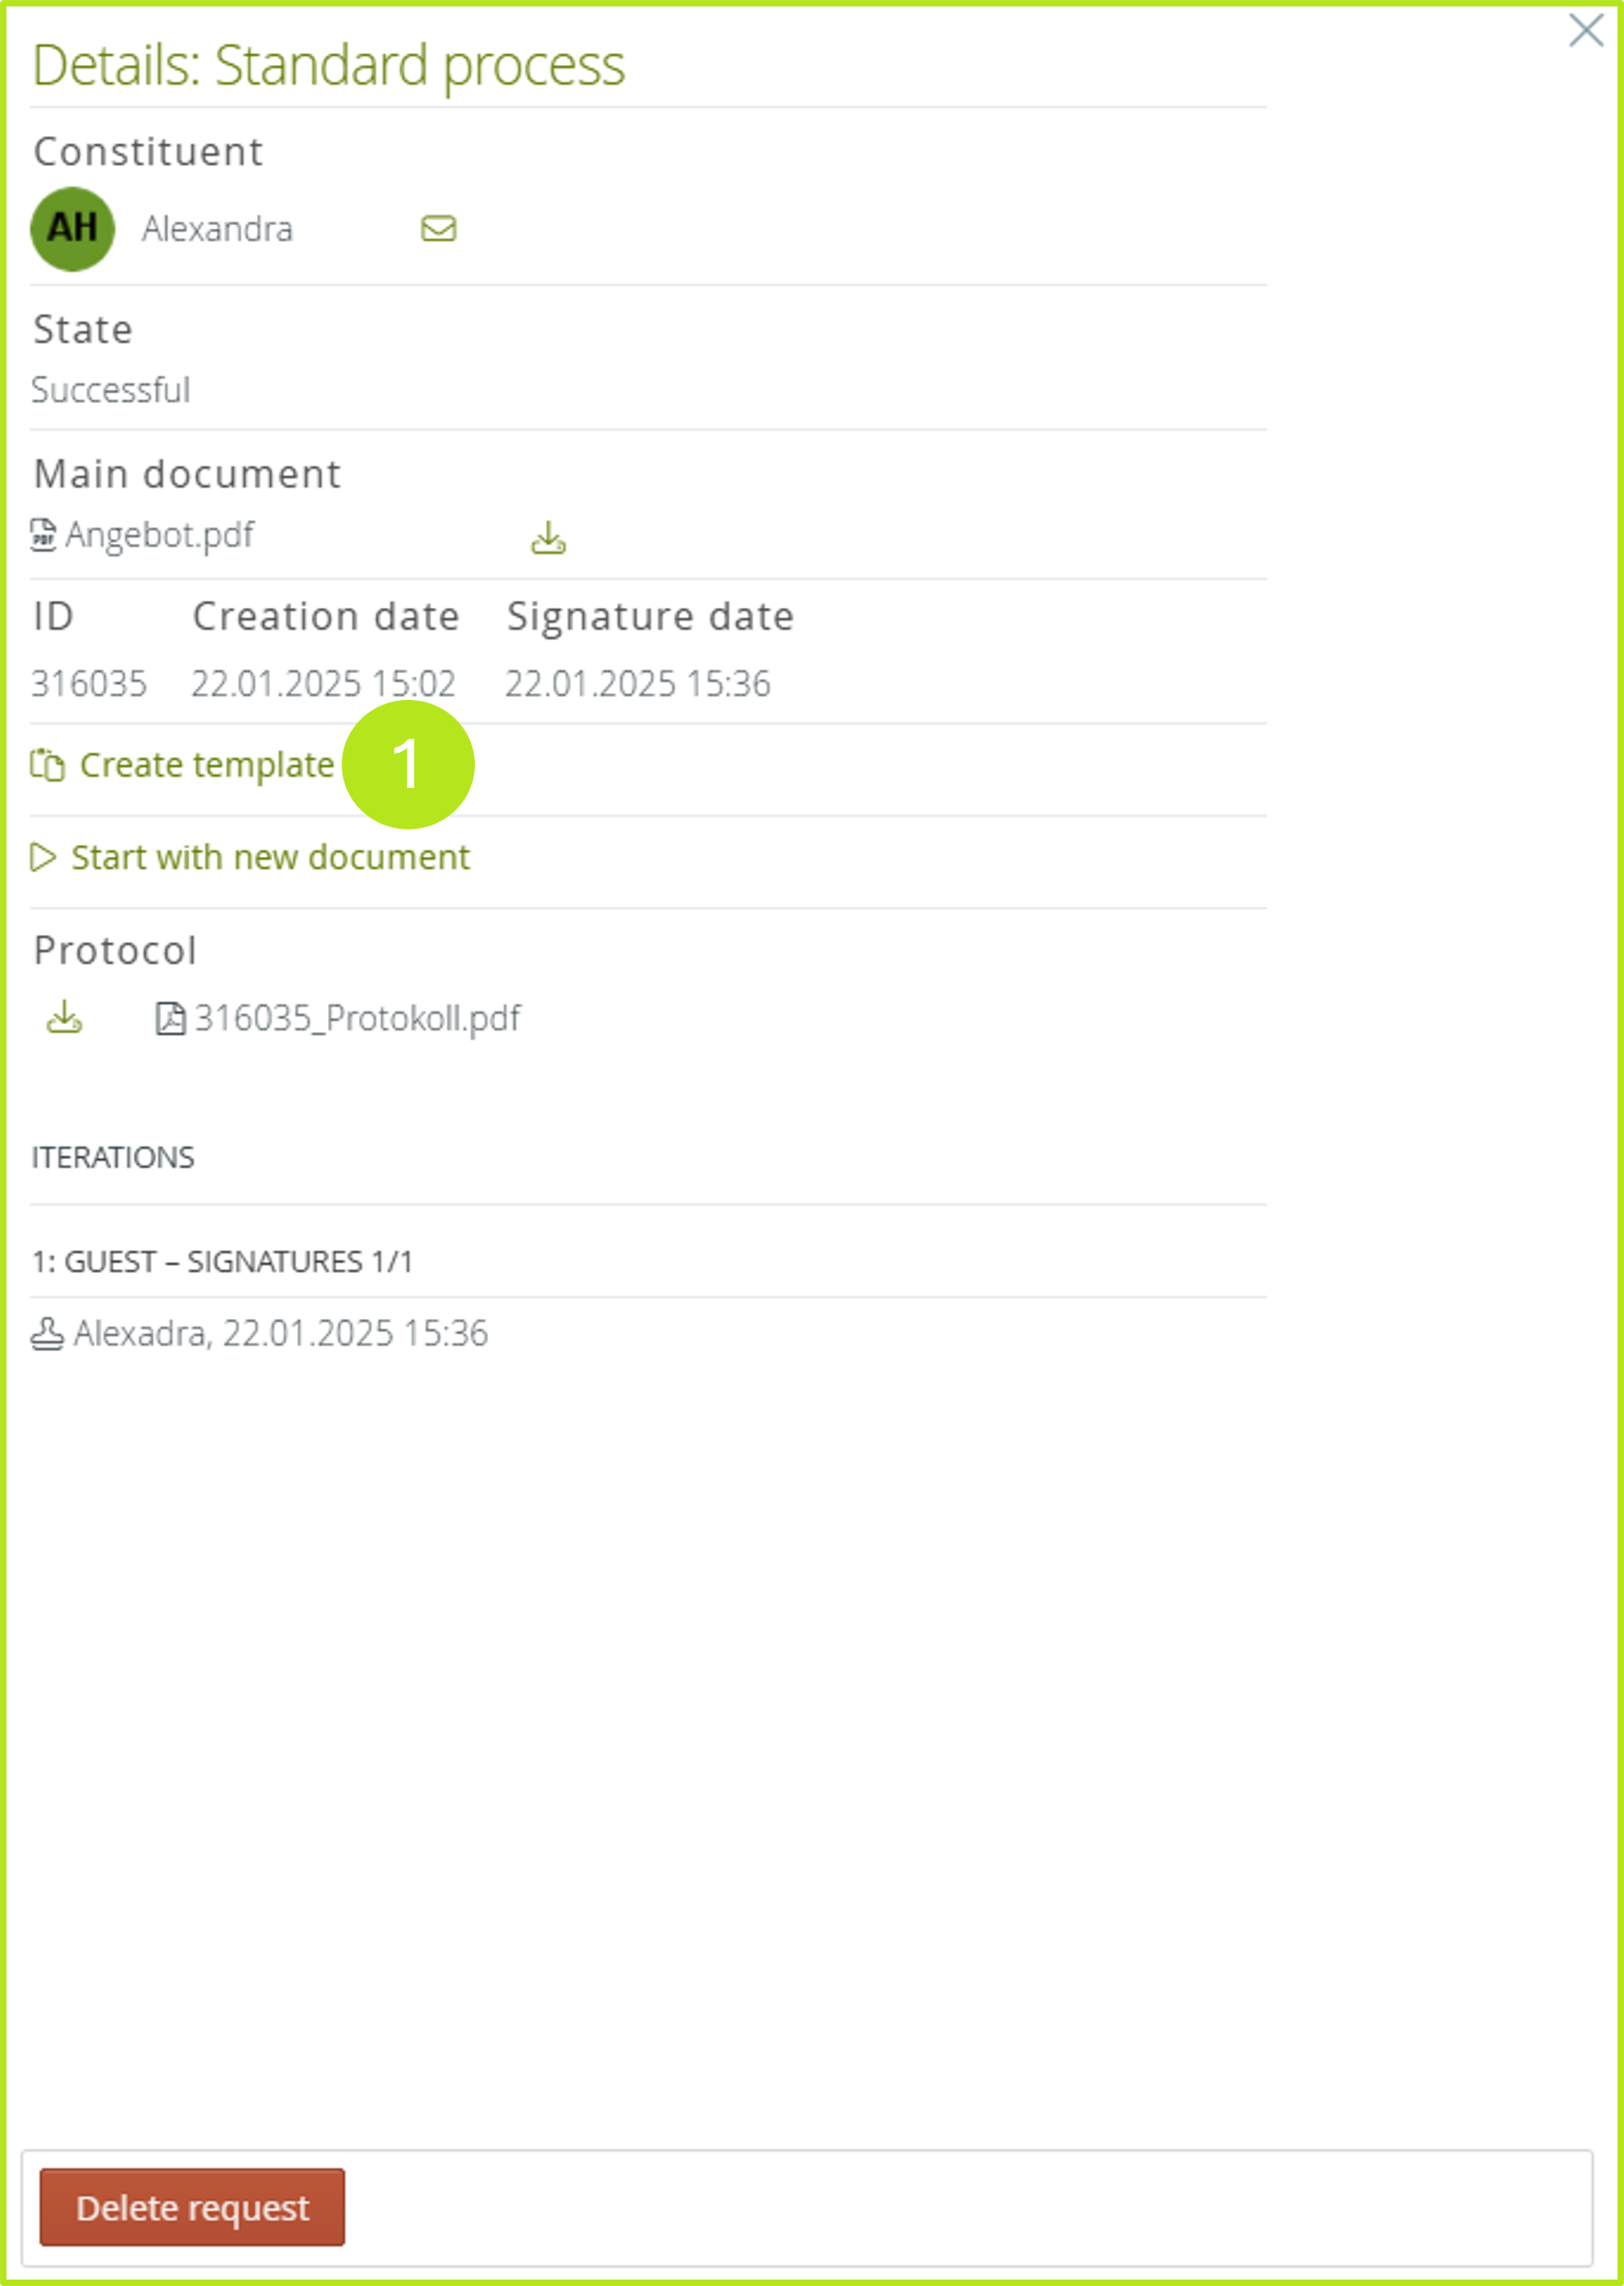
Figure 5: Generating a template from an existing job in the MOXIS detailed view