
[v4.50] Creating a job using a template
Content
A new job with an existing template can be created in two ways. This article explains both options for creating orders using templates in MOXIS 4.50.
They are:
Selection of the template in the Create job dialog
Starting the template from the template management
1. Selection of the template in the Create job dialog
Step 1: To use a template in the Create job dialog, create a job as usual. In the first step, upload a document and then click on Select template to choose the desired template (see figure 1).
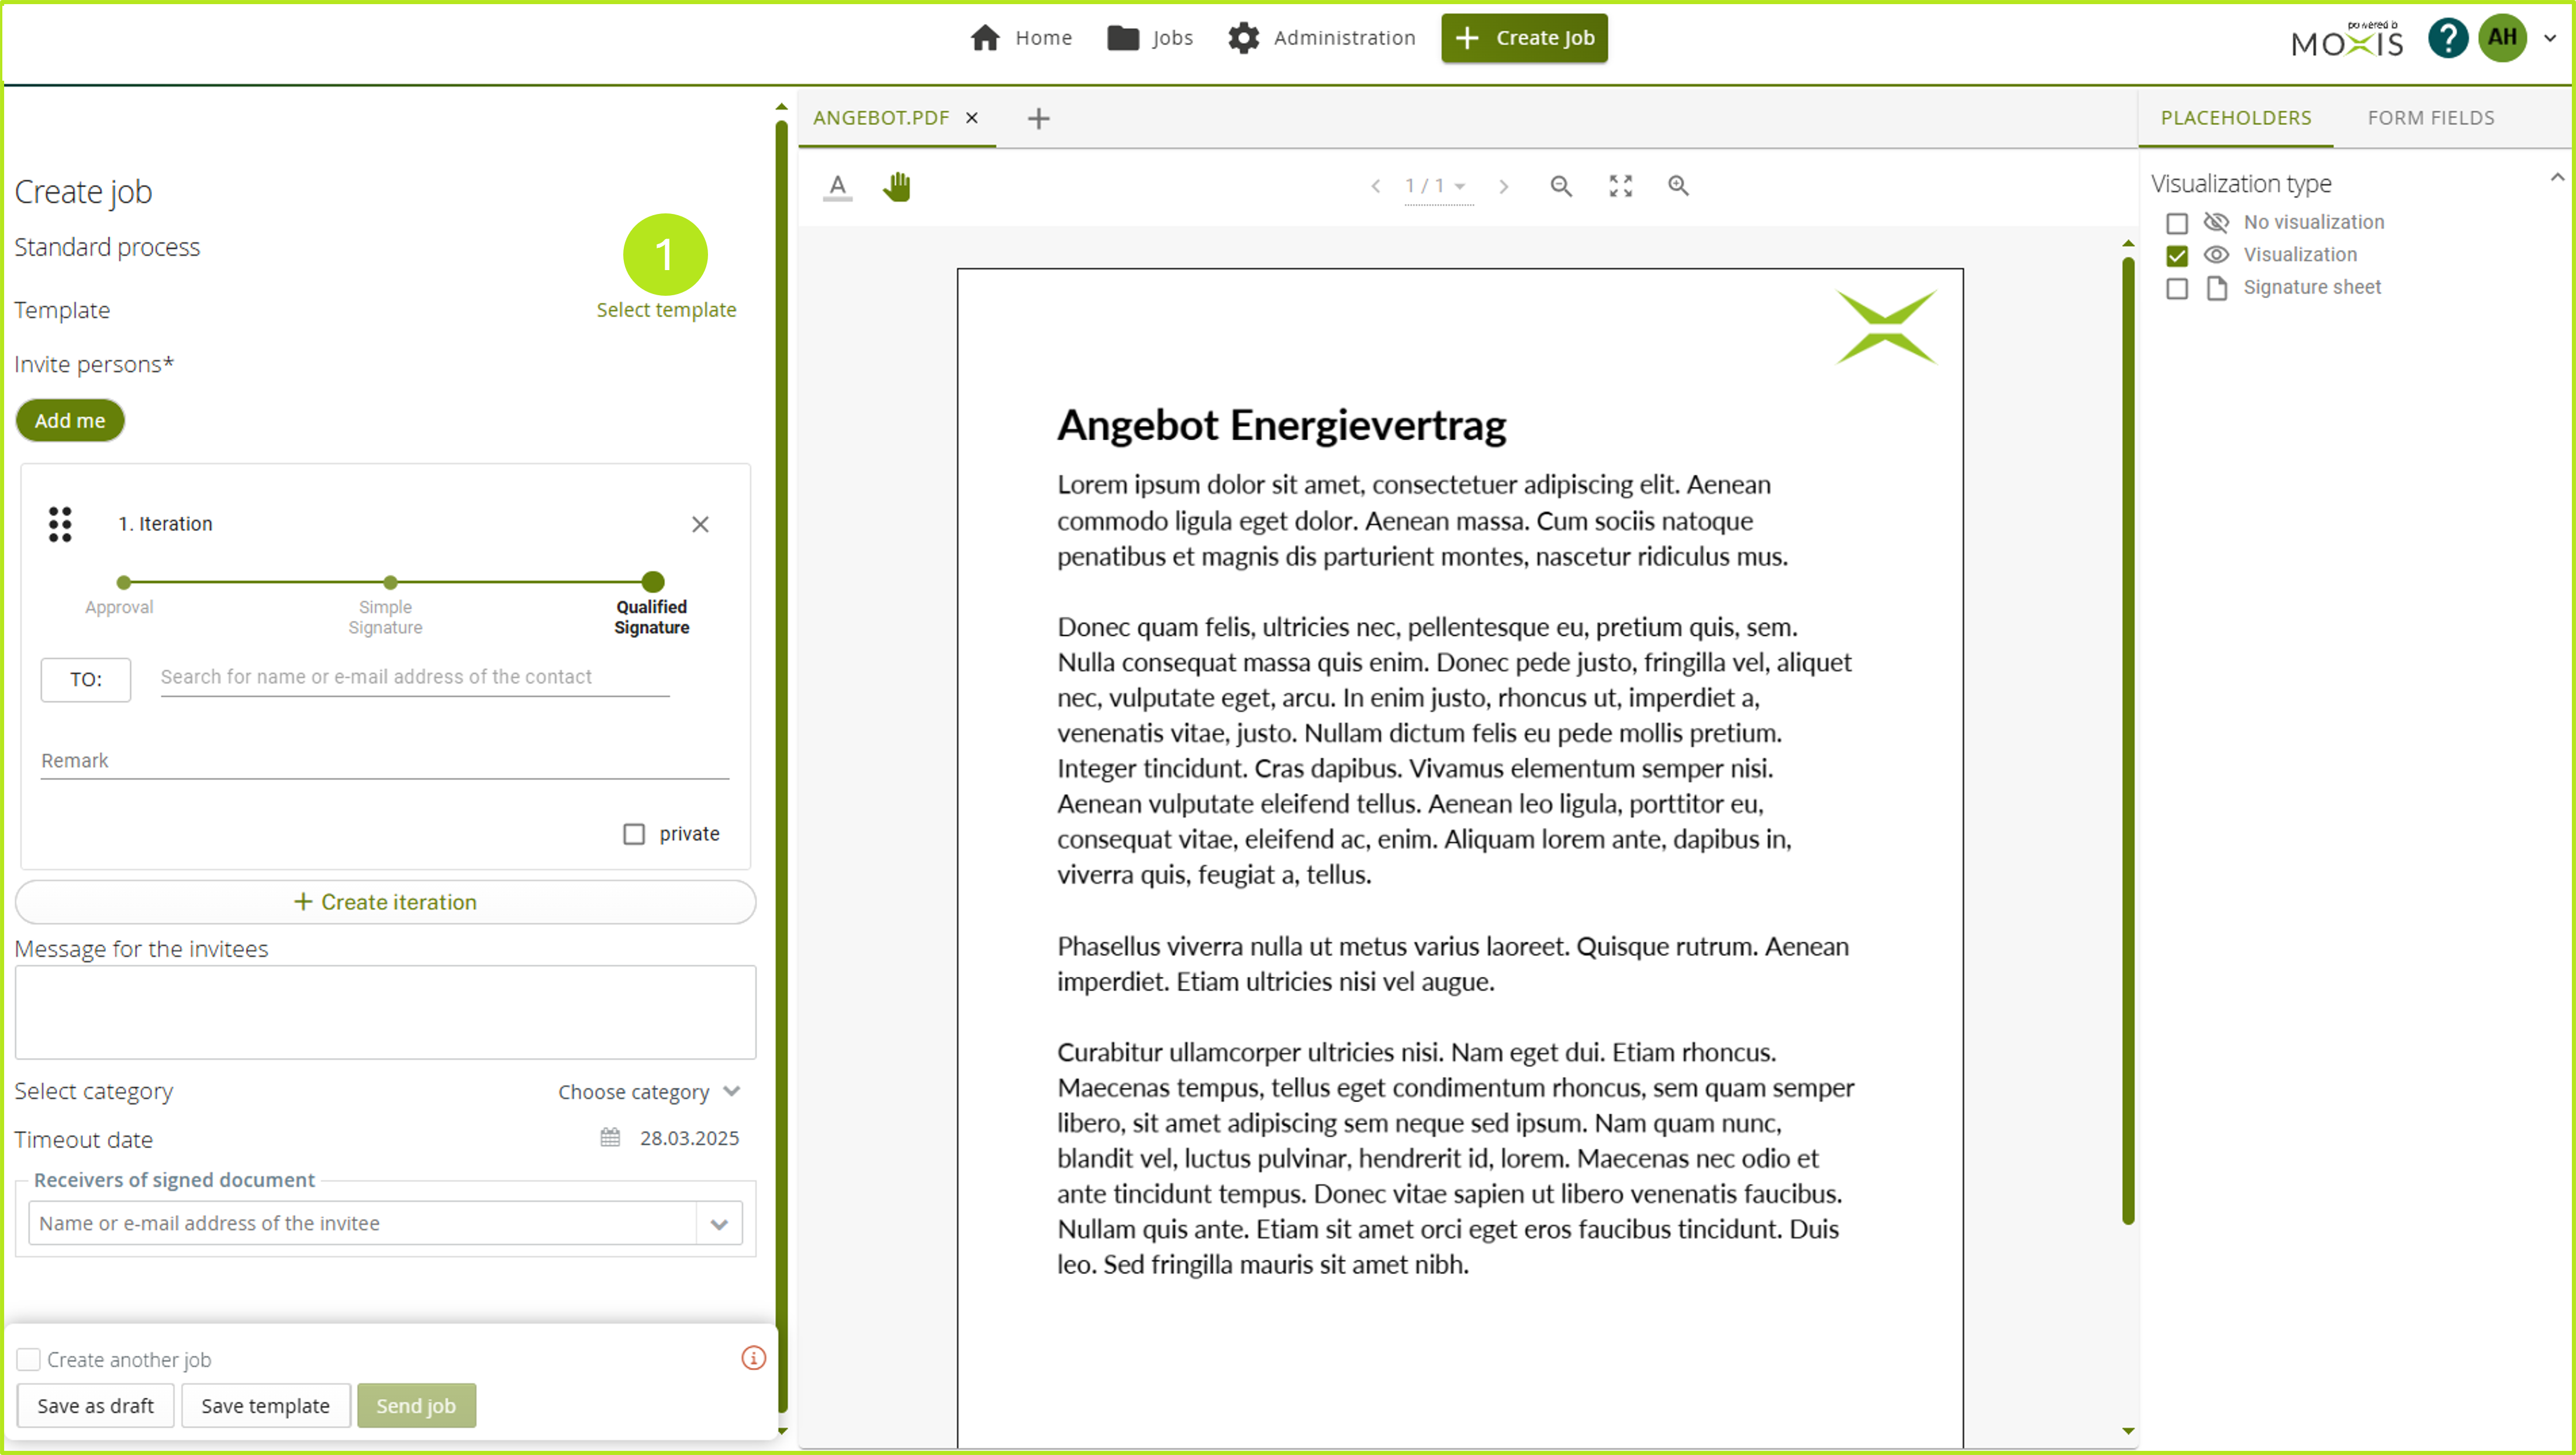
Figure 1: Selecting a template while creating a job
Step 2: A window will now open in which all templates are displayed (see figure 2). You now have the following options:
(1) Templates: Here you will find an alphabetical overview of all the templates available to you (see figure 2 [1]).
(2) Filter by template name: Enter the template name here and filter the results according to it (see figure 2 [2]).
(3) Creator: This field provides you with an overview of the creators of the respective template (see figure 2 [3]).
(4) Action: Start an order based on a template by clicking on the arrow in the corresponding line The order is then automatically created with the data saved in the template (see figure 2 [4]).
(5) [Cancel]-button: Click on this button to cancel the process (see figure 2 [5]).
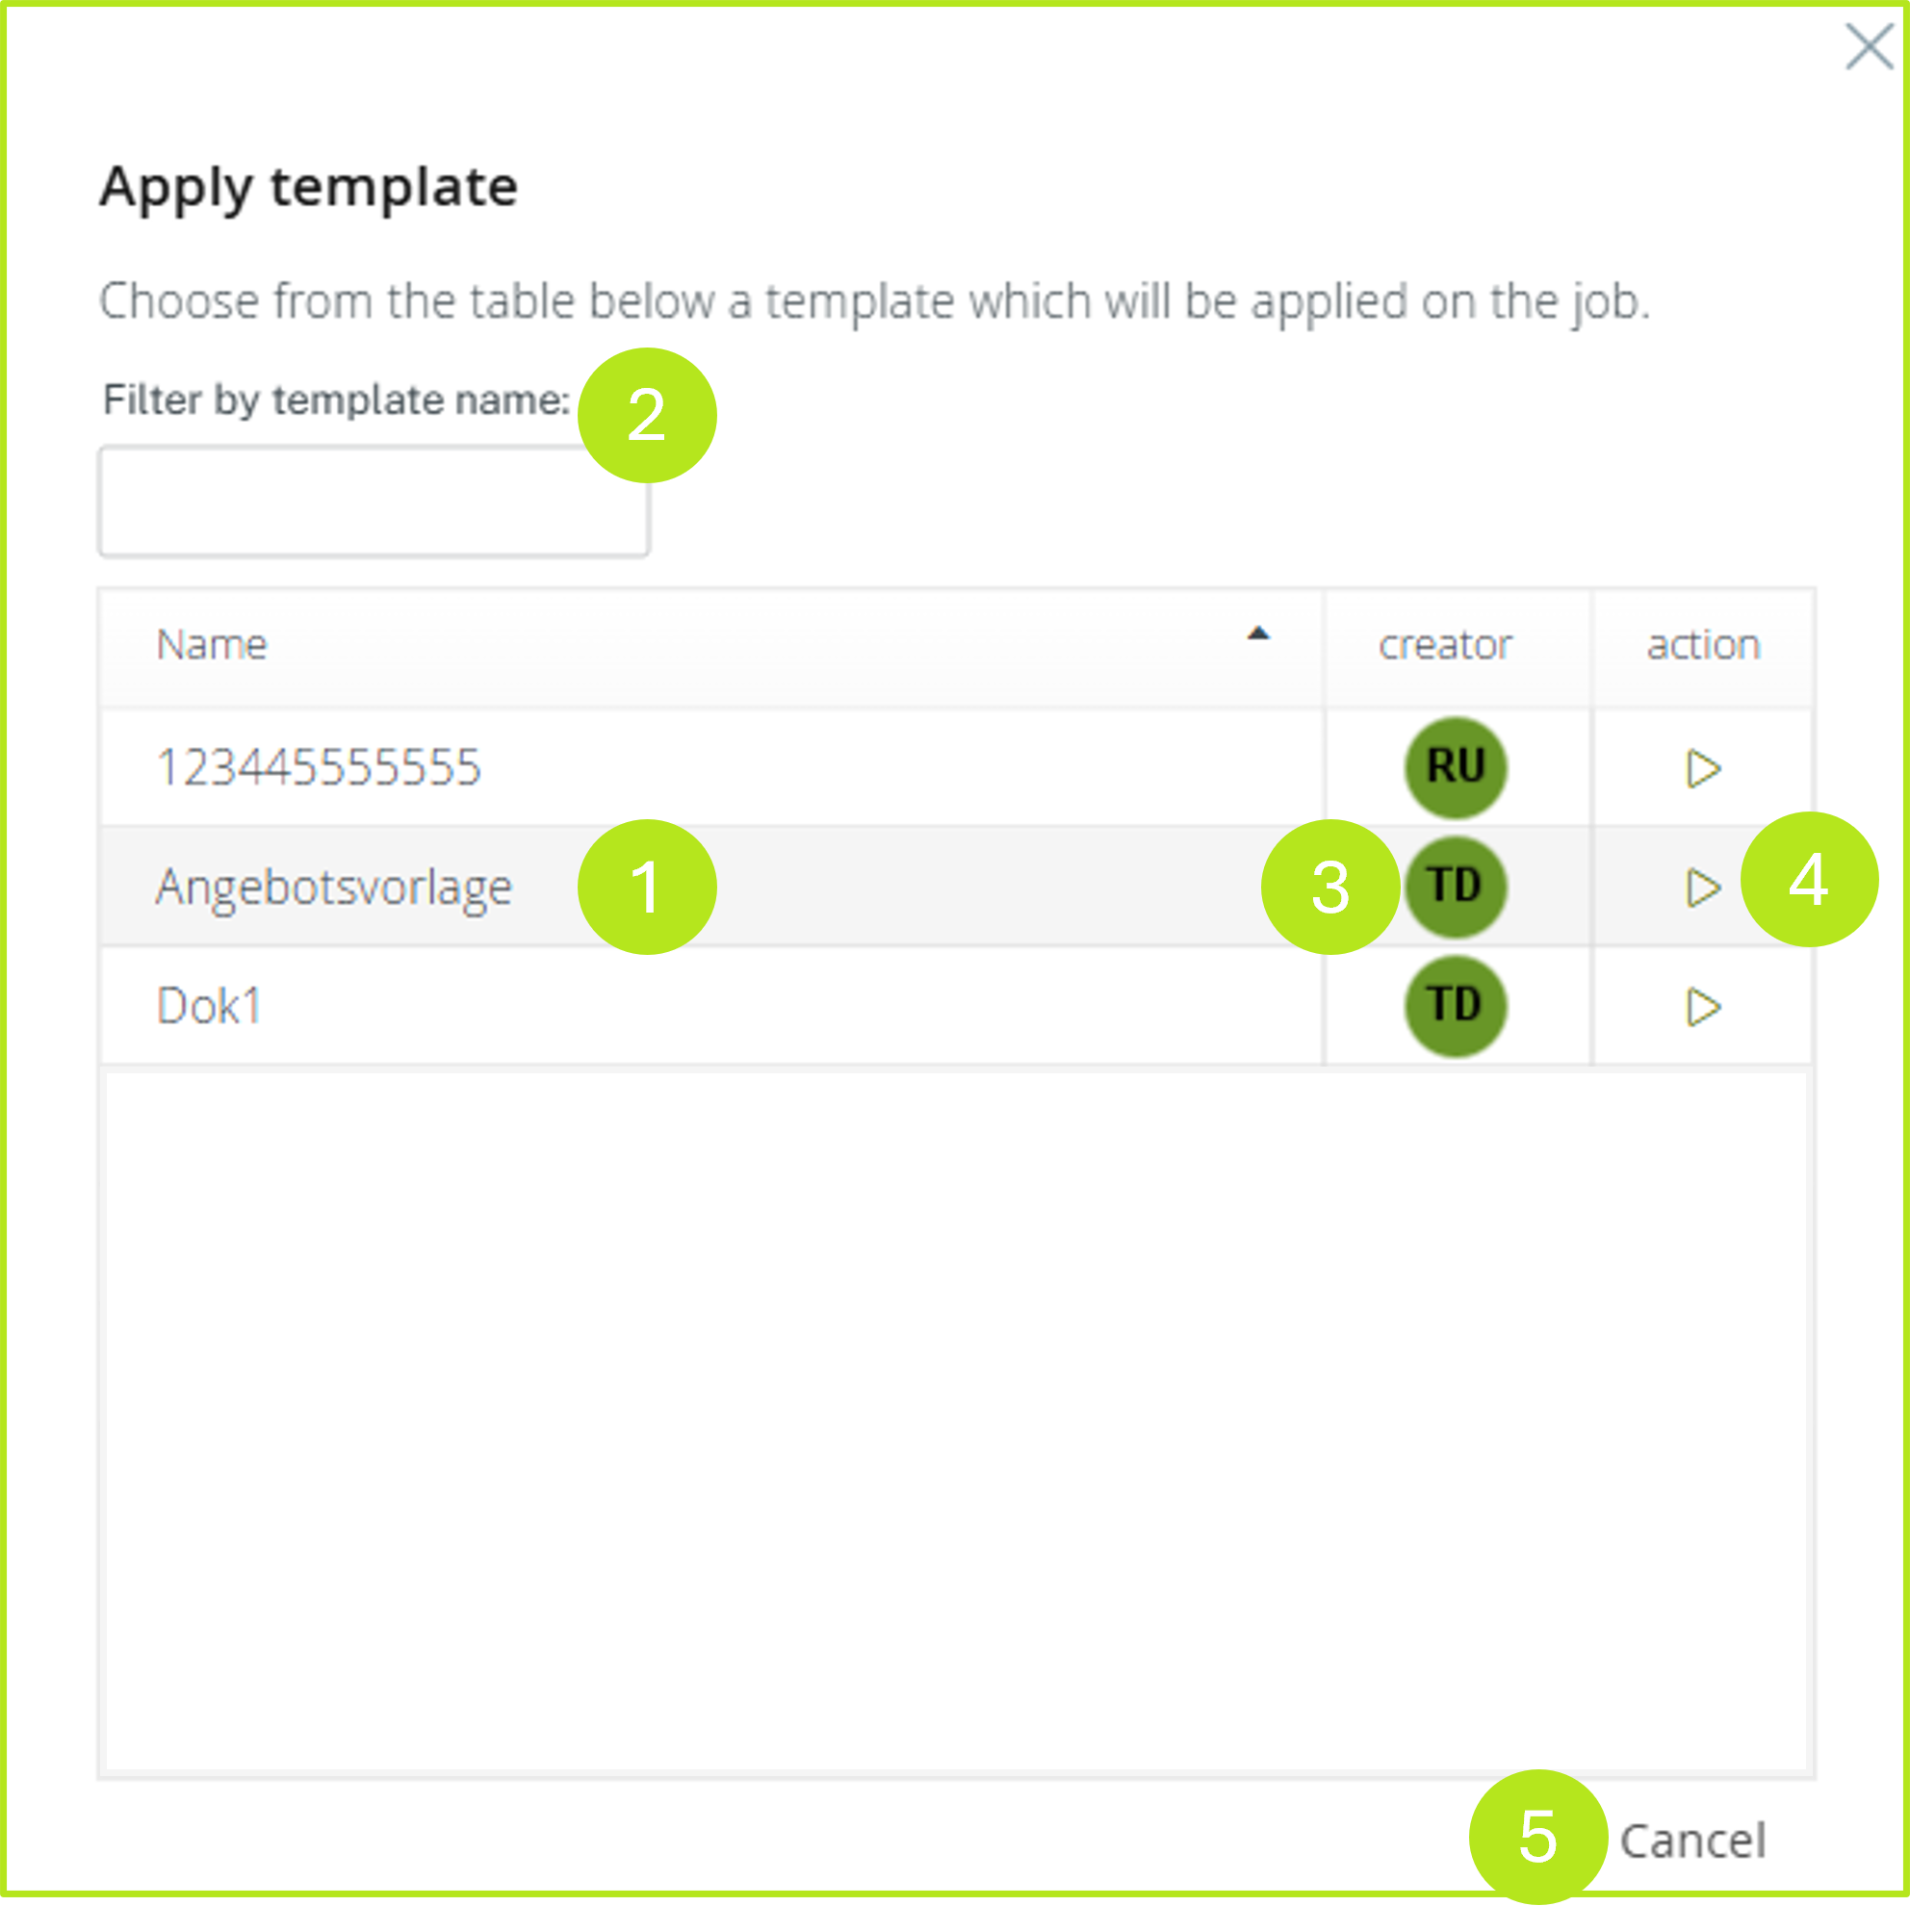
Figure 2: Select templates in the MOXIS template management
Step 3: Click on the grey arrow in the line where your desired template is stored (see figure 2 [4]). The template is visible in the Template selected section (see figure 3 [1]). The job is now automatically filled with iteration levels (see figure 3 [2]) and recipients (see figure 3 [3]).
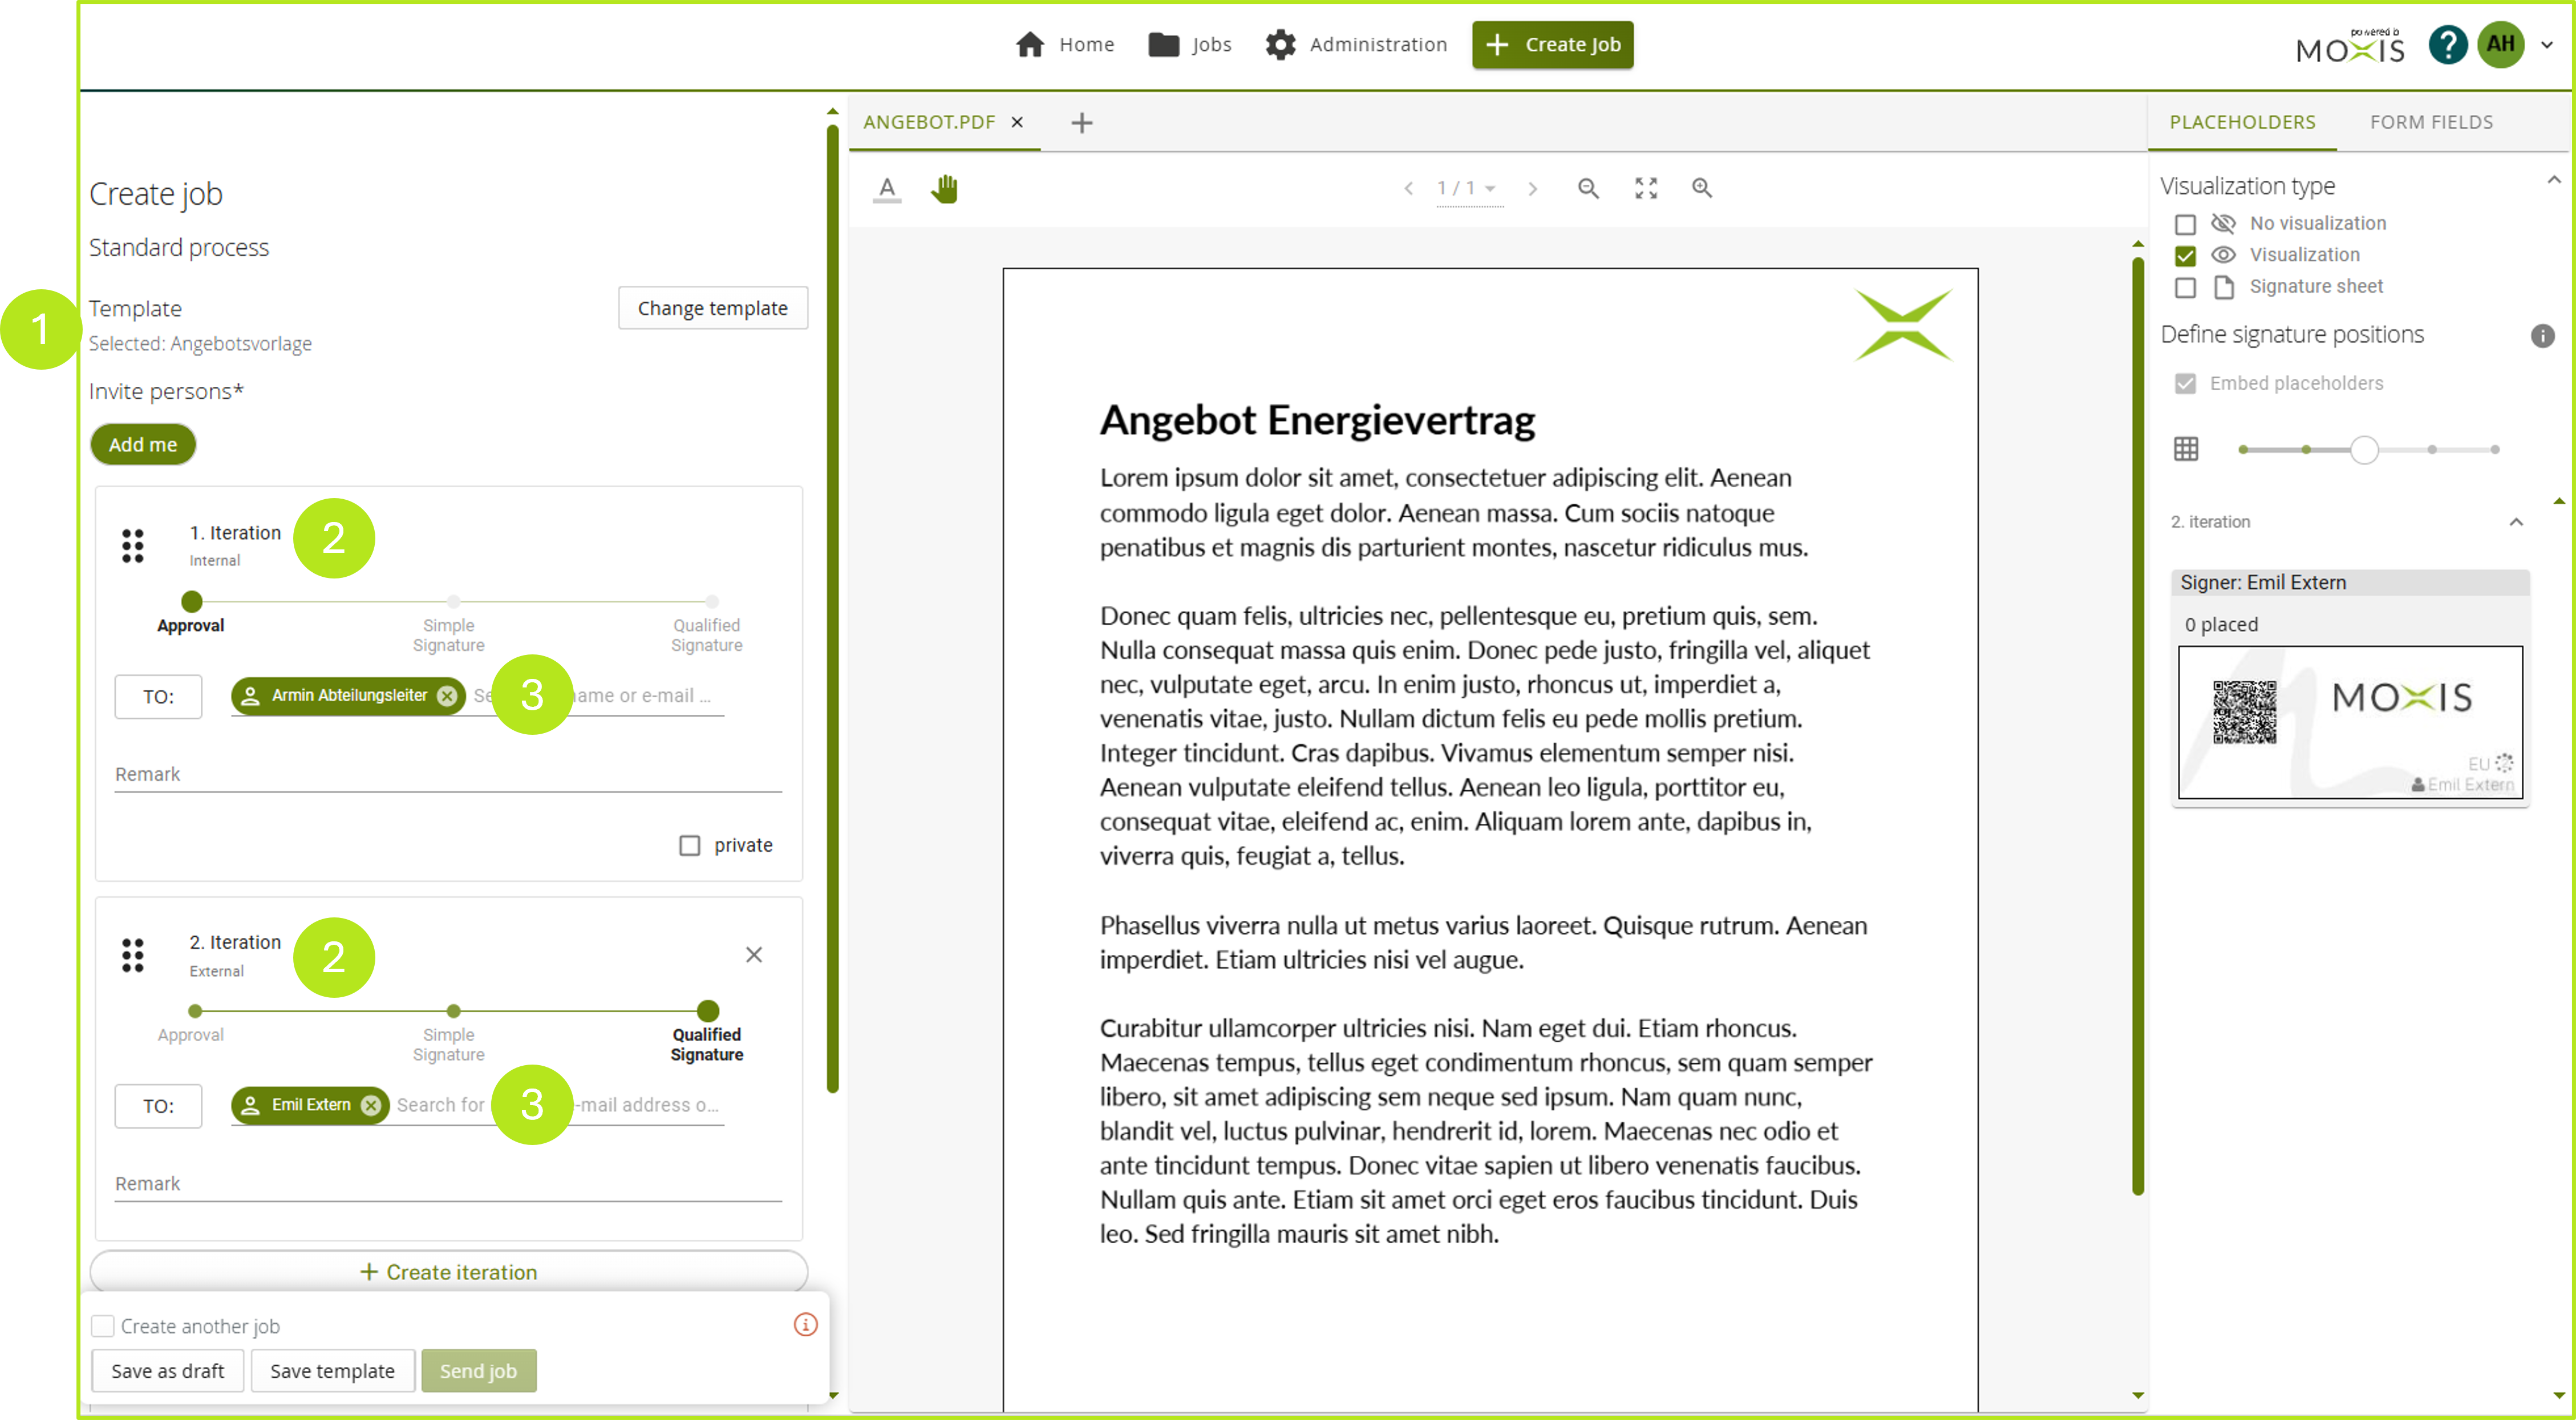
Figure 3: Creating a job based on a template in MOXIS 4.50
2. Starting the template from the template management
In order to start a template from the Manage Templates section, open the Manage Templates section of the Settings (see figure 4).
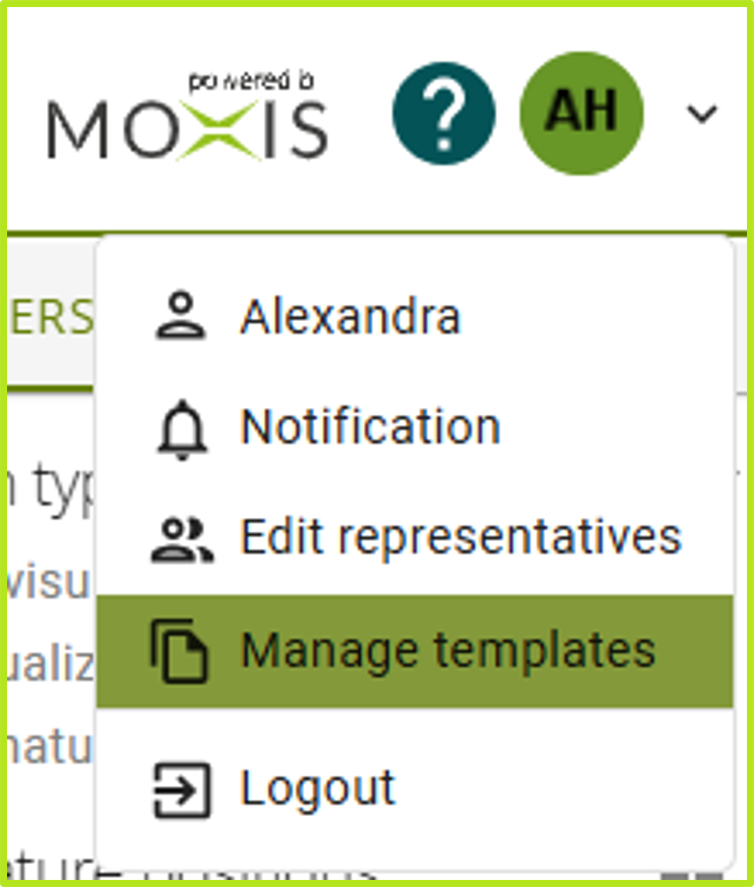
Figure 4: Open Manage templates
In the so opened window, you have access to your created templates in the Own templates tab (see figure 5). Here, it is as well possible to edit them. MOXIS provides you with the following options to do so:
Start a template by clicking on the grey arrow (see figure 5 [1]),
Edit a template by clicking on the pen icon (see figure 5 [2]),
Share a template by clicking on the share icon (see figure 5 [3]) or
Delete by clicking on the red X (see figure 5 [4]).
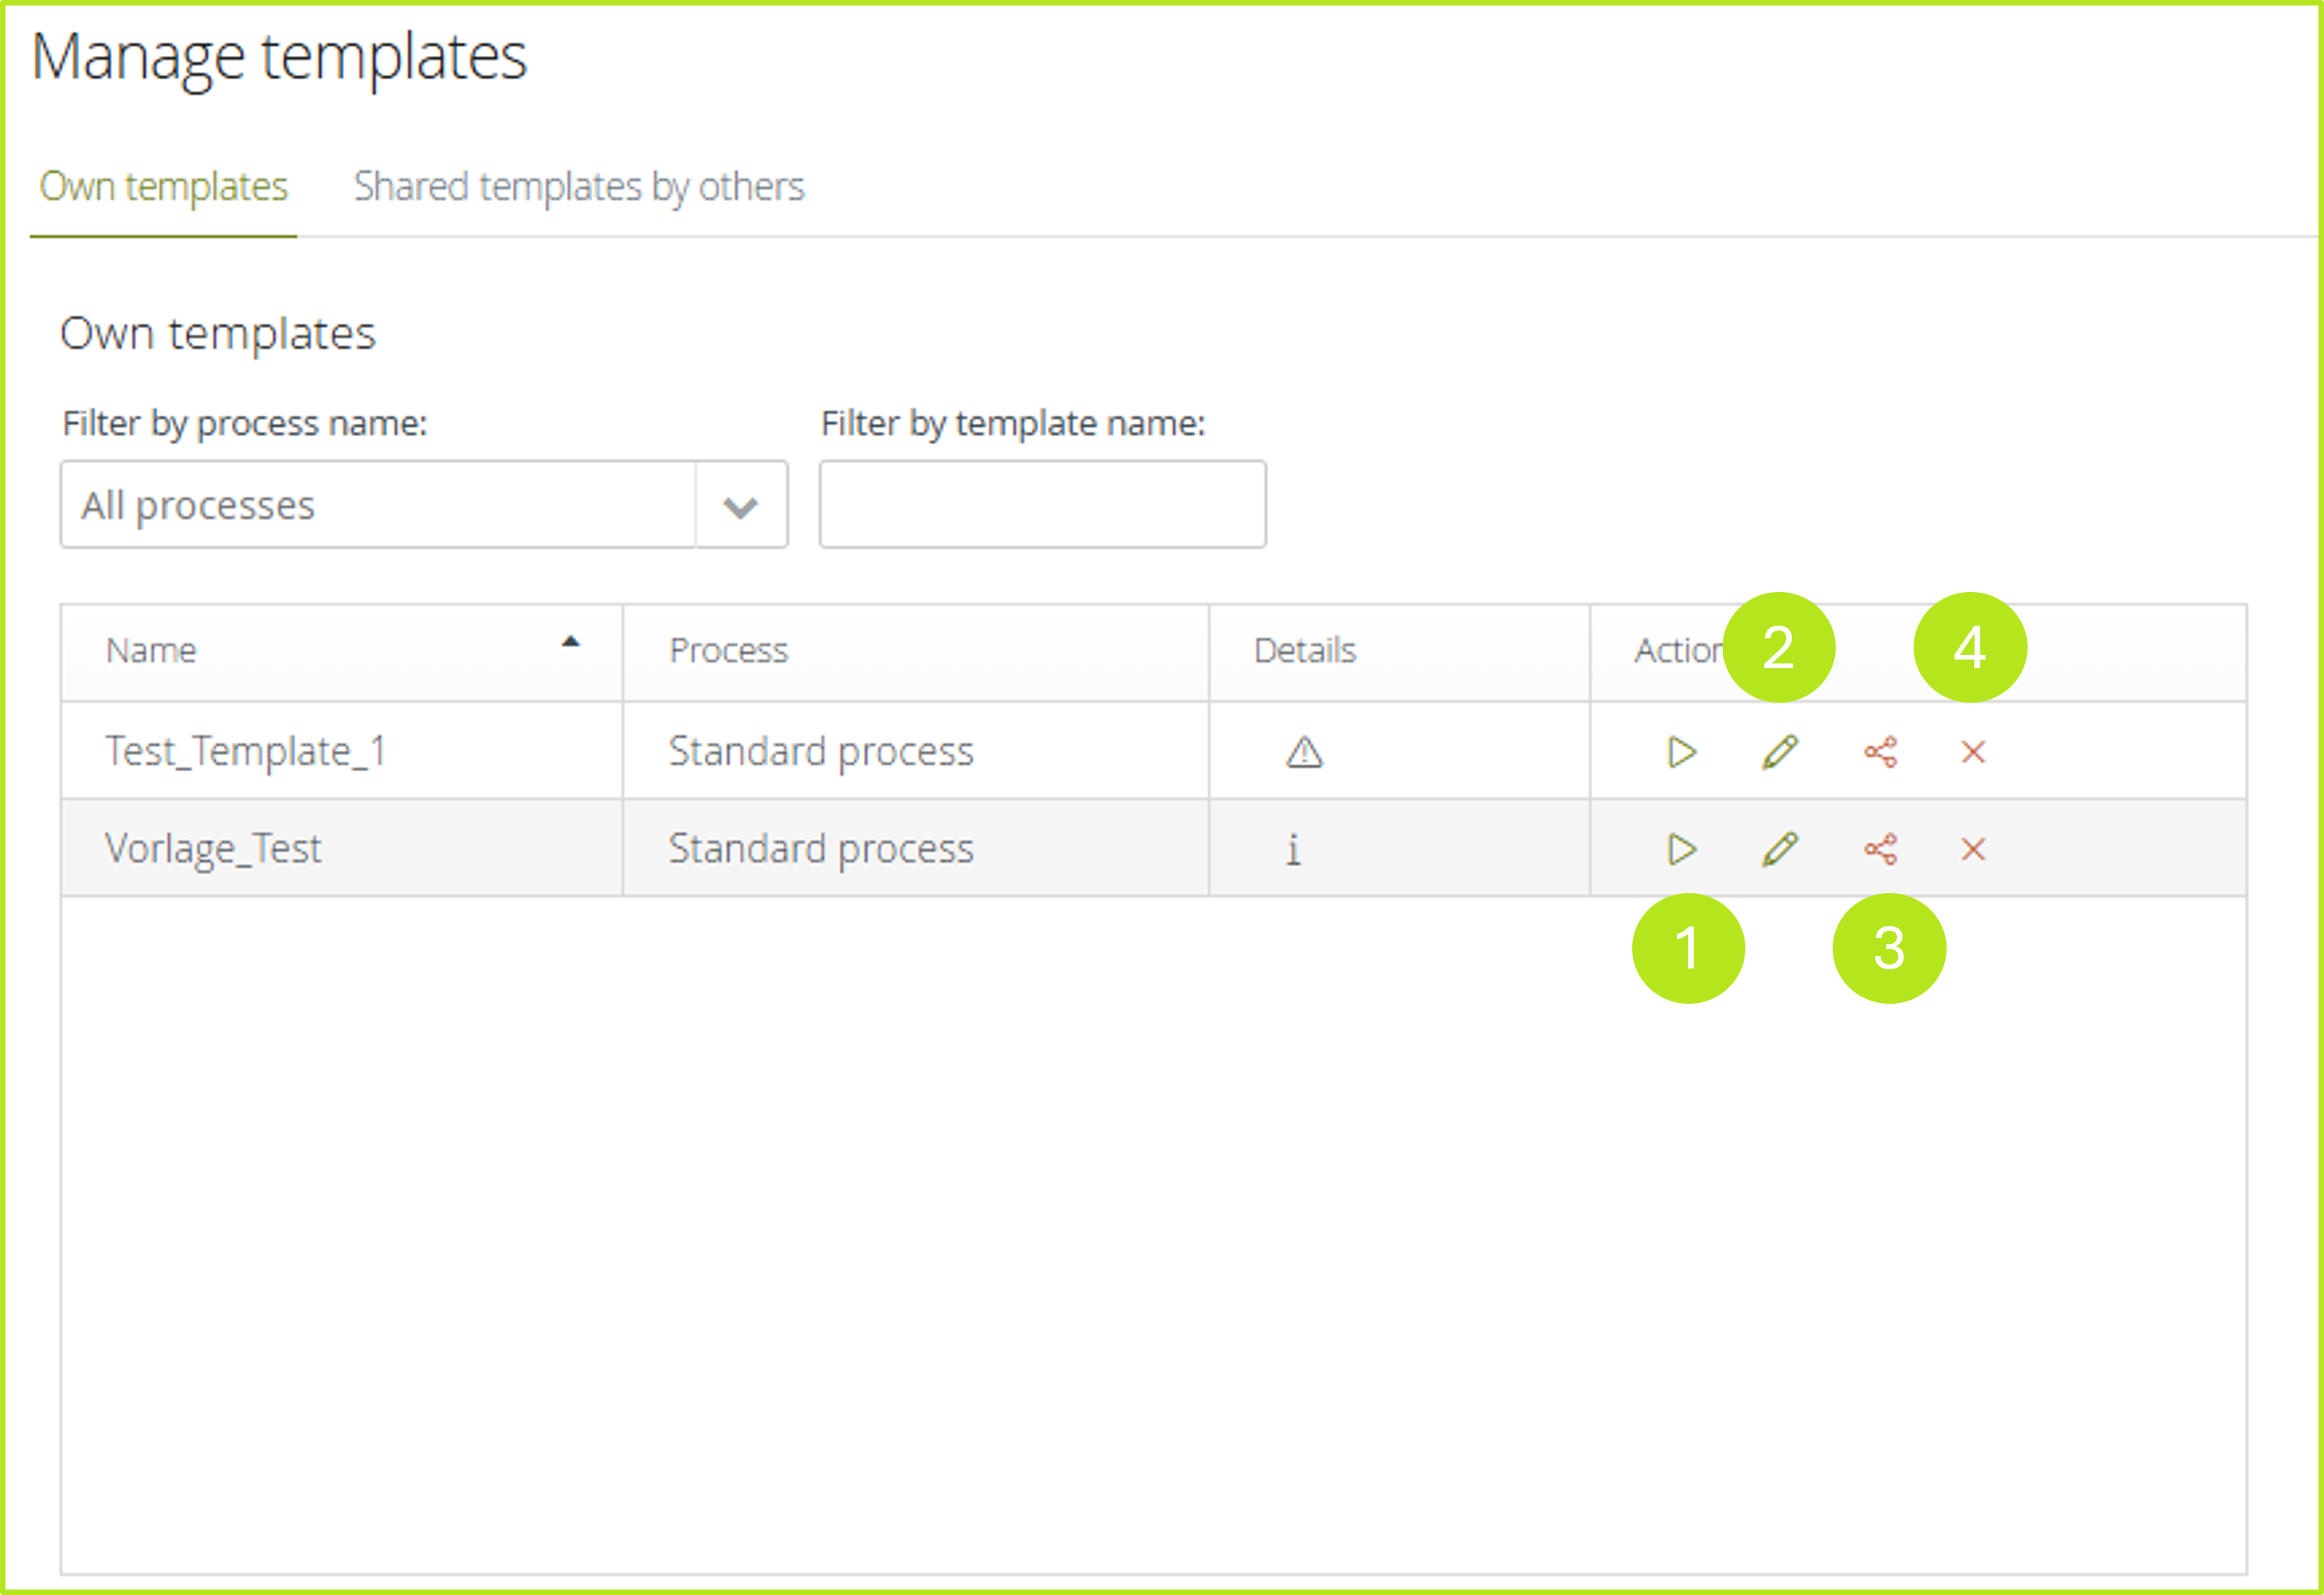
Figure 5: Start, edit, share or delete templates in the manage templates section
Once you have selected a template, you will be asked to upload a document (see figure 6). To do so, click on the Select Document button. Next, continue processing the job as usual. All further steps are the same as those described in chapter 1 of this article.
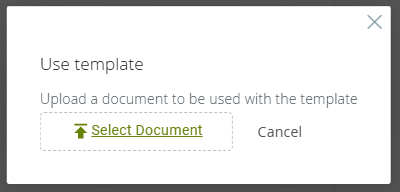
Figure 6: Upload a document for a job based on a template